
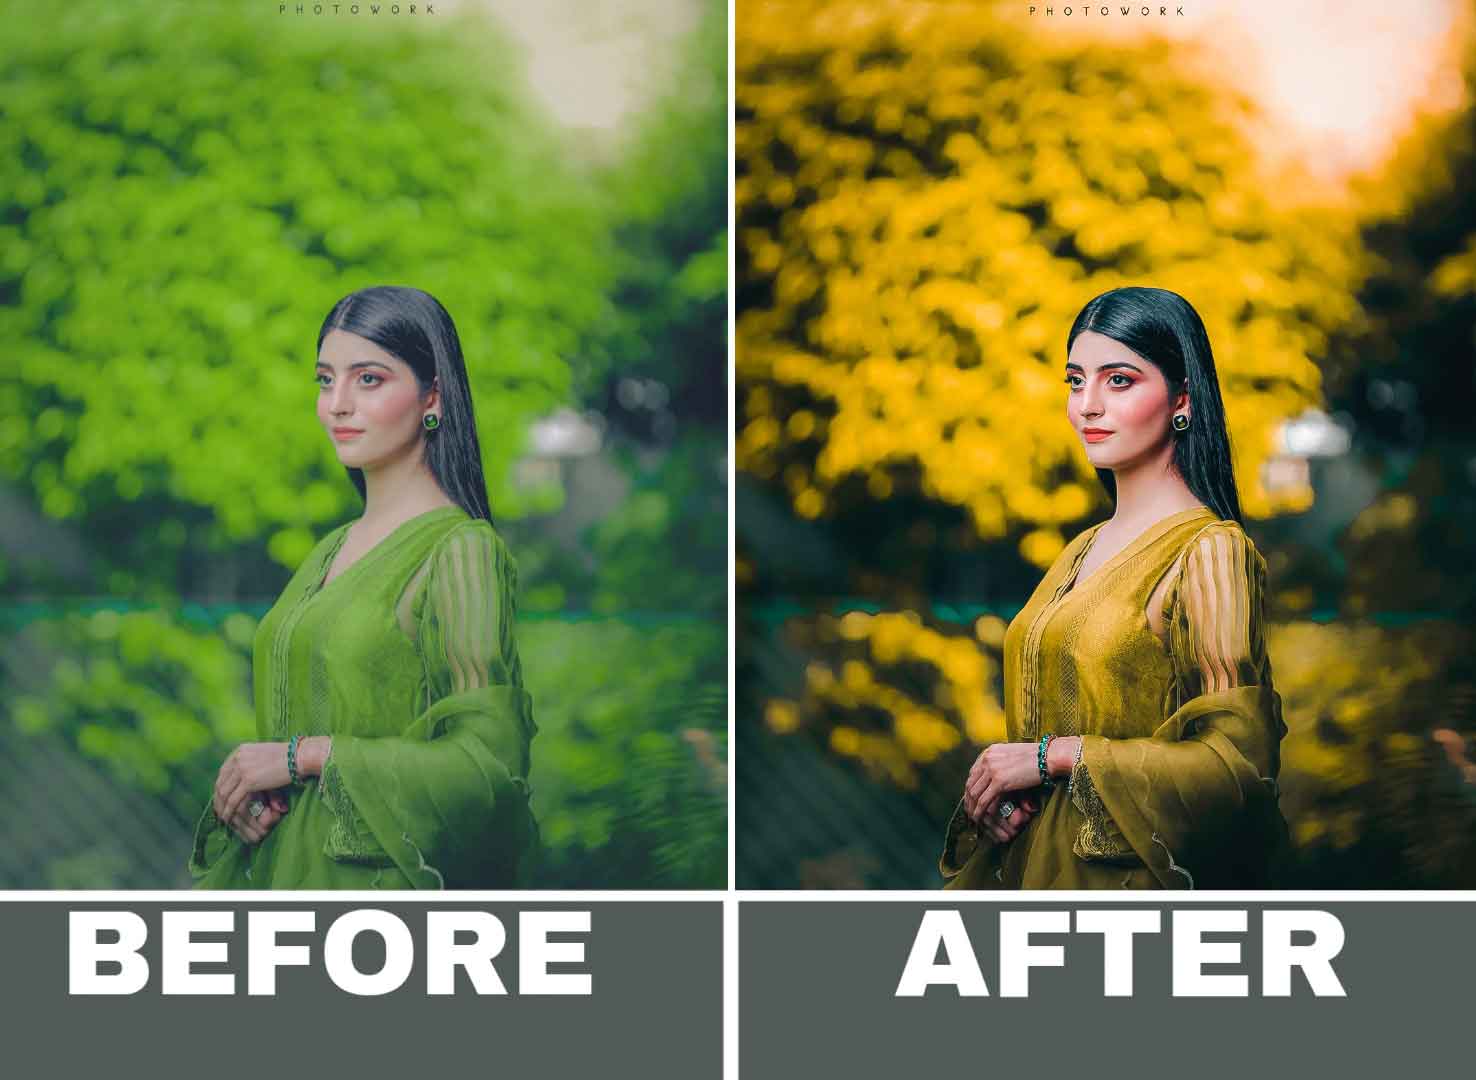
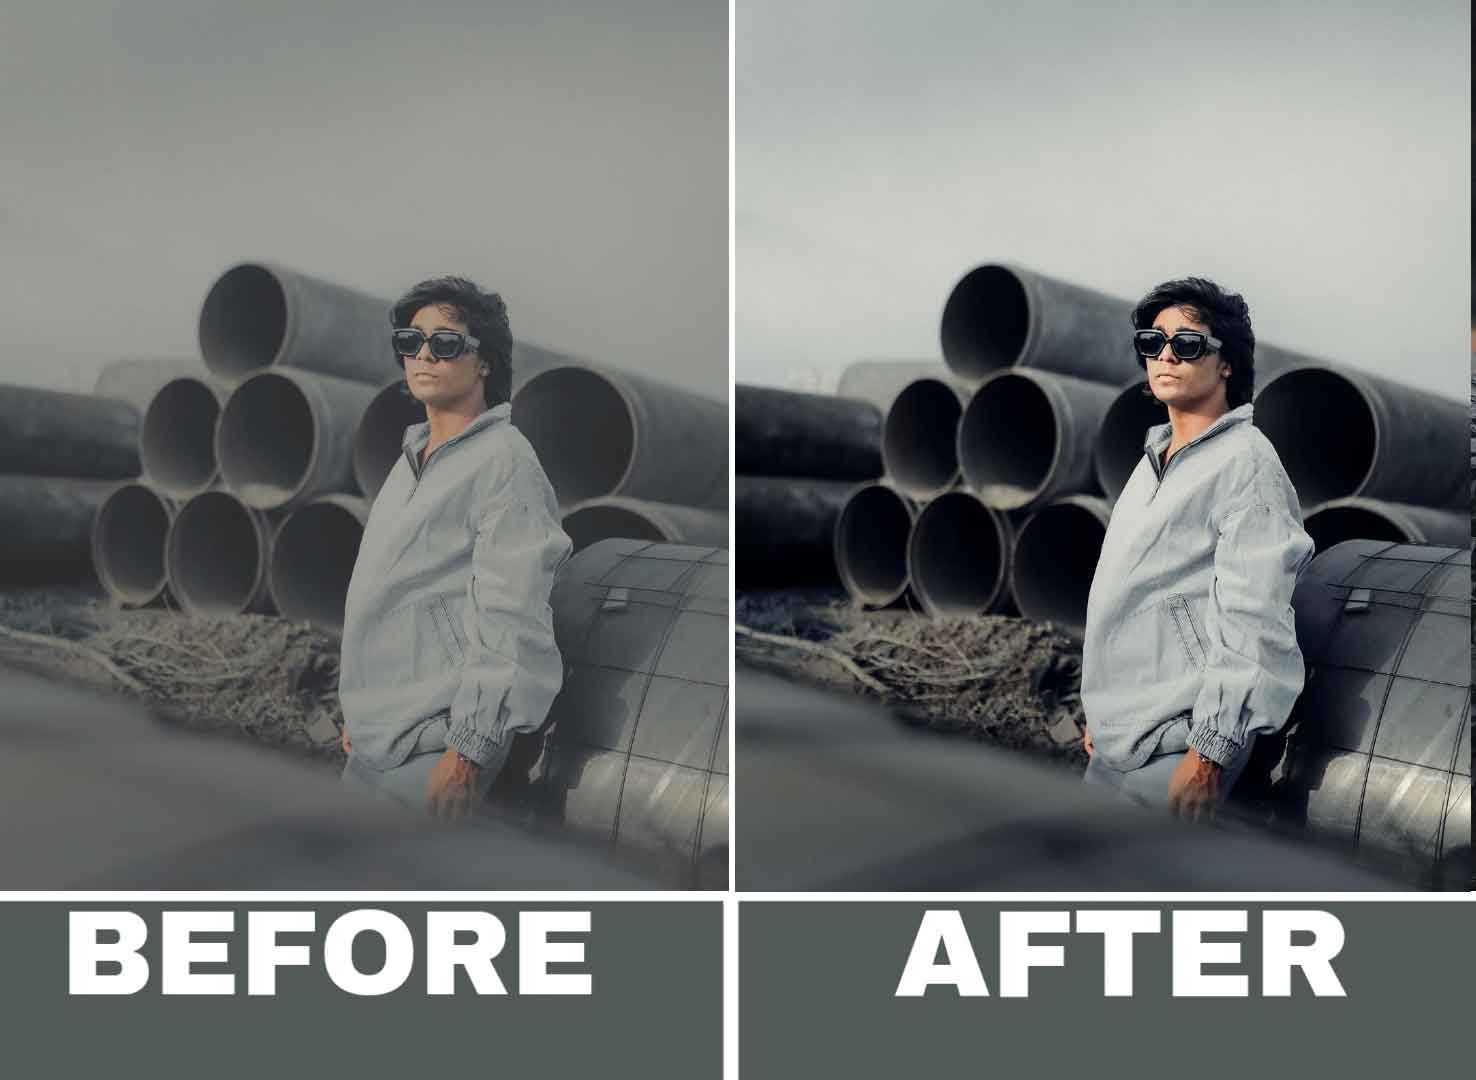
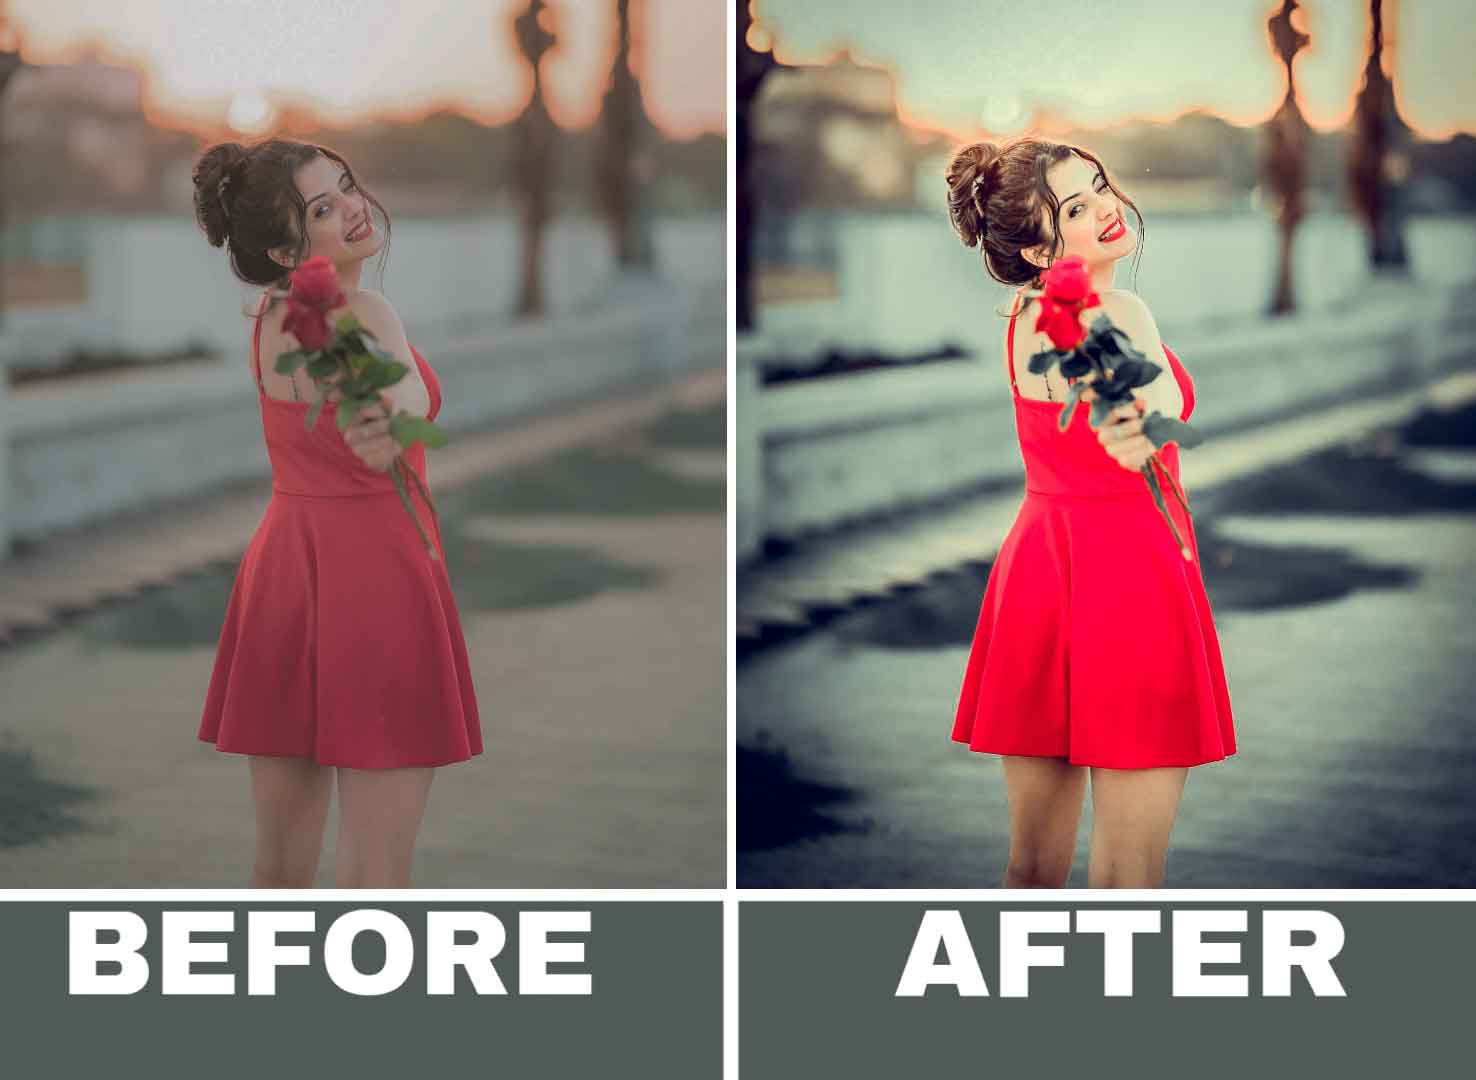
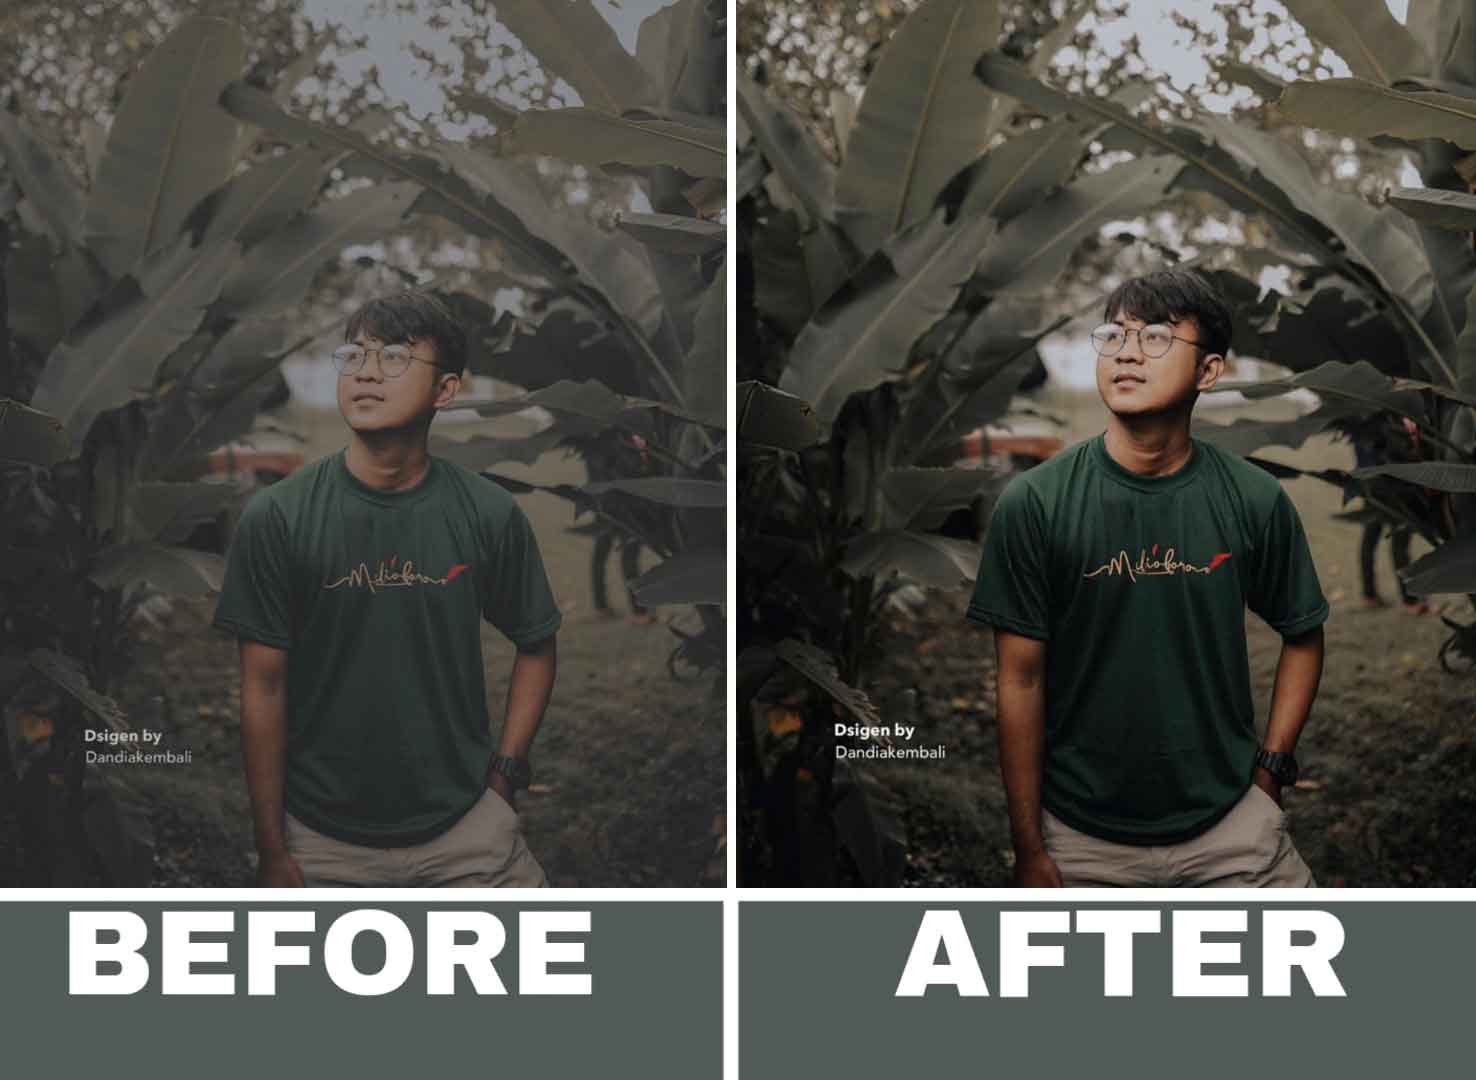
Hello everyone welcome back again today i am given you Top 40+ adobe lightroom mobile yellow tone lightroom presets.
This presets are amazing, so first understand the method, colors, & some best way for using this presets
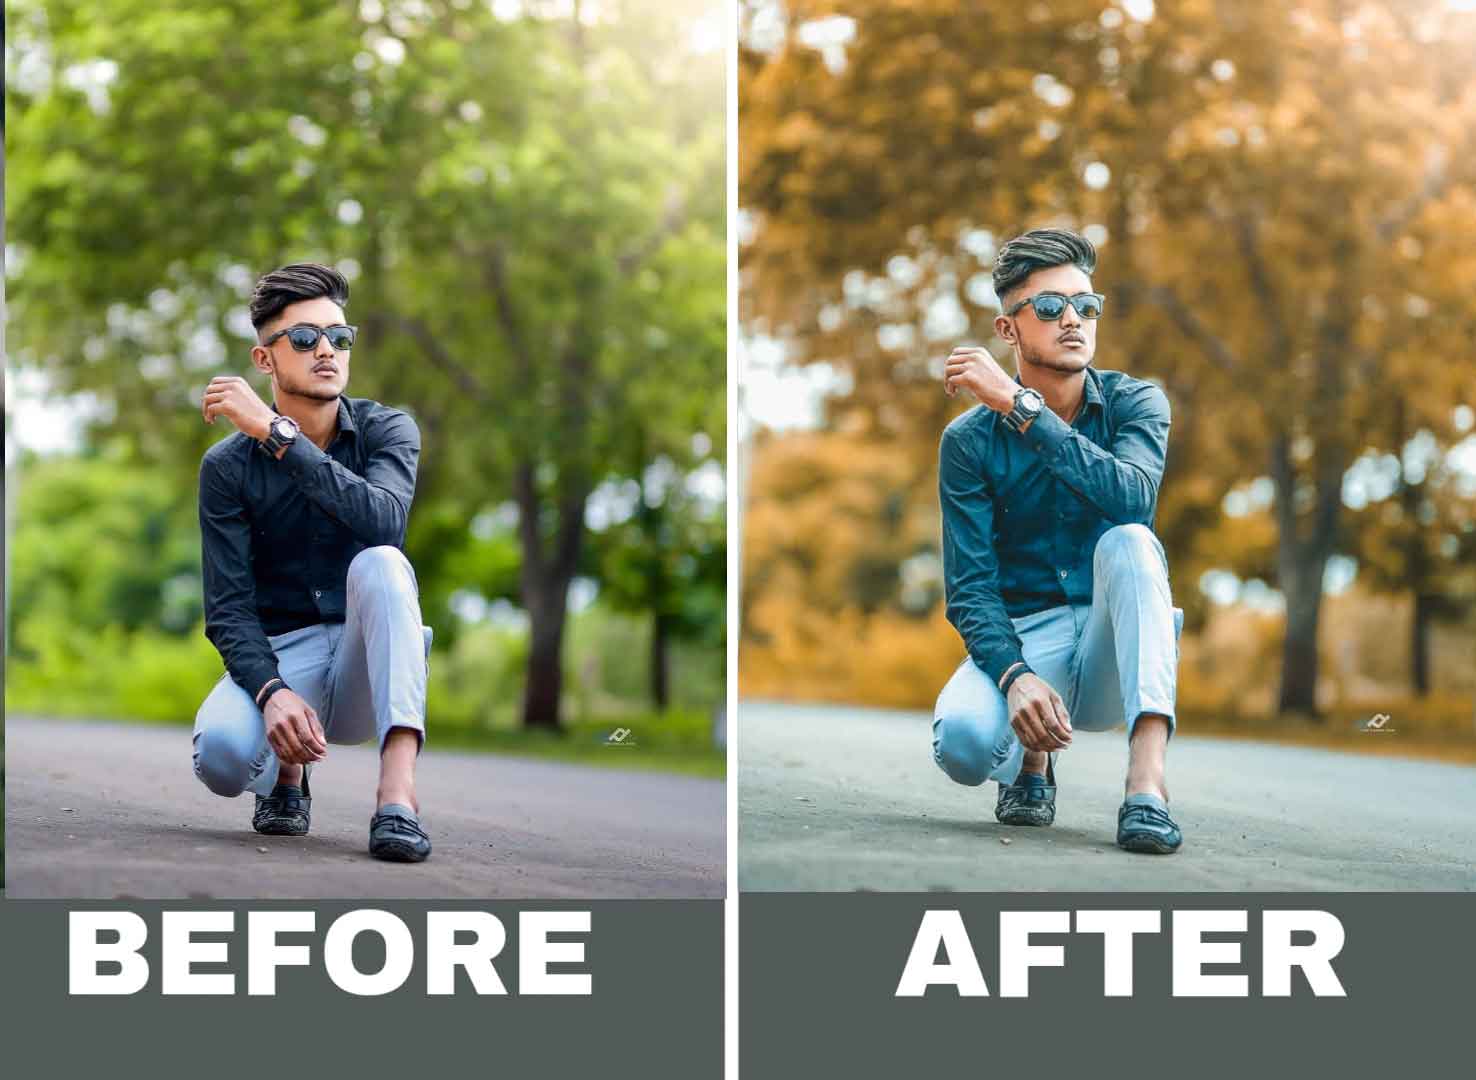
you can use this on your image like golden hour photos, natural phot0, portrait, & many more others.
golden hour photography
The “Golden Hour” is a term used in photography to describe the period of time shortly after sunrise or before sunset when the sun is low in the sky, creating a soft, warm, and diffused light. This light can add a beautiful, golden glow to photographs, and is often sought after by photographers for its ability to enhance the mood and atmosphere of a scene.
The exact duration of the Golden Hour varies depending on your location, time of year, and weather conditions, but generally lasts for around an hour after sunrise or before sunset. During this time, the sun is low in the sky, and the light is filtered through more of the Earth’s atmosphere, which helps to soften and warm the light.
Photographers often refer to the Golden Hour as the “magic hour,” as it can make even ordinary scenes look more dramatic and beautiful. It’s a great time to take landscape, portrait, and architectural photographs, as well as street photography and urban scenes.
It’s important to note that while the Golden Hour can enhance your photographs, it’s not the only time of day to take great photos. Different lighting conditions can create different moods and effects, so it’s worth experimenting with different times of day and weather conditions to find the right look for your photographs.
Yellow tone lightroom presets
Yellow tone presets are photo editing presets that add warm and sunny yellow tones to your photos. These presets are popular for creating a bright and cheerful look to your images.
There are many different yellow tone presets available, and they can vary in intensity and style. Some presets may create a subtle yellow tint, while others may add a more dramatic yellow-orange color cast.
If you’re interested in trying out yellow tone presets for your photos, so scroll and just go down, i had given a download button just click and download it.
Some more tips
Here are some additional details about yellow tone presets that you might find helpful:
Yellow tone presets can be used on a wide range of photos, but they are particularly effective on outdoor or nature images, as they enhance the warm tones that are often present in these types of photos.
In addition to adding a yellow color cast, some yellow tone presets may also adjust other settings such as contrast, sharpness, and saturation to create a cohesive look for your photos.
If you’re looking to create a more natural yellow tone effect, try adjusting the color temperature and white balance settings in your editing software to warm up your photo without going too overboard on the yellow tones.
Yellow tone presets can be used in conjunction with other editing techniques such as cropping, adding filters, and adjusting exposure to create a unique and visually striking final image.
When using yellow tone presets, keep in mind that they may not work well for all types of photos. Experiment with different presets and settings to find the best look for your specific image.
Overall, yellow tone presets are a popular and effective way to add warmth and cheerfulness to your photos. Whether you’re editing vacation photos or professional images, there are plenty of options available to help you achieve the perfect yellow tone effect.
How to import presets
To import Lightroom mobile presets, you can follow these steps:
- Download the preset file(s) on your mobile device. Presets typically have the file extension “.dng” or “.xmp”.
- Open the Lightroom mobile app and tap on the three-dot icon at the top right corner of the screen.
- From the dropdown menu, select “Presets” to open the Presets panel.
- Tap on the three-dot icon at the top right corner of the Presets panel, and select “Import Presets” from the dropdown menu.
- Navigate to the folder where you downloaded the preset file(s), and select the file(s) you want to import.
- Once the import is complete, the presets will be available in the Presets panel.
- To apply a preset to a photo, simply select the photo in your library and tap on the preset in the Presets panel.
- That’s it! You can now use your newly imported Lightroom mobile presets to enhance your photos.


