If you landed on this page then you must be looking at the Top 20+ Neon Cyberpunk Colours Presets.
Neon colour presets can be applied to images in a variety of ways, such as using software like Adobe Photoshop, Lightroom, or Premiere Pro. They typically involve adjustments to colour saturation, brightness, and contrast to create a neon-like effect.
what are neon colors ?
- Neon colors are highly bright and intense hues that appear to glow under certain lighting conditions, especially in low light or dark environments.
- They are often used for high-visibility signage, fashion, and art. Neon colors are typically made by combining bright pigments with fluorescent materials that respond to ultraviolet light.
- Common neon colors include hot pink, electric blue, bright yellow, and vibrant green.
- These colors are popular in modern design and are often used to create a futuristic, high-tech look.
DOWNLOAD VIDEO EDITING PRESET
what are cyberpunk effect ?
The Cyberpunk effect is a visual style that emerged in the 1980s and 1990s and is characterized by a dystopian and futuristic aesthetic. It often includes elements such as neon lighting, cybernetic enhancements, a gritty urban environment, and advanced technology. The Cyberpunk effect is frequently seen in science fiction movies, video games, and literature.
In graphic design, the Cyberpunk effect can be achieved through the use of certain color palettes, such as shades of purple, blue, and pink, often combined with neon or metallic elements. The use of glitch art, distorted images, and geometric shapes can also contribute to the Cyberpunk aesthetic. Typography can also play a role, often featuring sharp, angular fonts that reflect the futuristic and edgy style.
Overall, the Cyberpunk effect aims to create a sense of a high-tech, urban, and dystopian world, which is both visually striking and evocative.
DOWNLOAD 400+ PRESET
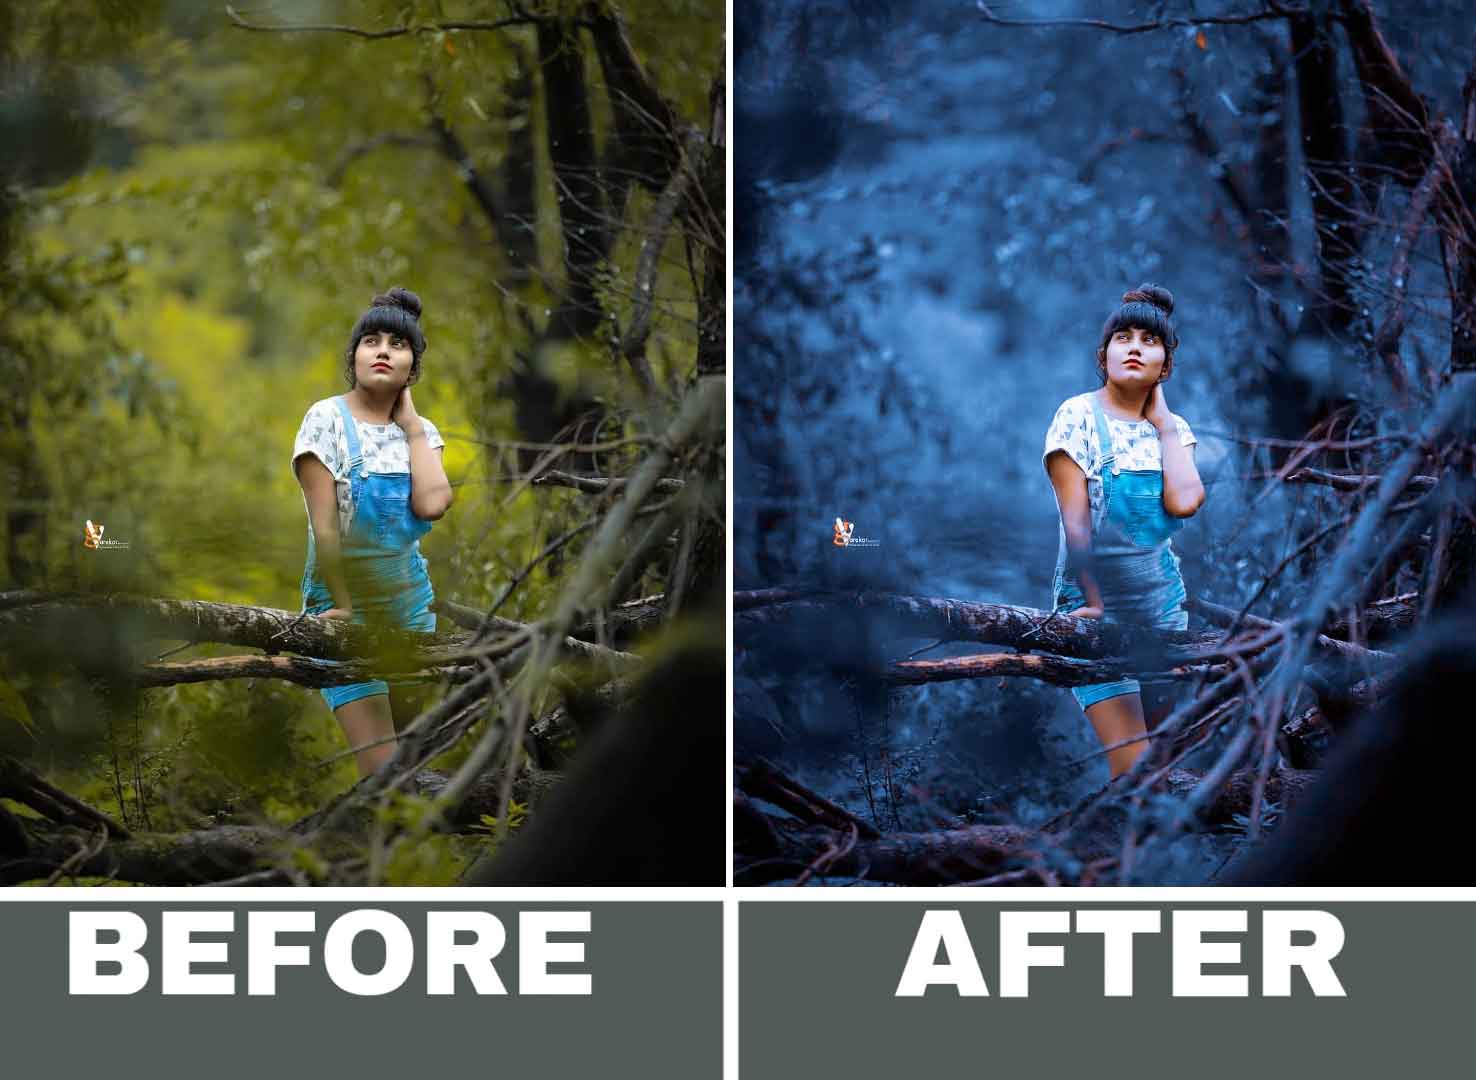
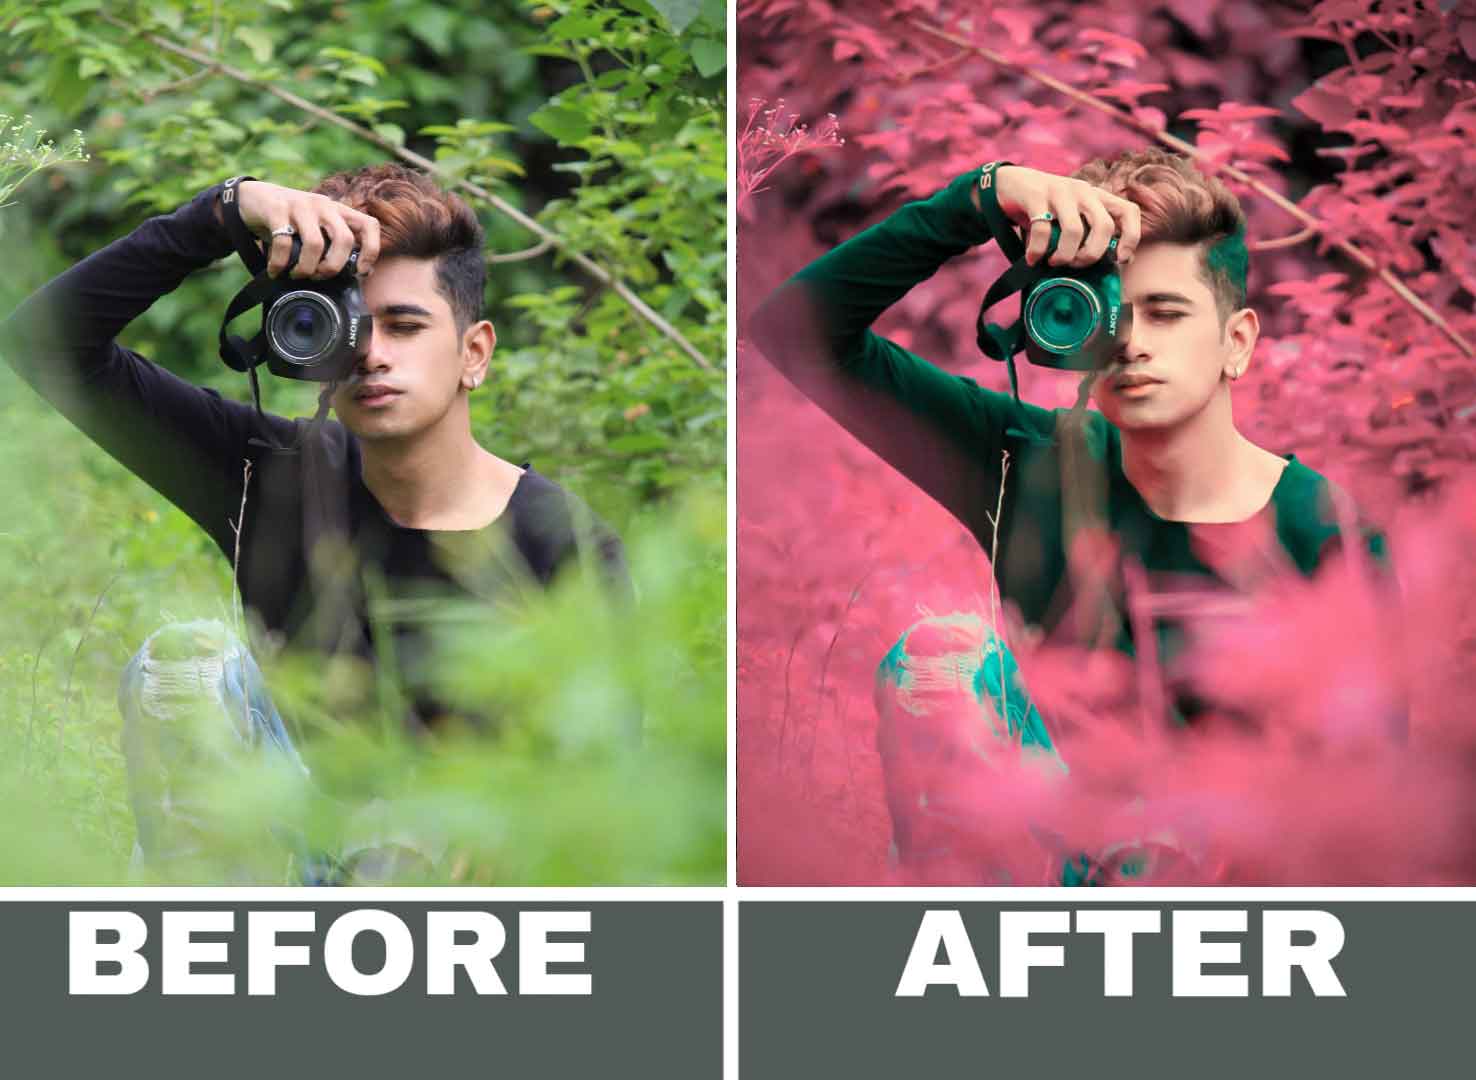
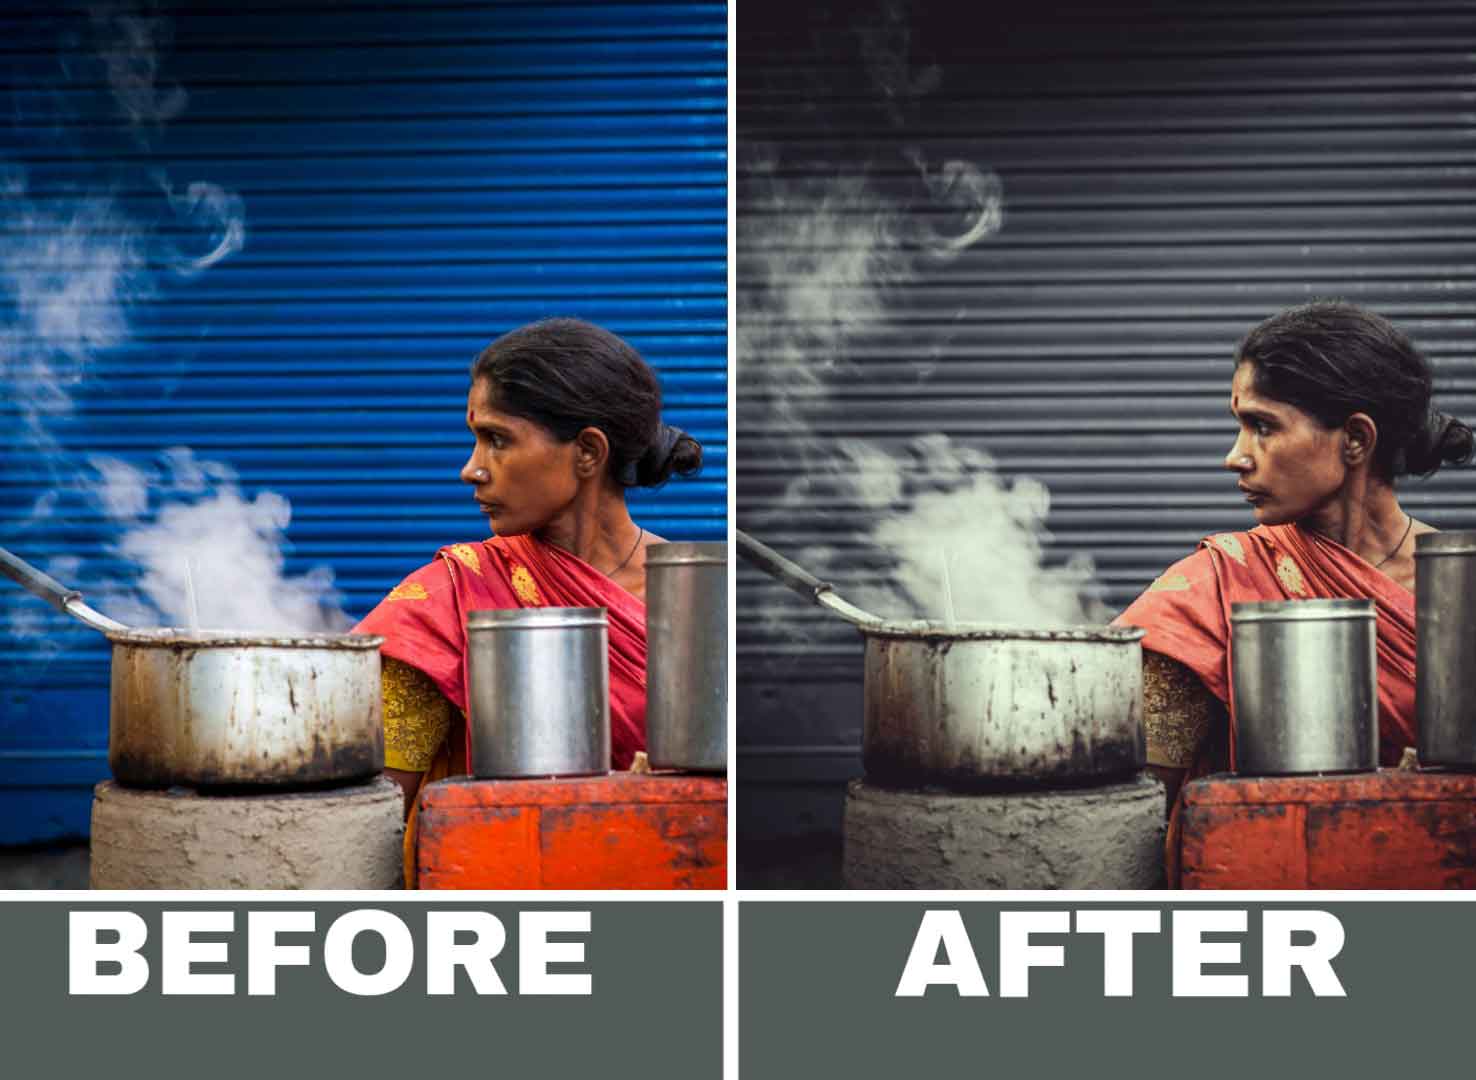
{ Cyberpunk & Neon Effect }
The Cyberpunk and neon effects are closely related and often used together to create a futuristic, dystopian look in graphic design, movies, and video games. The Cyberpunk effect typically features a gritty, urban environment with advanced technology, while the neon effect uses bright, intense colors that appear to glow or emit a fluorescence.
In graphic design, the Cyberpunk and neon effects can be achieved by using a combination of dark, moody backgrounds with bright neon colors and metallic elements. The use of glitch art and distorted imagery can also contribute to the overall aesthetic. Typography is also an important aspect, often featuring sharp, angular fonts that reflect the futuristic and edgy style.
In movies and video games, the Cyberpunk and neon effects are used to create a highly immersive, futuristic world. Examples include the movie “Blade Runner” and the video game “Cyberpunk 2077,” which feature a mix of neon lighting and advanced technology in a dystopian urban environment.
Overall, the Cyberpunk and neon effects are highly effective in creating a visually striking and evocative look that reflects a futuristic, high-tech world with a dark and gritty edge.

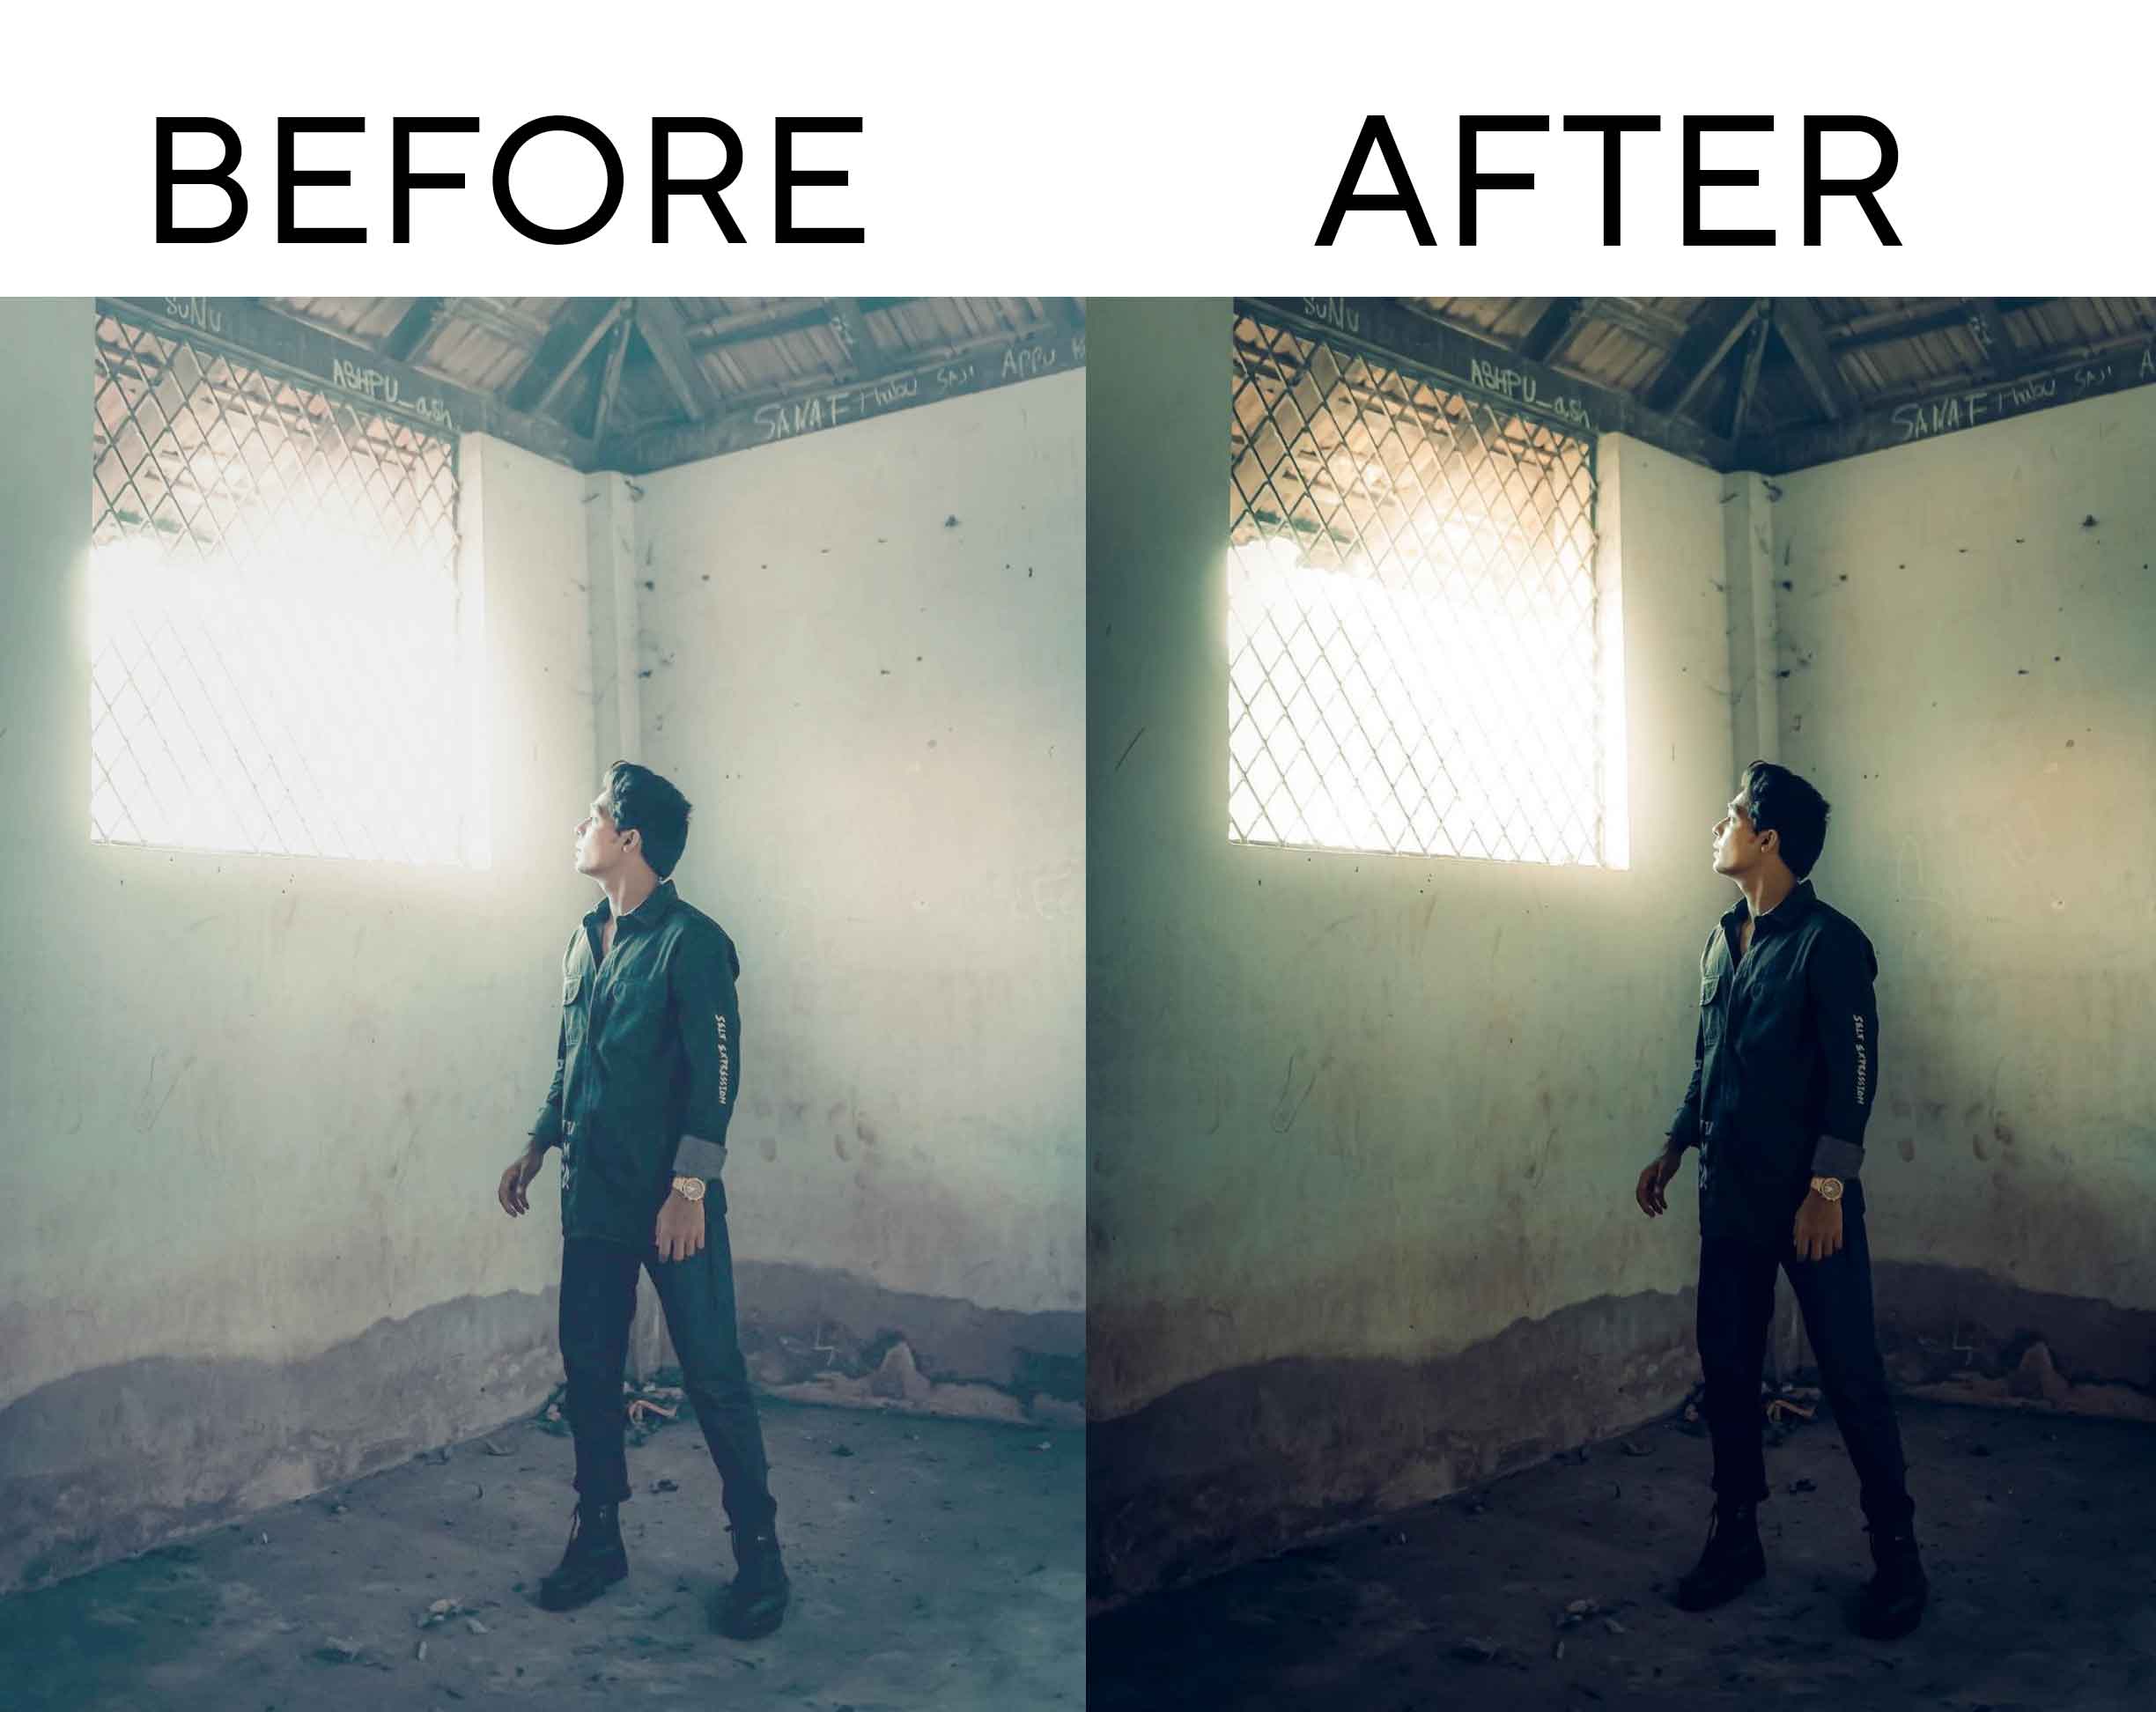
Steps to Follow Neon Lightroom Presets:-
Using neon colour Lightroom presets is a simple and straightforward process. Here are the basic steps to follow:
- Install the Preset: First, you need to download and install the neon colour preset into your Lightroom application. This process may vary depending on the source of the preset, but it usually involves importing the preset file into Lightroom and then installing it.
- Choose the Image: Next, choose the image you want to edit and open it in Lightroom.
- Apply the Preset: Click on the Develop module in Lightroom and navigate to the Presets panel. Find the neon colour preset you want to use and click on it to apply it to your image. The preset will automatically adjust the image’s colour saturation, brightness, and contrast to create a neon-like effect.
- Adjust the Settings: Once you have applied the preset, you can adjust the settings to fine-tune the effect. You can adjust the exposure, contrast, colour balance, and other settings to achieve the desired look.
- Save and Export: Finally, once you are happy with the result, you can save the edited image and export it in your preferred format.
It’s important to note that presets are not a one-size-fits-all solution and may not work for every image. Therefore, it’s always a good idea to experiment with different presets and settings to find the best look for your image.

Adobe Lightroom is a photo editing and management software application that allows users to organize and edit their digital photos.
It offers a range of powerful tools for colour correction, cropping, image adjustments, noise reduction, and more, and is widely used by both amateur and professional photographers.
Lightroom offers a non-destructive editing environment, meaning that edits can be made to photos without permanently altering the original file.
This allows users to experiment with different editing techniques and easily undo any changes if needed.
Lightroom Neon Lightroom Color Grading
Lightroom is a popular software for editing photos, developed by Adobe. Here are some general steps you can follow for editing your photos in Lightroom:
- Import your photos into Lightroom.
- Start with basic adjustments such as exposure, contrast, highlights, shadows, whites, and blacks. You can use the sliders in the Basic panel to adjust these settings.
- Adjust the colour temperature and tint to correct any colour cast in the image.
- Use the Tone Curve panel to adjust the tone and contrast of your image.
- This can be used to create a more dramatic effect.
- Use the HSL/Color panel to adjust the hue, saturation, and luminance of individual colours in your image.
- Use the Detail panel to sharpen your image and reduce noise.
- Use the Lens Corrections panel to correct distortion, vignetting, and chromatic aberration.
- Crop your image if necessary.
- Make local adjustments using the Adjustment Brush, Graduated Filter, or Radial Filter tools to adjust specific parts of your image.
- Finally, export your edited photo in your desired file format and resolution.
Remember, these are general steps, and the editing process can vary depending on the type of photo and the desired outcome. It’s essential to experiment with different settings and tools to find the look you want for your photo.
Lightroom Hack Tricks
- Tapping the “L” key once will turn off all interface elements (including the top and bottom toolbars), and tapping it again will turn them back on.
- Double-tapping on an image in the Library module will zoom in to 100% view.
- In the Develop module, swipe left or right with two fingers to adjust exposure, and swipe up or down to adjust brightness.
- Double-tapping on a slider in the Develop module will reset it to its default value.
- Tapping and holding on the Crop tool icon in the Edit panel will reveal additional crop options, such as aspect ratio and grid overlays.
- Tapping and holding on to the Adjustments icon in the Edit panel will reveal a menu with quick access to frequently used adjustments, such as exposure, contrast, and white balance.
- Tapping and holding on to the Healing Brush tool in the Edit panel will reveal a menu with access to the Spot Removal tool, Red Eye Correction tool, and more.
- In the Export panel, tapping and holding on the File Type option will reveal a menu with options for exporting in JPEG, TIFF, or original file format.