Moody Lightroom presets are a collection of pre-configured settings that can be applied to your photos to achieve a particular mood or atmosphere. These presets usually include adjustments to colour, contrast, exposure, and other image settings to create a specific look.
Here are 40+ Moody Lightroom presets that you can download:
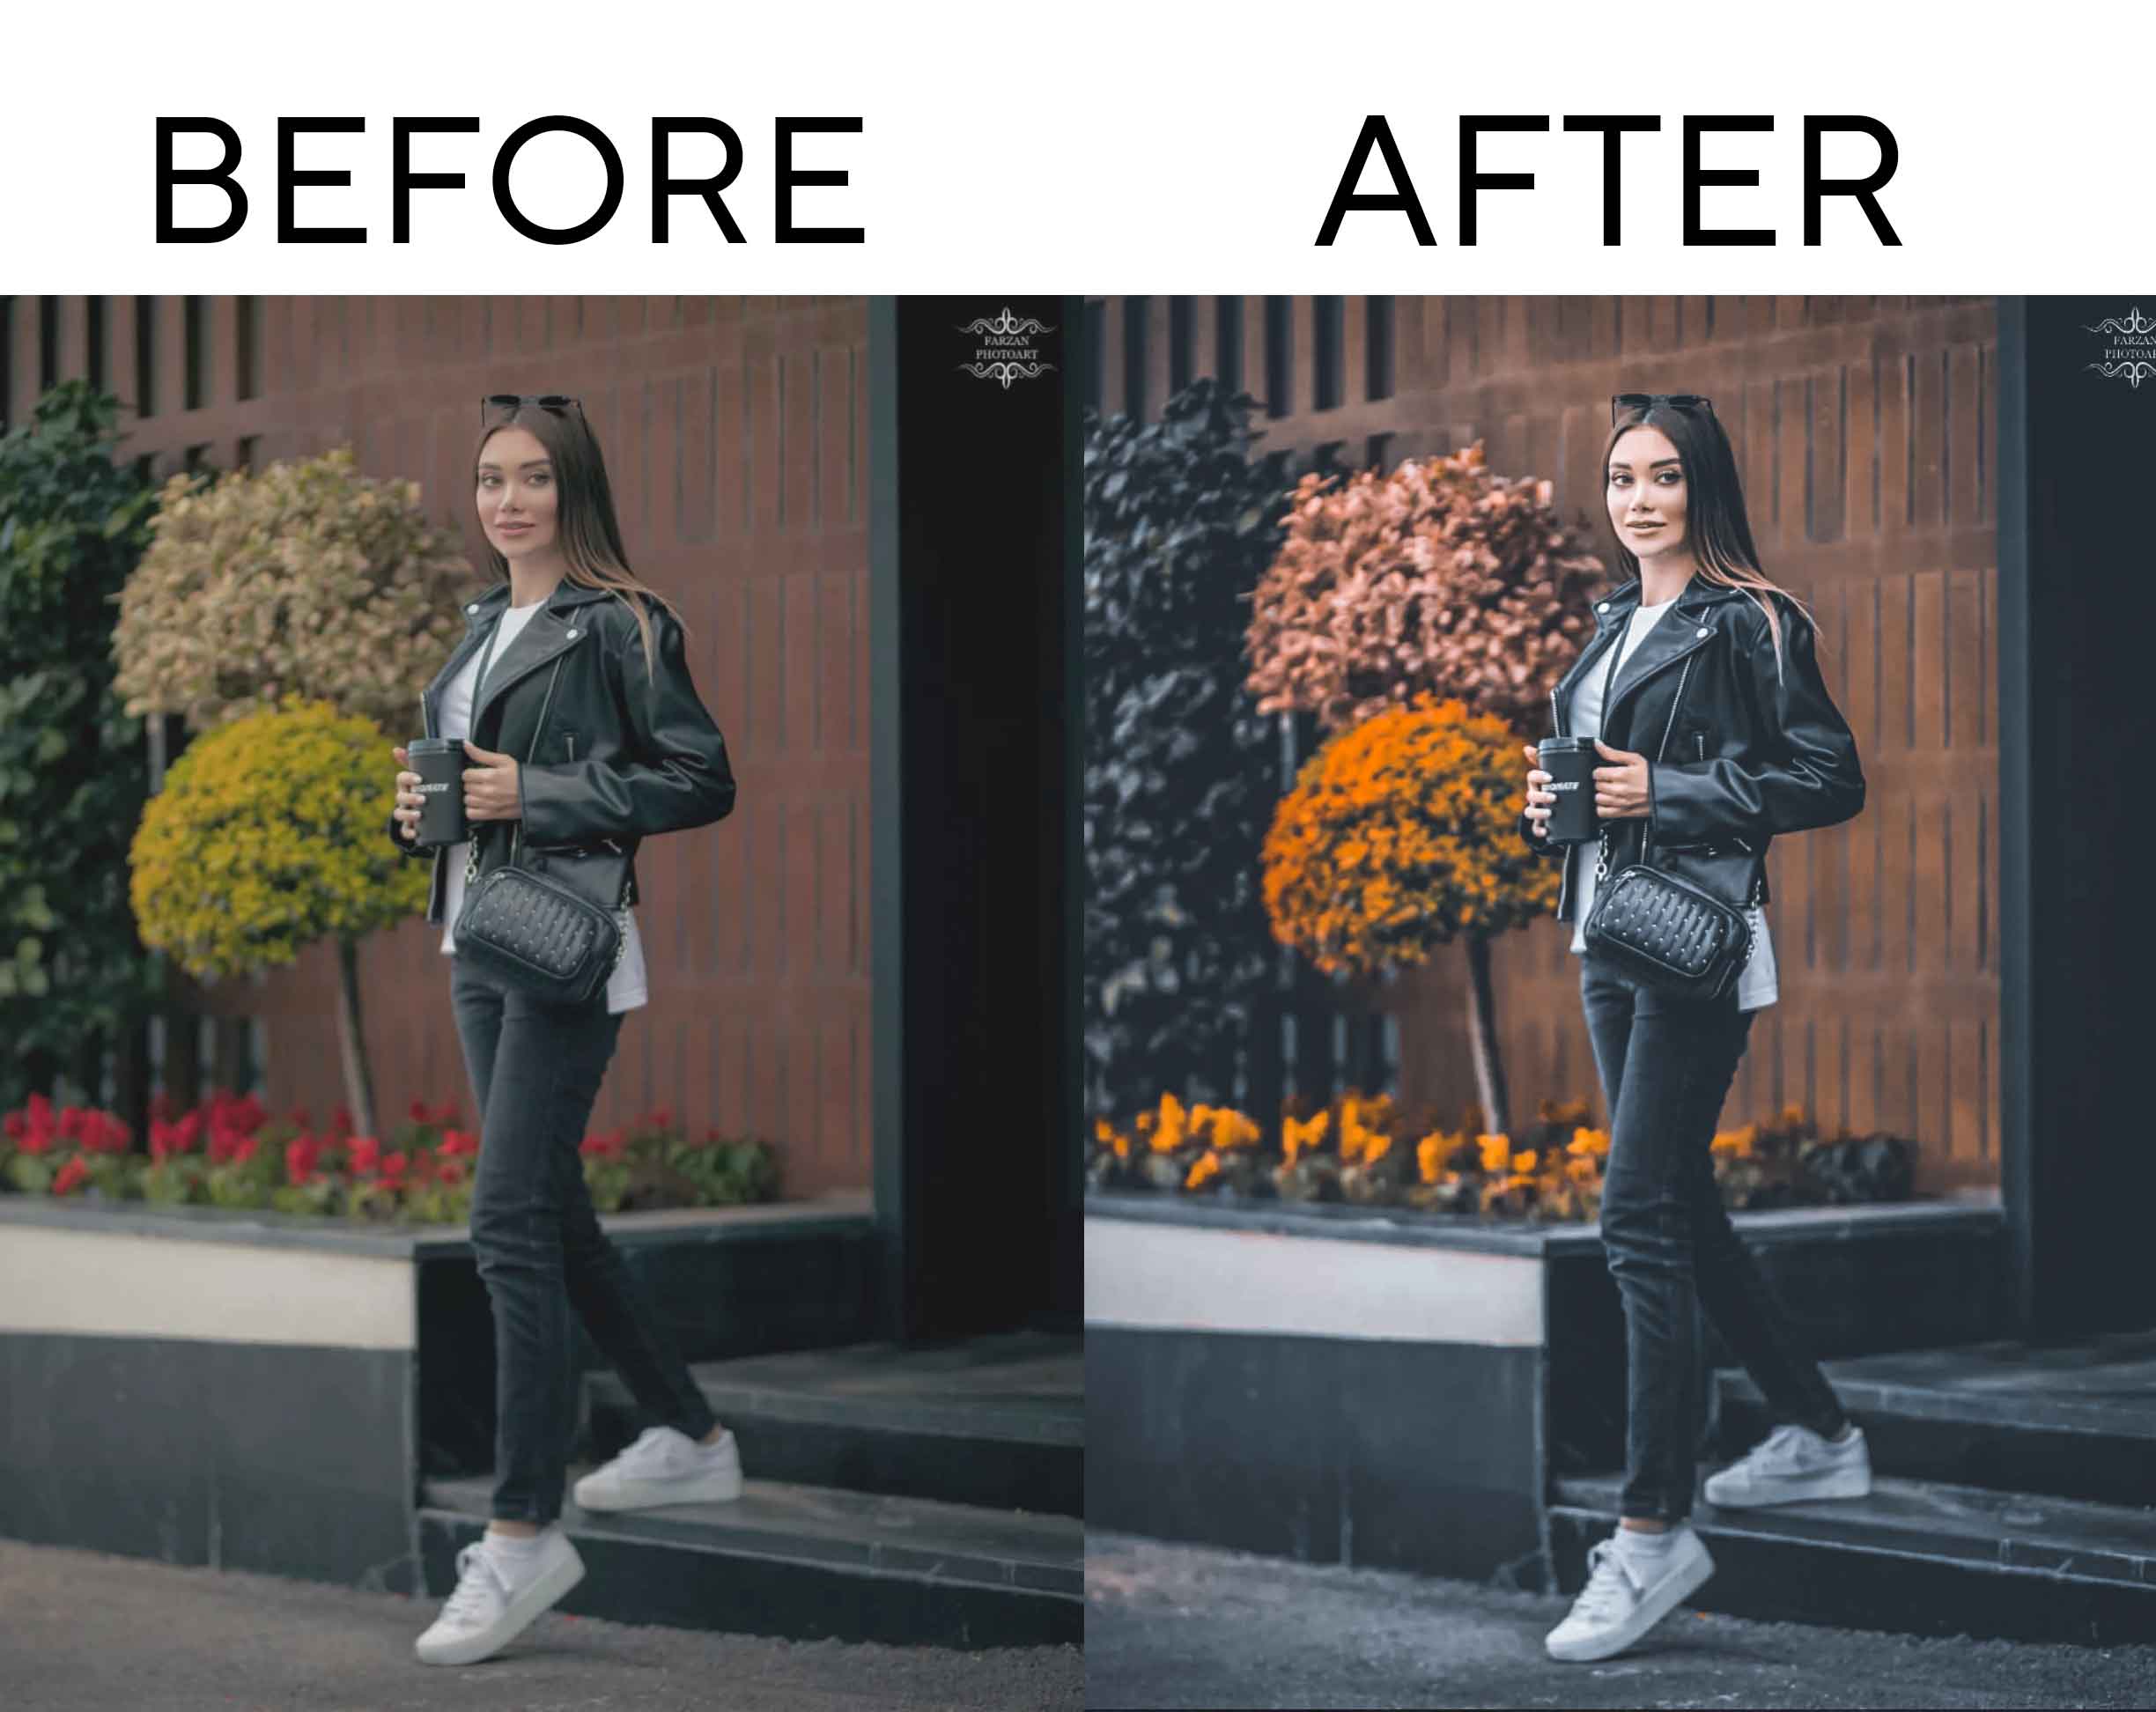
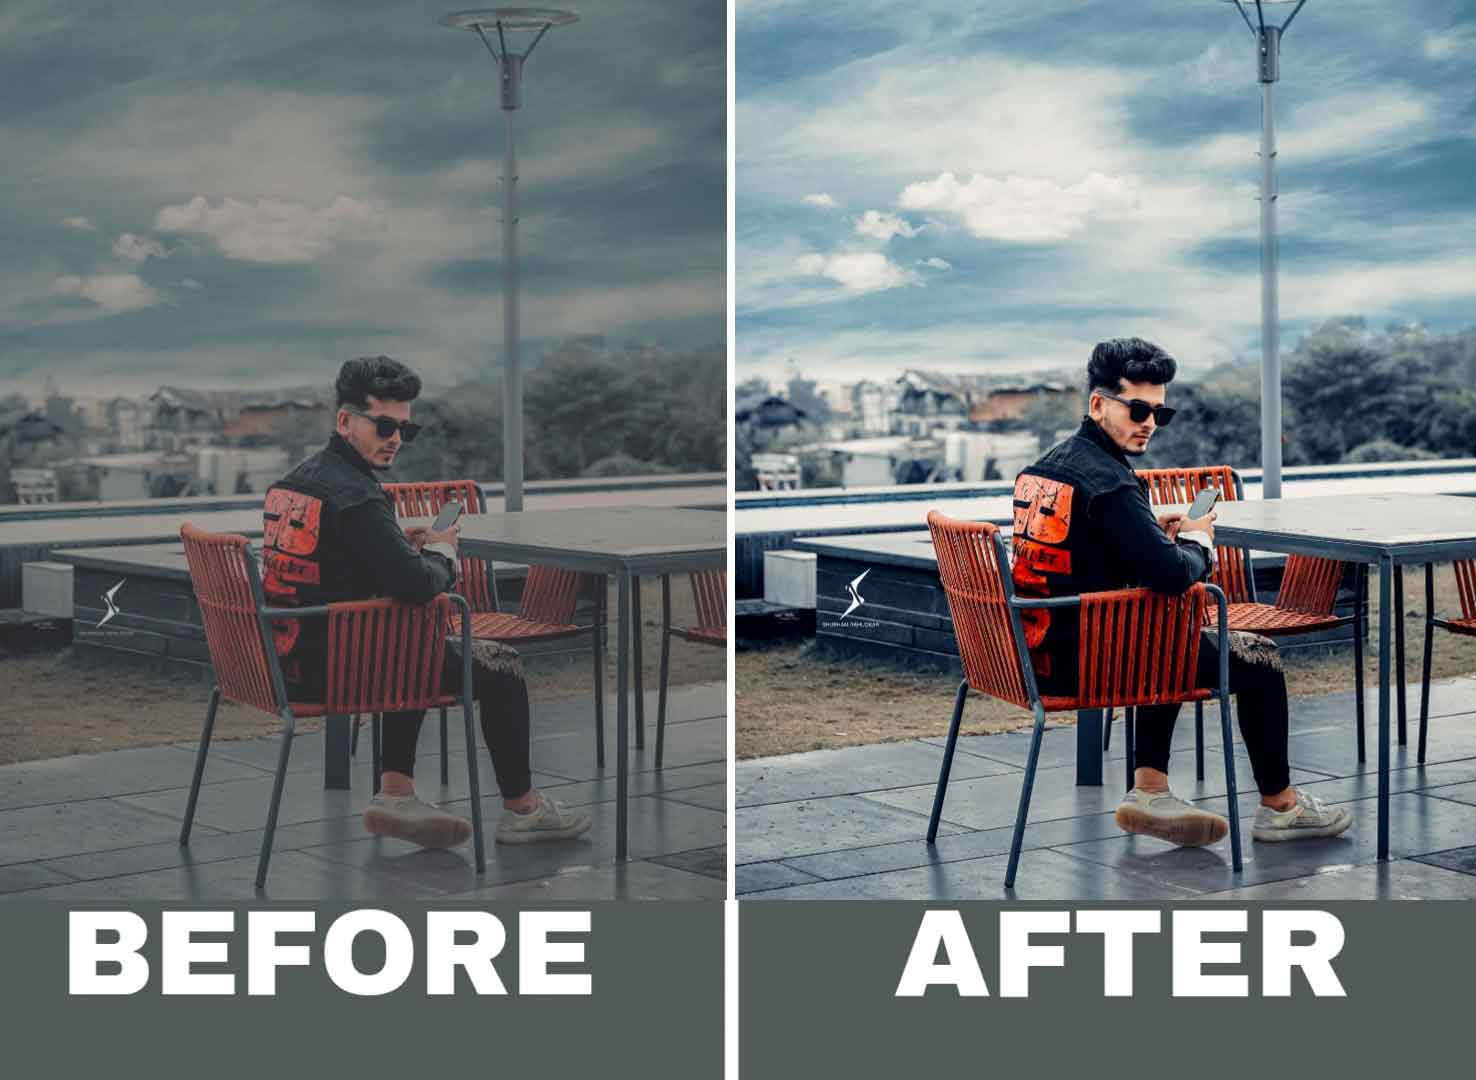
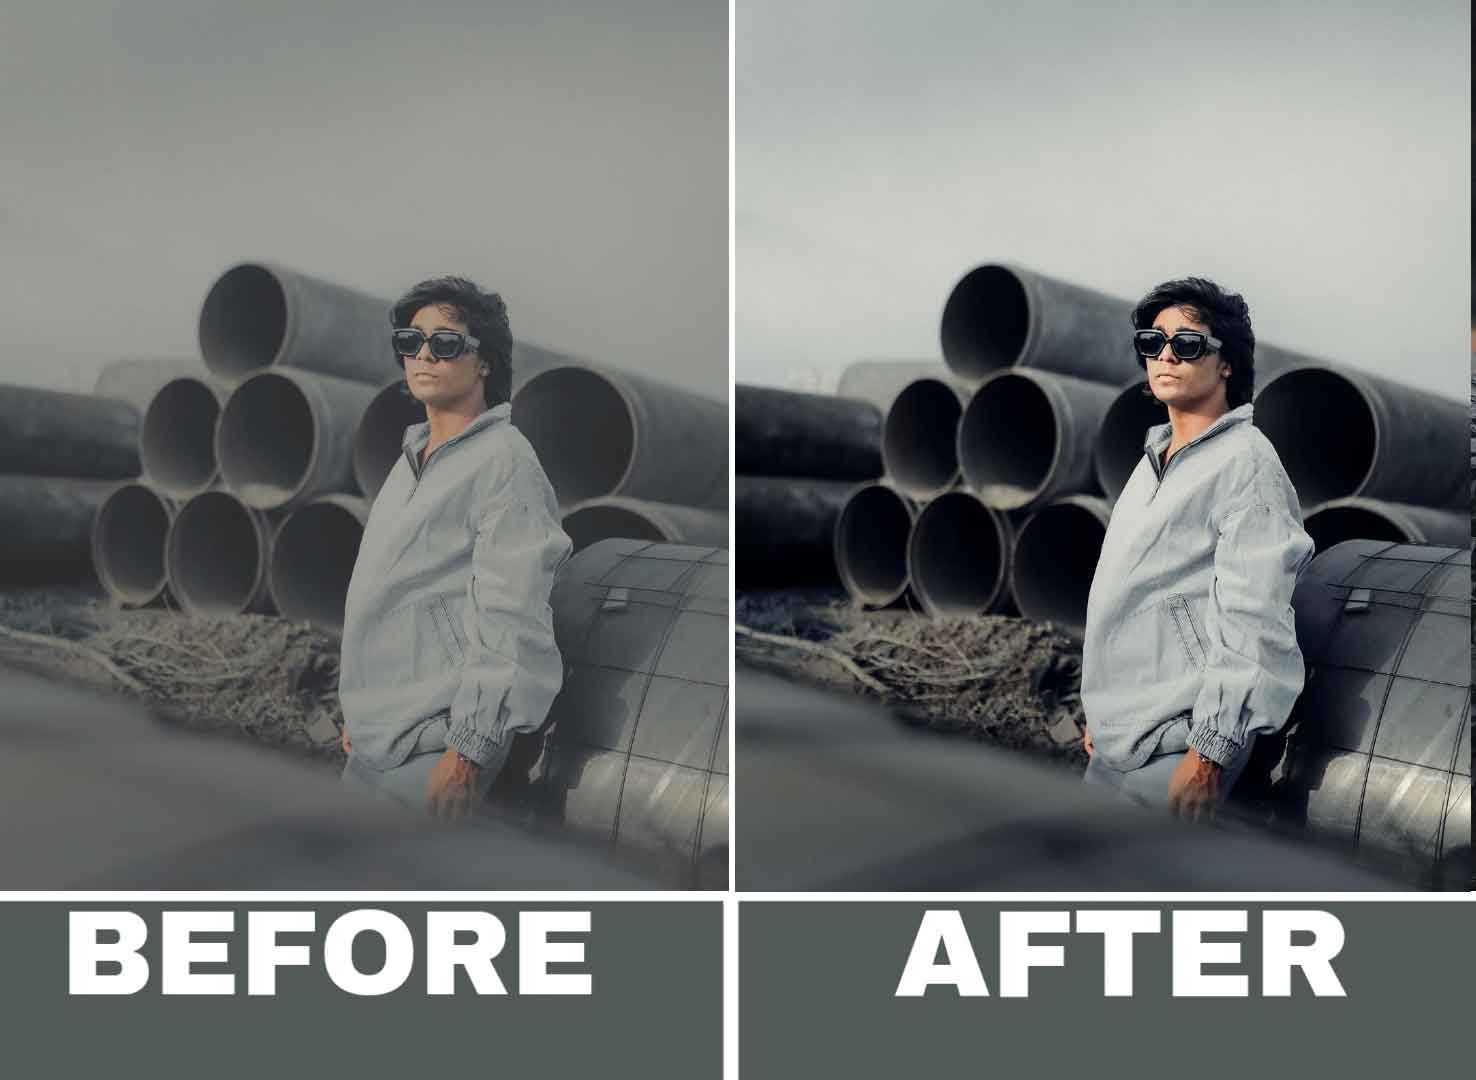
- Dark Moody Lightroom Preset
- Moody Film Lightroom Preset
- Moody Portrait Lightroom Preset
- Moody Vintage Lightroom Preset
- Moody Black and White Lightroom Preset
- Moody Autumn Lightroom Preset
- Moody Blue Lightroom Preset
- Moody Green Lightroom Preset
- Moody Orange Lightroom Preset
- Moody Pink Lightroom Preset
- Moody Red Lightroom Preset
- Moody Summer Lightroom Preset
- Moody Sunset Lightroom Preset
- Moody Winter Lightroom Preset
- Moody Cinematic Lightroom Preset
- Moody Matte Lightroom Preset
- Moody Nature Lightroom Preset
- Moody Beach Lightroom Preset
- Moody Forest Lightroom Preset
- Moody Urban Lightroom Preset
- Moody Lifestyle Lightroom Preset
- Moody Travel Lightroom Preset
- Moody Fashion Lightroom Preset
- Moody Wedding Lightroom Preset
- Moody Street Lightroom Preset
- Moody Cityscape Lightroom Preset
- Moody Seascape Lightroom Preset
- Moody Landscape Lightroom Preset
- Moody Architecture Lightroom Preset
- Moody Fine Art Lightroom Preset
- Moody Aerial Lightroom Preset
- Moody Dramatic Lightroom Preset
- Moody Dreamy Lightroom Preset
- Moody Vibrant Lightroom Preset
- Moody Muted Lightroom Preset
- Moody Rustic Lightroom Preset
- Moody Soft Lightroom Preset
- Moody Bold Lightroom Preset
- Moody Natural Lightroom Preset
- Moody Intense Lightroom Preset
These preset can help to enhance your photos and give them a professional look. They are available for download on various websites and can be used with Adobe Lightroom software.
How Does Dark Moody Lightroom Preset Work?
A Dark Moody Lightroom preset is a pre-configured setting that you can apply to your photos in Adobe Lightroom to give them a dark and moody atmosphere. This preset type is typically characterized by a desaturated look with deep blacks, muted colours, and high contrast.
When you apply a Dark Moody Lightroom preset, it will automatically adjust several image settings such as exposure, contrast, highlights, shadows, and saturation to create the desired look. Here’s a brief overview of how a Dark Moody Lightroom preset works:
- Exposure: The preset may decrease the direction slightly to darken the overall image and create a moody atmosphere.
- Contrast: The preset may increase the difference to create more definition between the light and dark areas of the image.
- Highlights and Shadows: The preset may decrease the highlights and increase the shadows to create a darker and more dramatic effect.
- Saturation: The preset may desaturate the colours to create a more muted and moody look.
- Blacks: The preset may increase the blacks to create deeper shadows and add more drama to the image.
By applying a Dark Moody Lightroom preset, you can quickly and easily transform your photos and give them a unique and professional look. It’s important to note that while presets can be a great starting point, they may not work perfectly for every photo, so it’s always a good idea to make adjustments as necessary to achieve the desired effect.
How to Apply Lightroom Presets?
Applying Lightroom presets is a simple process that can be done in just a few steps. Here’s how to apply a Lightroom preset:
- Open Adobe Lightroom and navigate to the Develop module.
- Choose the photo that you want to edit.
- In the left-hand panel, scroll down to the Presets section and click the “+” icon to create a new preset folder.
- Name the folder and click “Create”.
- With the new folder selected, click the “+” icon again to create a new preset.
- Name the preset and select the folder where you want to save it.
- In the Preset Settings section, choose the preset that you want to apply to the photo.
- Adjust the preset settings as desired, such as exposure, contrast, and white balance.
- Once you are happy with the settings, click “Done” to apply the preset to the photo.
Alternatively, you can also apply a preset by right-clicking on a photo and selecting “Develop Settings” and then “Import” from the context menu. From there, you can choose the preset file that you want to apply.
It’s important to note that not all presets will work perfectly for every photo, so it’s always a good idea to make additional adjustments as needed to achieve the desired effect. Additionally, you may need to adjust the white balance, exposure, and other settings based on the lighting conditions and other factors in the photo.