Green tone Lightroom presets are a popular set of presets that can be used to create a greenish tone in your photos. These presets are great for landscape and nature photos, as well as portrait photos that have a natural, earthy feel.
Green tone presets typically adjust the color balance, hue, and saturation of the greens and blues in your photo, creating a unique and cohesive look. They can also adjust the contrast and brightness of the image, further enhancing the green tones.
One benefit of using Lightroom presets, including green tone presets, is that they can save time and make editing easier. By applying a preset, you can quickly transform the look of your photo without spending hours adjusting individual settings. You can also use presets as a starting point for your own edits, tweaking them to fit your specific vision.
When choosing a green tone preset, consider the style and mood you want to convey. Some presets may have a warm, golden green tone, while others may have a cooler, more muted green tone. Some presets may also work better with certain types of photos, such as those taken in bright sunlight or in overcast conditions.
Overall, green tone Lightroom presets can be a powerful tool in your photo editing arsenal. By experimenting with different presets and adjusting them to fit your specific needs, you can create unique and eye-catching photos that stand out from the crowd.
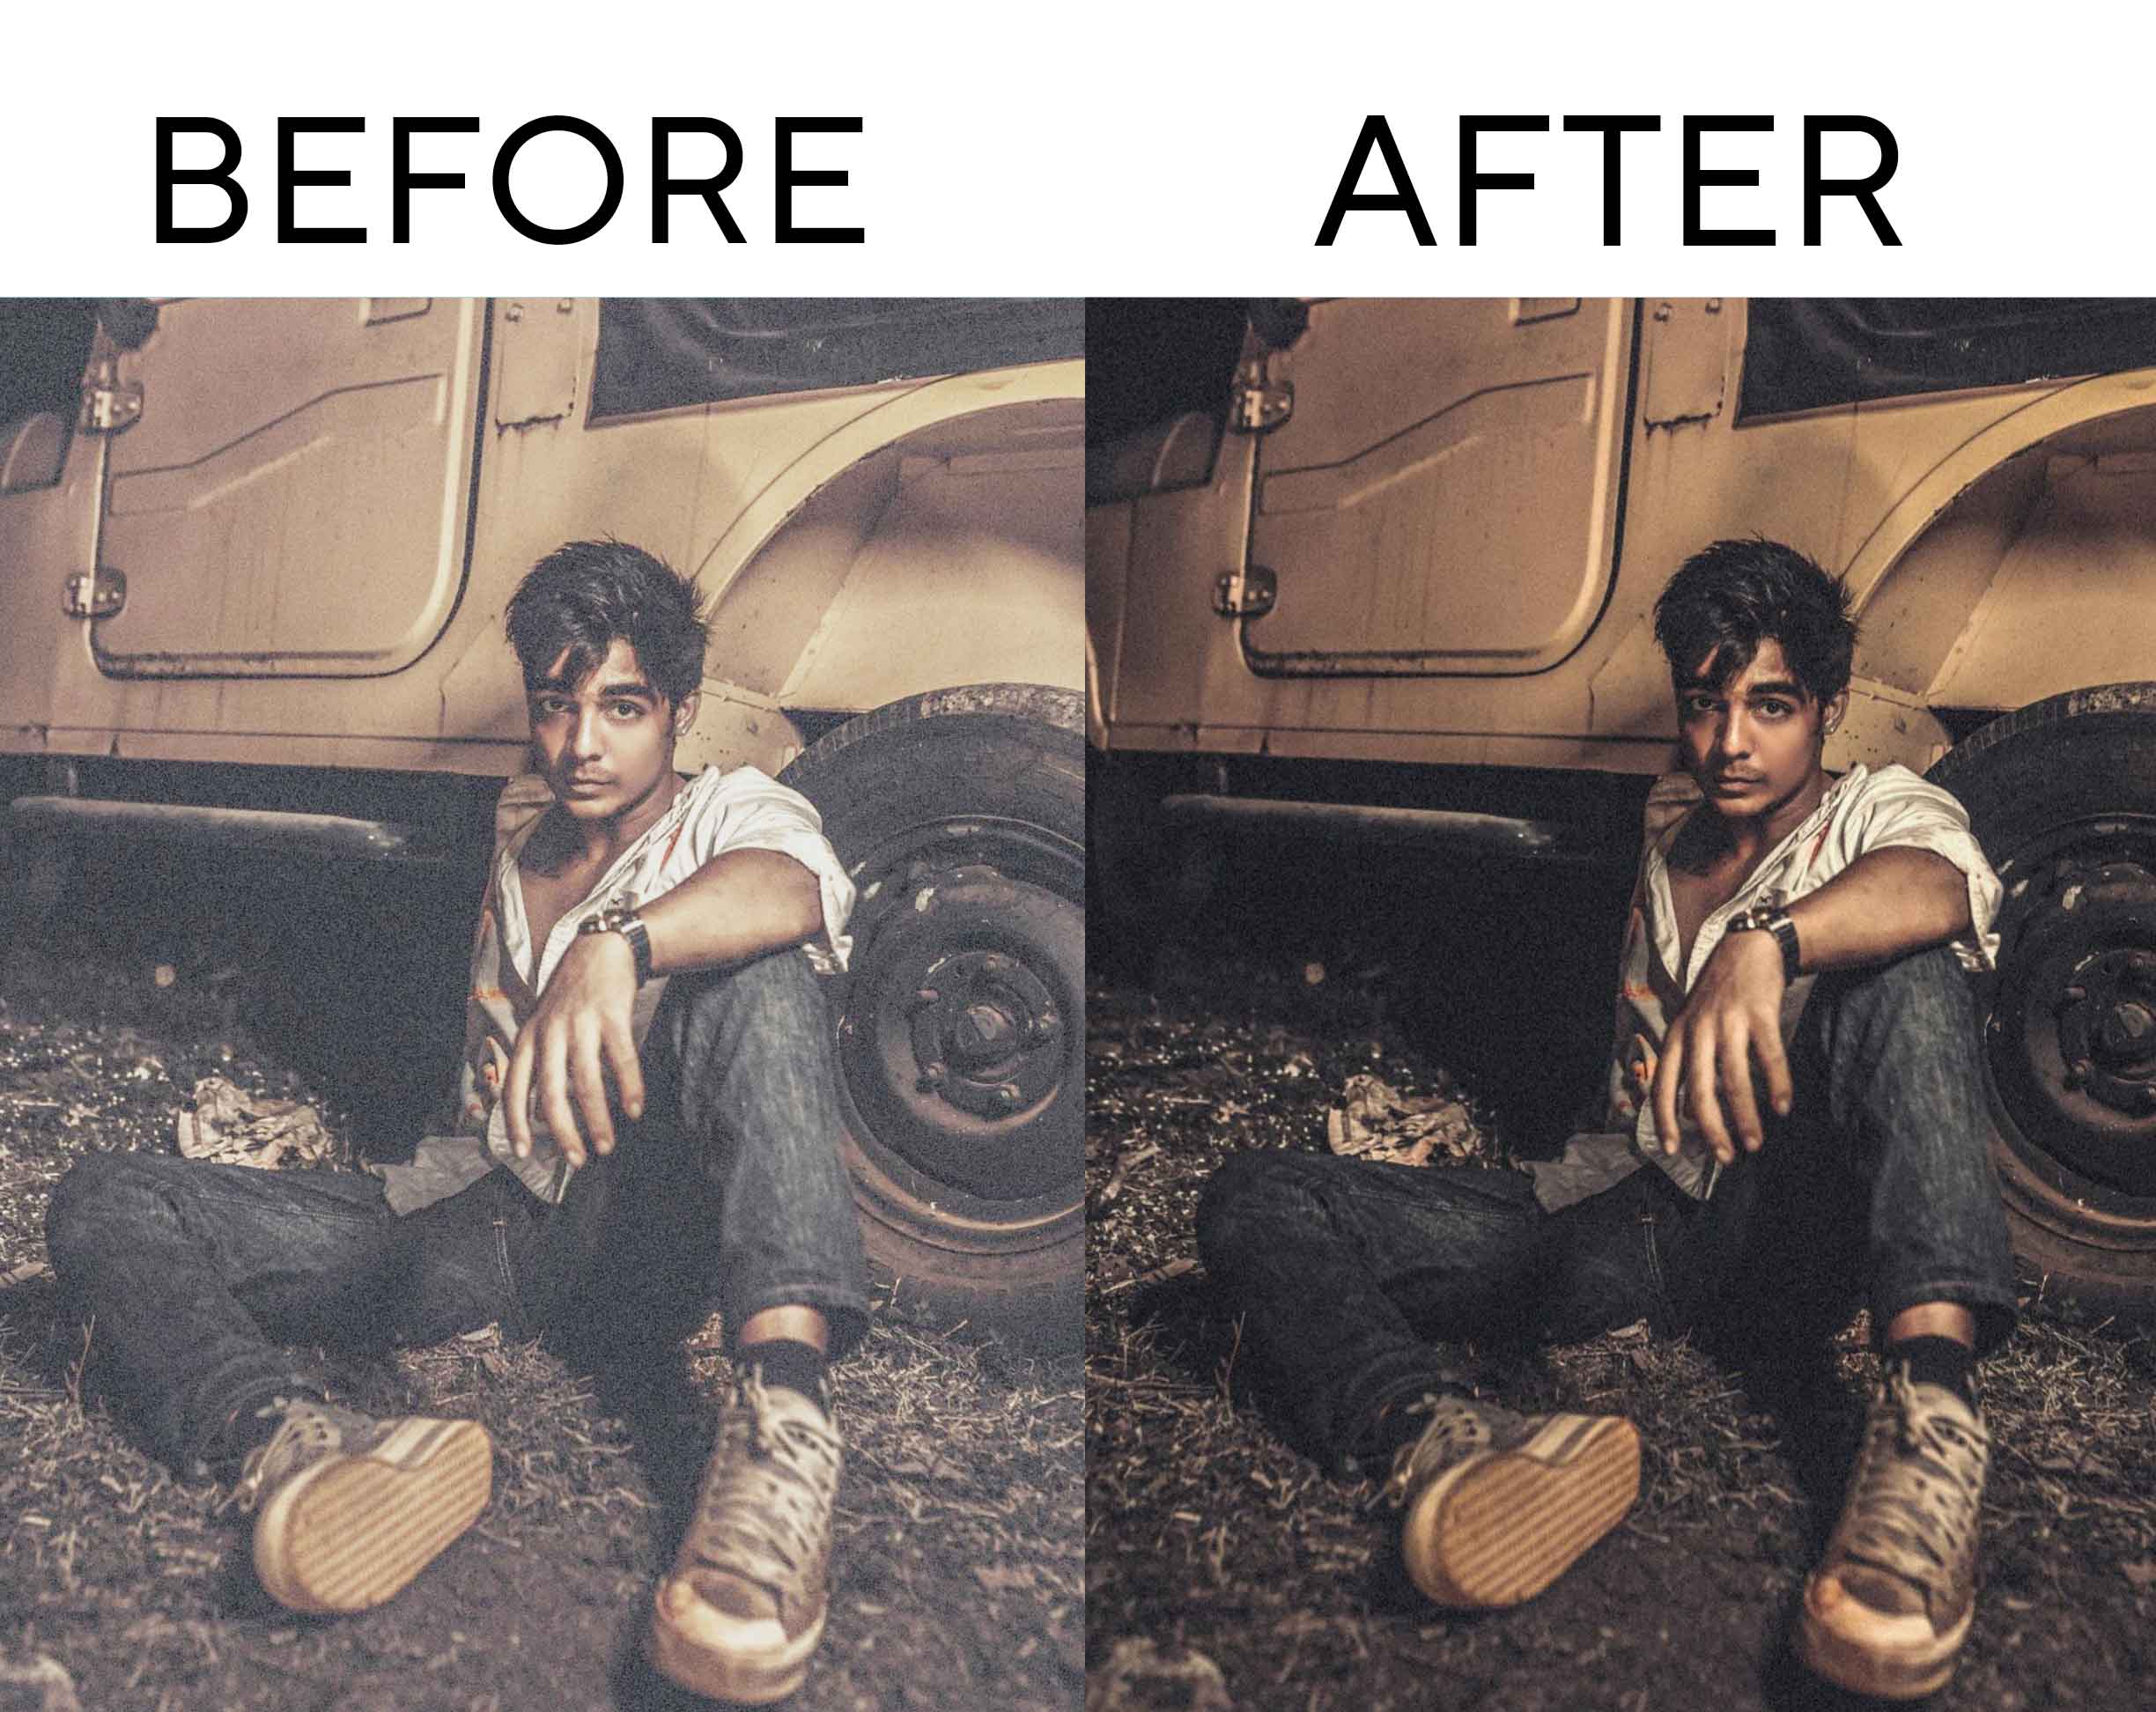
Top 120+ Lightroom Presets Before and after
To apply Lightroom Presets, follow these steps:
- Open Lightroom and select the photo you want to edit.
- In the Develop module, on the left side of the screen, you will see the “Presets” panel.
- Click on the “+” icon to create a new preset folder, or select an existing preset folder to apply the preset.
- Click on the “+” icon again, and select “Import Presets.”
- Browse and select the preset file you want to apply.
- Once imported, the preset will appear in the selected preset folder.
- Click on the preset to apply it to your photo.
- You can adjust the preset settings by using the sliders in the right-side panel of the Develop module.
- You can also create your own presets by adjusting the sliders and selecting the “+” icon in the Presets panel to create a new preset.
- Once you’re happy with the adjustments, you can save the edited photo by clicking “Export” in the bottom-right corner of the screen.
Top 120+ Lightroom Presets Download Now:-
There are various websites where you can download Lightroom presets. Here are a few popular ones:
- Adobe Lightroom Presets – Adobe offers a wide range of free and paid Lightroom presets on their website.
- Creative Market – Creative Market is a marketplace for designers, and they offer a range of Lightroom presets for various styles and themes.
- Envato Elements – Envato Elements is a subscription-based platform that offers a huge collection of Lightroom presets for various genres.
- Presetpro – Presetpro offers free and premium Lightroom presets for various styles, such as landscape, portrait, and black and white.
- FilterGrade – FilterGrade offers a wide range of Lightroom presets for various genres, including film, vintage, and portrait.
Before downloading, presets, make sure to check the compatibility with your Lightroom version and read the instructions on how to install and use them.