Do you know the famous YouTuber who gives us photography knowledge? Today we try to make the 80+ Taukeer Editz Presets Download. Also, one more thing we are going to try is How to Apply the Full Setting.
The settings which we tell you are exclusive and you must try them. There is complete knowledge that we will give you here guys.
Lightroom presets are pre-made settings that can be applied to photographs in Adobe Lightroom, a popular photo editing software. They are essentially a collection of adjustments to various settings in Lightroom, such as exposure, contrast, saturation, tone curves, and more. Presets are designed to give photographers a quick and easy way to apply a specific look or style to their photos without having to manually adjust each individual setting.
Presets can be created by anyone using Lightroom, but they are also widely available for purchase or free download online. They can range from simple adjustments to complex combinations of settings that produce a unique look or style. For example, there are presets that mimic the look of the film, or that create a vintage, desaturated, or high-contrast look.
When a preset is applied to a photo in Lightroom, it adjusts the various settings to the values specified by the preset. The photographer can then fine-tune the adjustments if necessary, or further customize the look by making additional adjustments.
Some of the key settings that presets can affect include:
- Exposure: Adjusting the overall brightness or darkness of the image.
- Contrast: Adjust the difference between the lightest and darkest parts of the image.
- Saturation: Adjusting the intensity or vibrancy of the colors in the image.
- White balance: Adjust the color temperature of the image to make it warmer or cooler.
- Tone curves: Adjust the brightness and contrast of specific tonal ranges within the image.
- Sharpening: Adjust the sharpness and clarity of the image.
In summary, Lightroom presets are a quick and easy way for photographers to apply a specific look or style to their photos, by adjusting various settings within Lightroom. They can save time and effort, but can also be customized and fine-tuned to achieve the desired result.
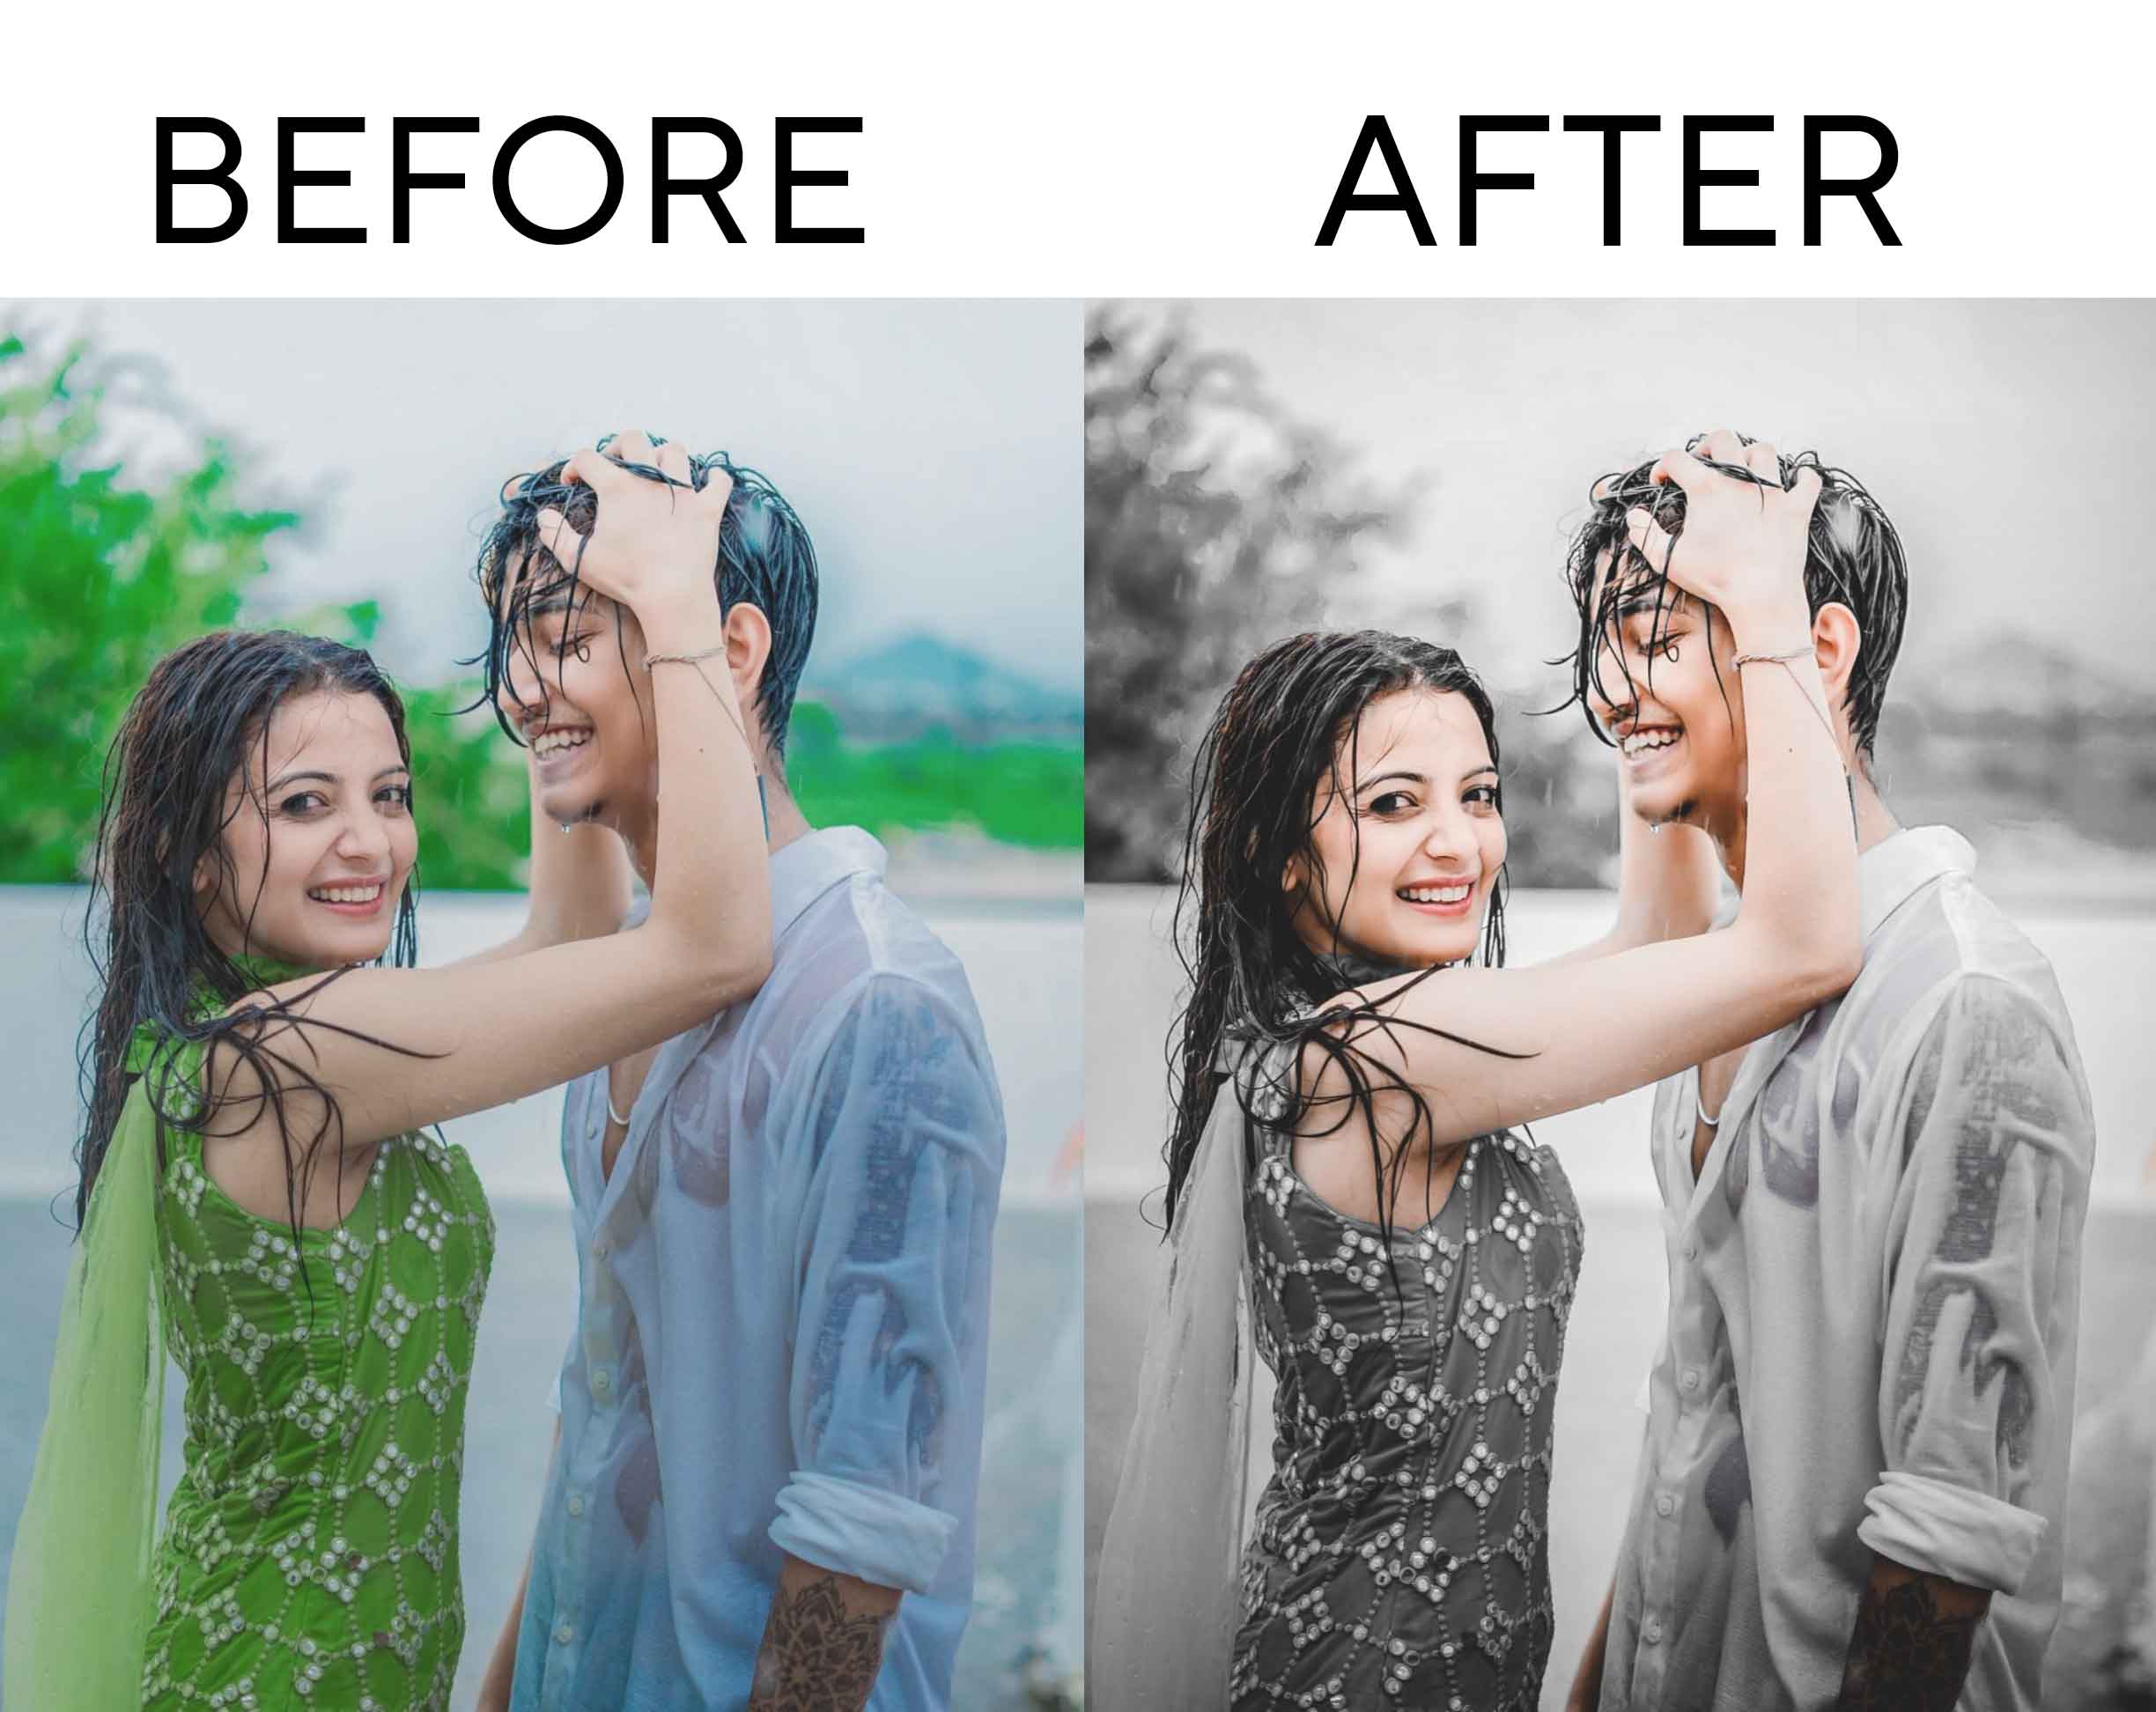
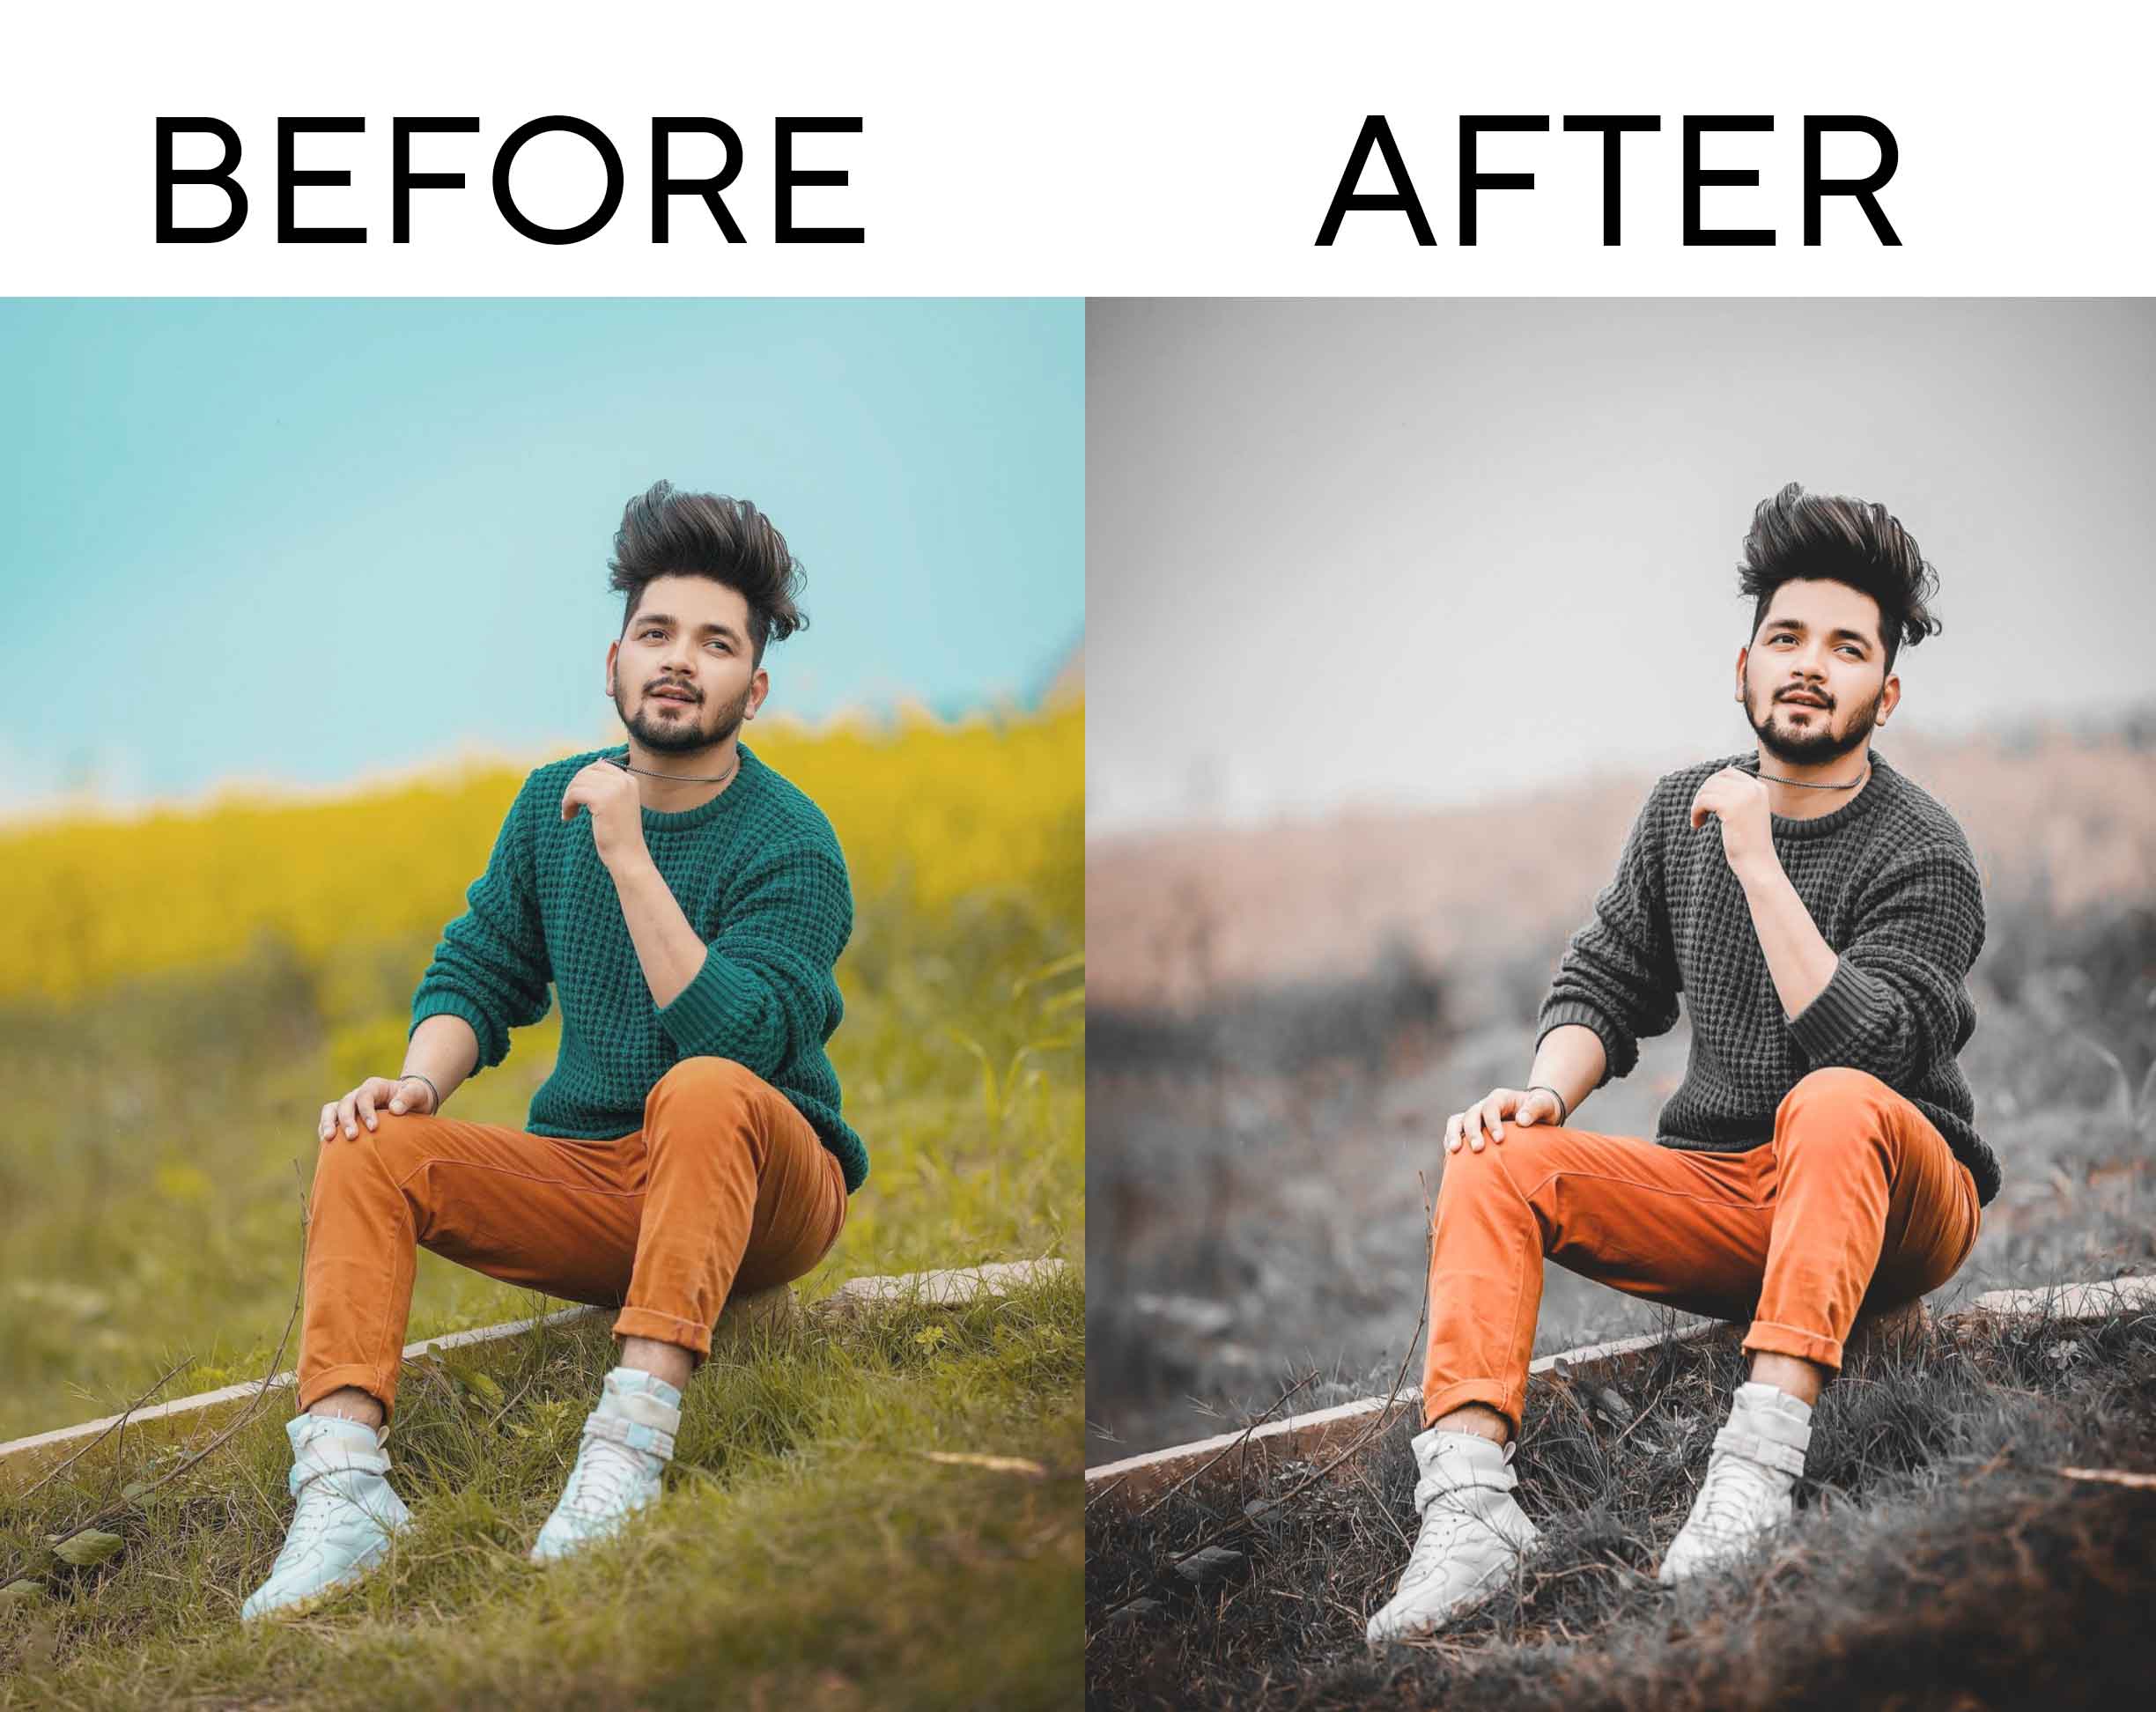
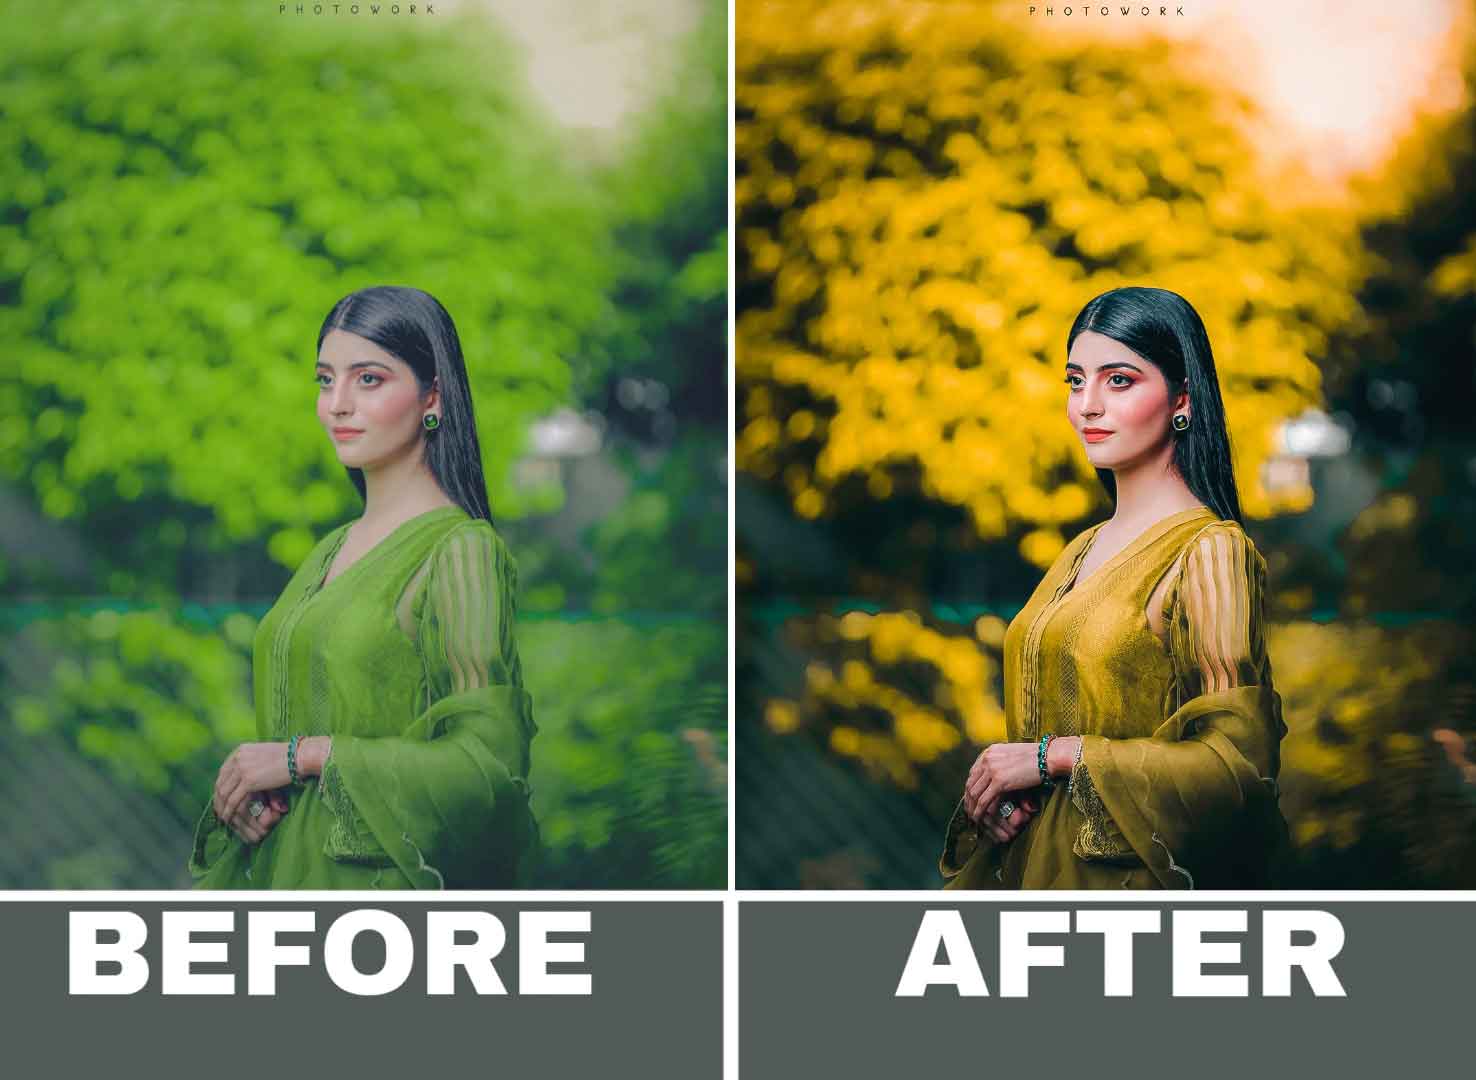
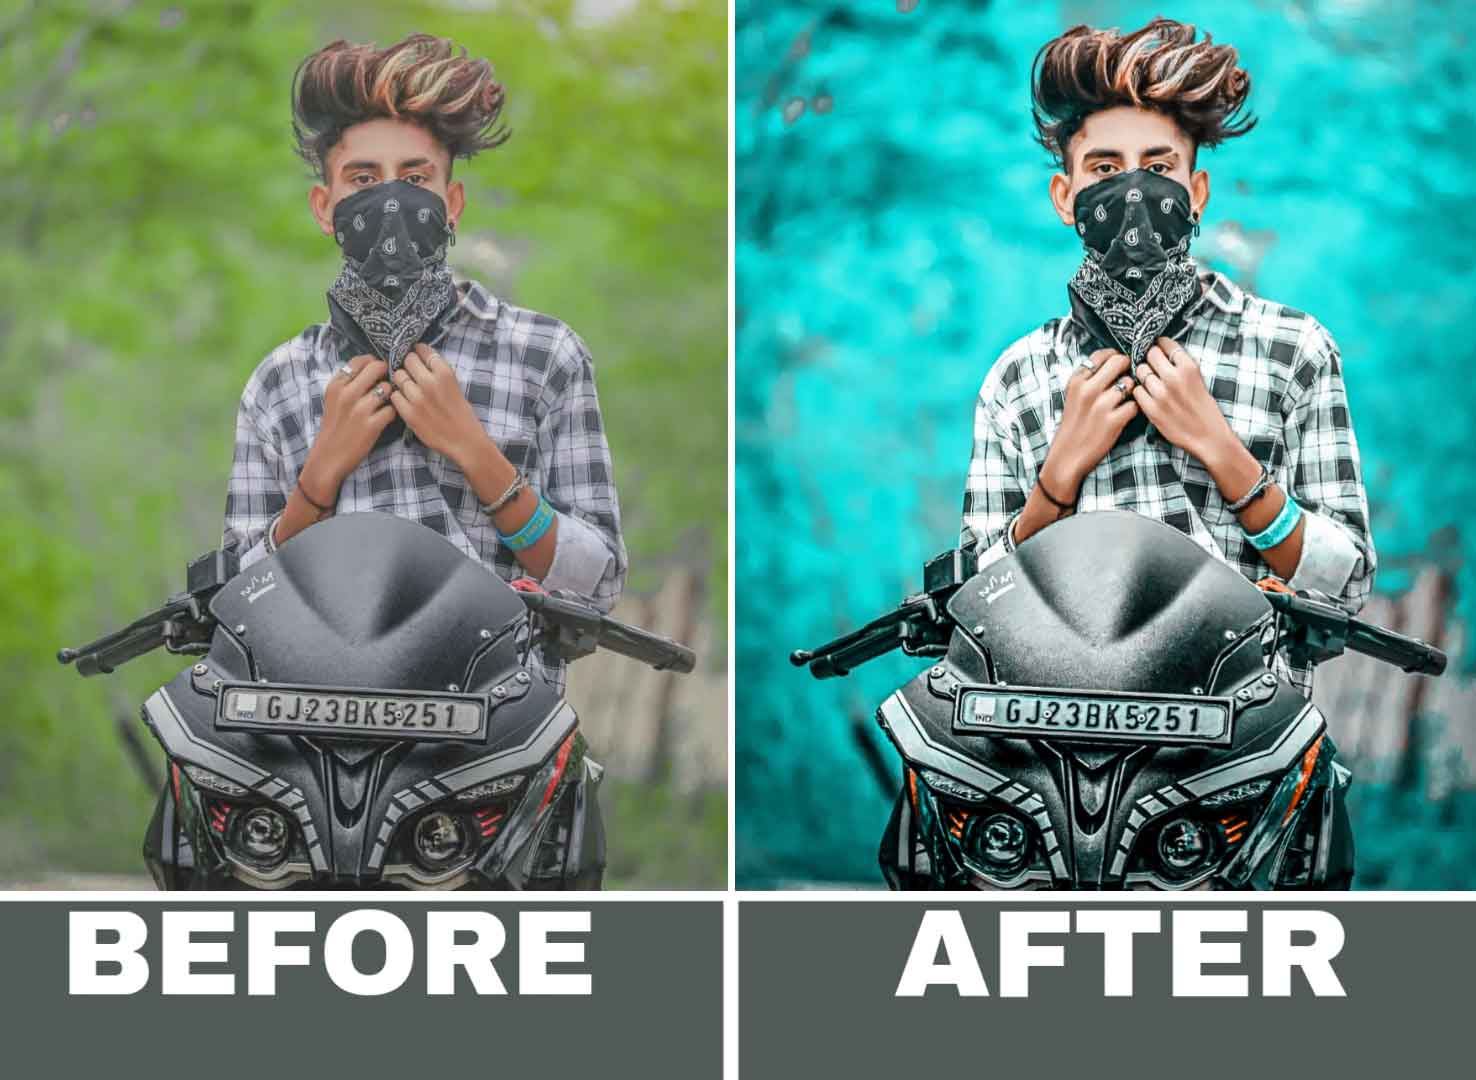
Before and after before jump on the 80+ Taukeer Editz Presets:-
How to apply lightroom presets to photos?
Here are the steps to apply Lightroom presets to your photos:
- Open Adobe Lightroom on your Mobile & laptop.
- Import the photo you want to edit into Lightroom by clicking on the “Import” button and selecting the photo from your computer.
- In the Develop module, locate the “Presets” panel on the left-hand side of the screen. If the panel is not visible, click on the “+” icon at the top right-hand corner of the panel section and select “Presets” from the drop-down menu.
- Find the preset you want to apply from the list of presets in the panel. You can hover over each preset to preview the effect on your photo.
- Click on the preset to apply it to your photo. Lightroom will automatically adjust the various settings in your photo to match the preset.
- Fine-tune the adjustments if necessary. After applying the preset, you can still adjust the individual settings to your liking. For example, you may want to adjust the exposure, contrast, or saturation to make the photo look exactly how you want it to.
- Once you’re satisfied with the adjustments, you can export the photo by clicking on the “Export” button and selecting the desired file format and settings.
- Top Moody Black Preset
- 300+ Lightroom Preset / How to Use Presets
- Top 45+ Lightroom Presets Download For Free
- Top 35+ NSB Lightroom Presets Download
- Top 20+ NSB Pictures Lightroom Presets
What is the difference between the real photo and the edited one?
The only changes that may have been made to a real photo could be cropping to remove unwanted elements or to adjust the composition of the image, or basic adjustments like white balance, exposure, and sharpness to reflect how the photographer perceived the scene.
On the other hand, edited photos have been adjusted or manipulated in some way to enhance or alter their appearance. This can involve making color adjustments to improve the brightness, contrast, or saturation of the photo, applying filters or presets, removing or adding objects to the image, or changing the perspective or composition of the photo.