We have shared lots of new Lightroom presets on the daily basis. But today sharing with you the latest 420 Lightroom Presets New Download.
These are the most appealing and cool presets everyone wants to get the presets and never gets this kind of quality.
Applying Lightroom presets is a quick and easy way to enhance your photos with just a few clicks. Here’s how to apply Top Lightroom Presets:
- Install the preset: First, download and install the 420 Lightroom preset. Most presets come in the form of a .lrtemplate or .xmp file. To install the preset, open Lightroom and go to the Develop Module. Click on the ‘+’ icon in the Presets panel, then select ‘Import Presets.’ Navigate to the location where you saved the preset and select it.
- Select the photo: Choose the photo you want to apply the preset to and select it in the Library module.
- Apply the preset: Go to the Develop module and scroll down to the Presets panel. You should see the newly installed preset listed there. Click on it to apply the preset to your photo.
- Make adjustments (optional): Depending on the preset you’re using, you may need to make some adjustments to achieve the desired effect. You can adjust settings such as exposure, contrast, white balance, and more. These adjustments can be made in the Basic panel or using the sliders in the Develop module.
- Save the photo: Once you’re happy with the adjustments, you can save your photo by going to File > Export. Choose your desired file type, size, and location, and click Export.
That’s it! Applying Lightroom presets can save you a lot of time and effort in post-processing, and can help you achieve a consistent look for your photos.
420 Lightroom Presets New Download
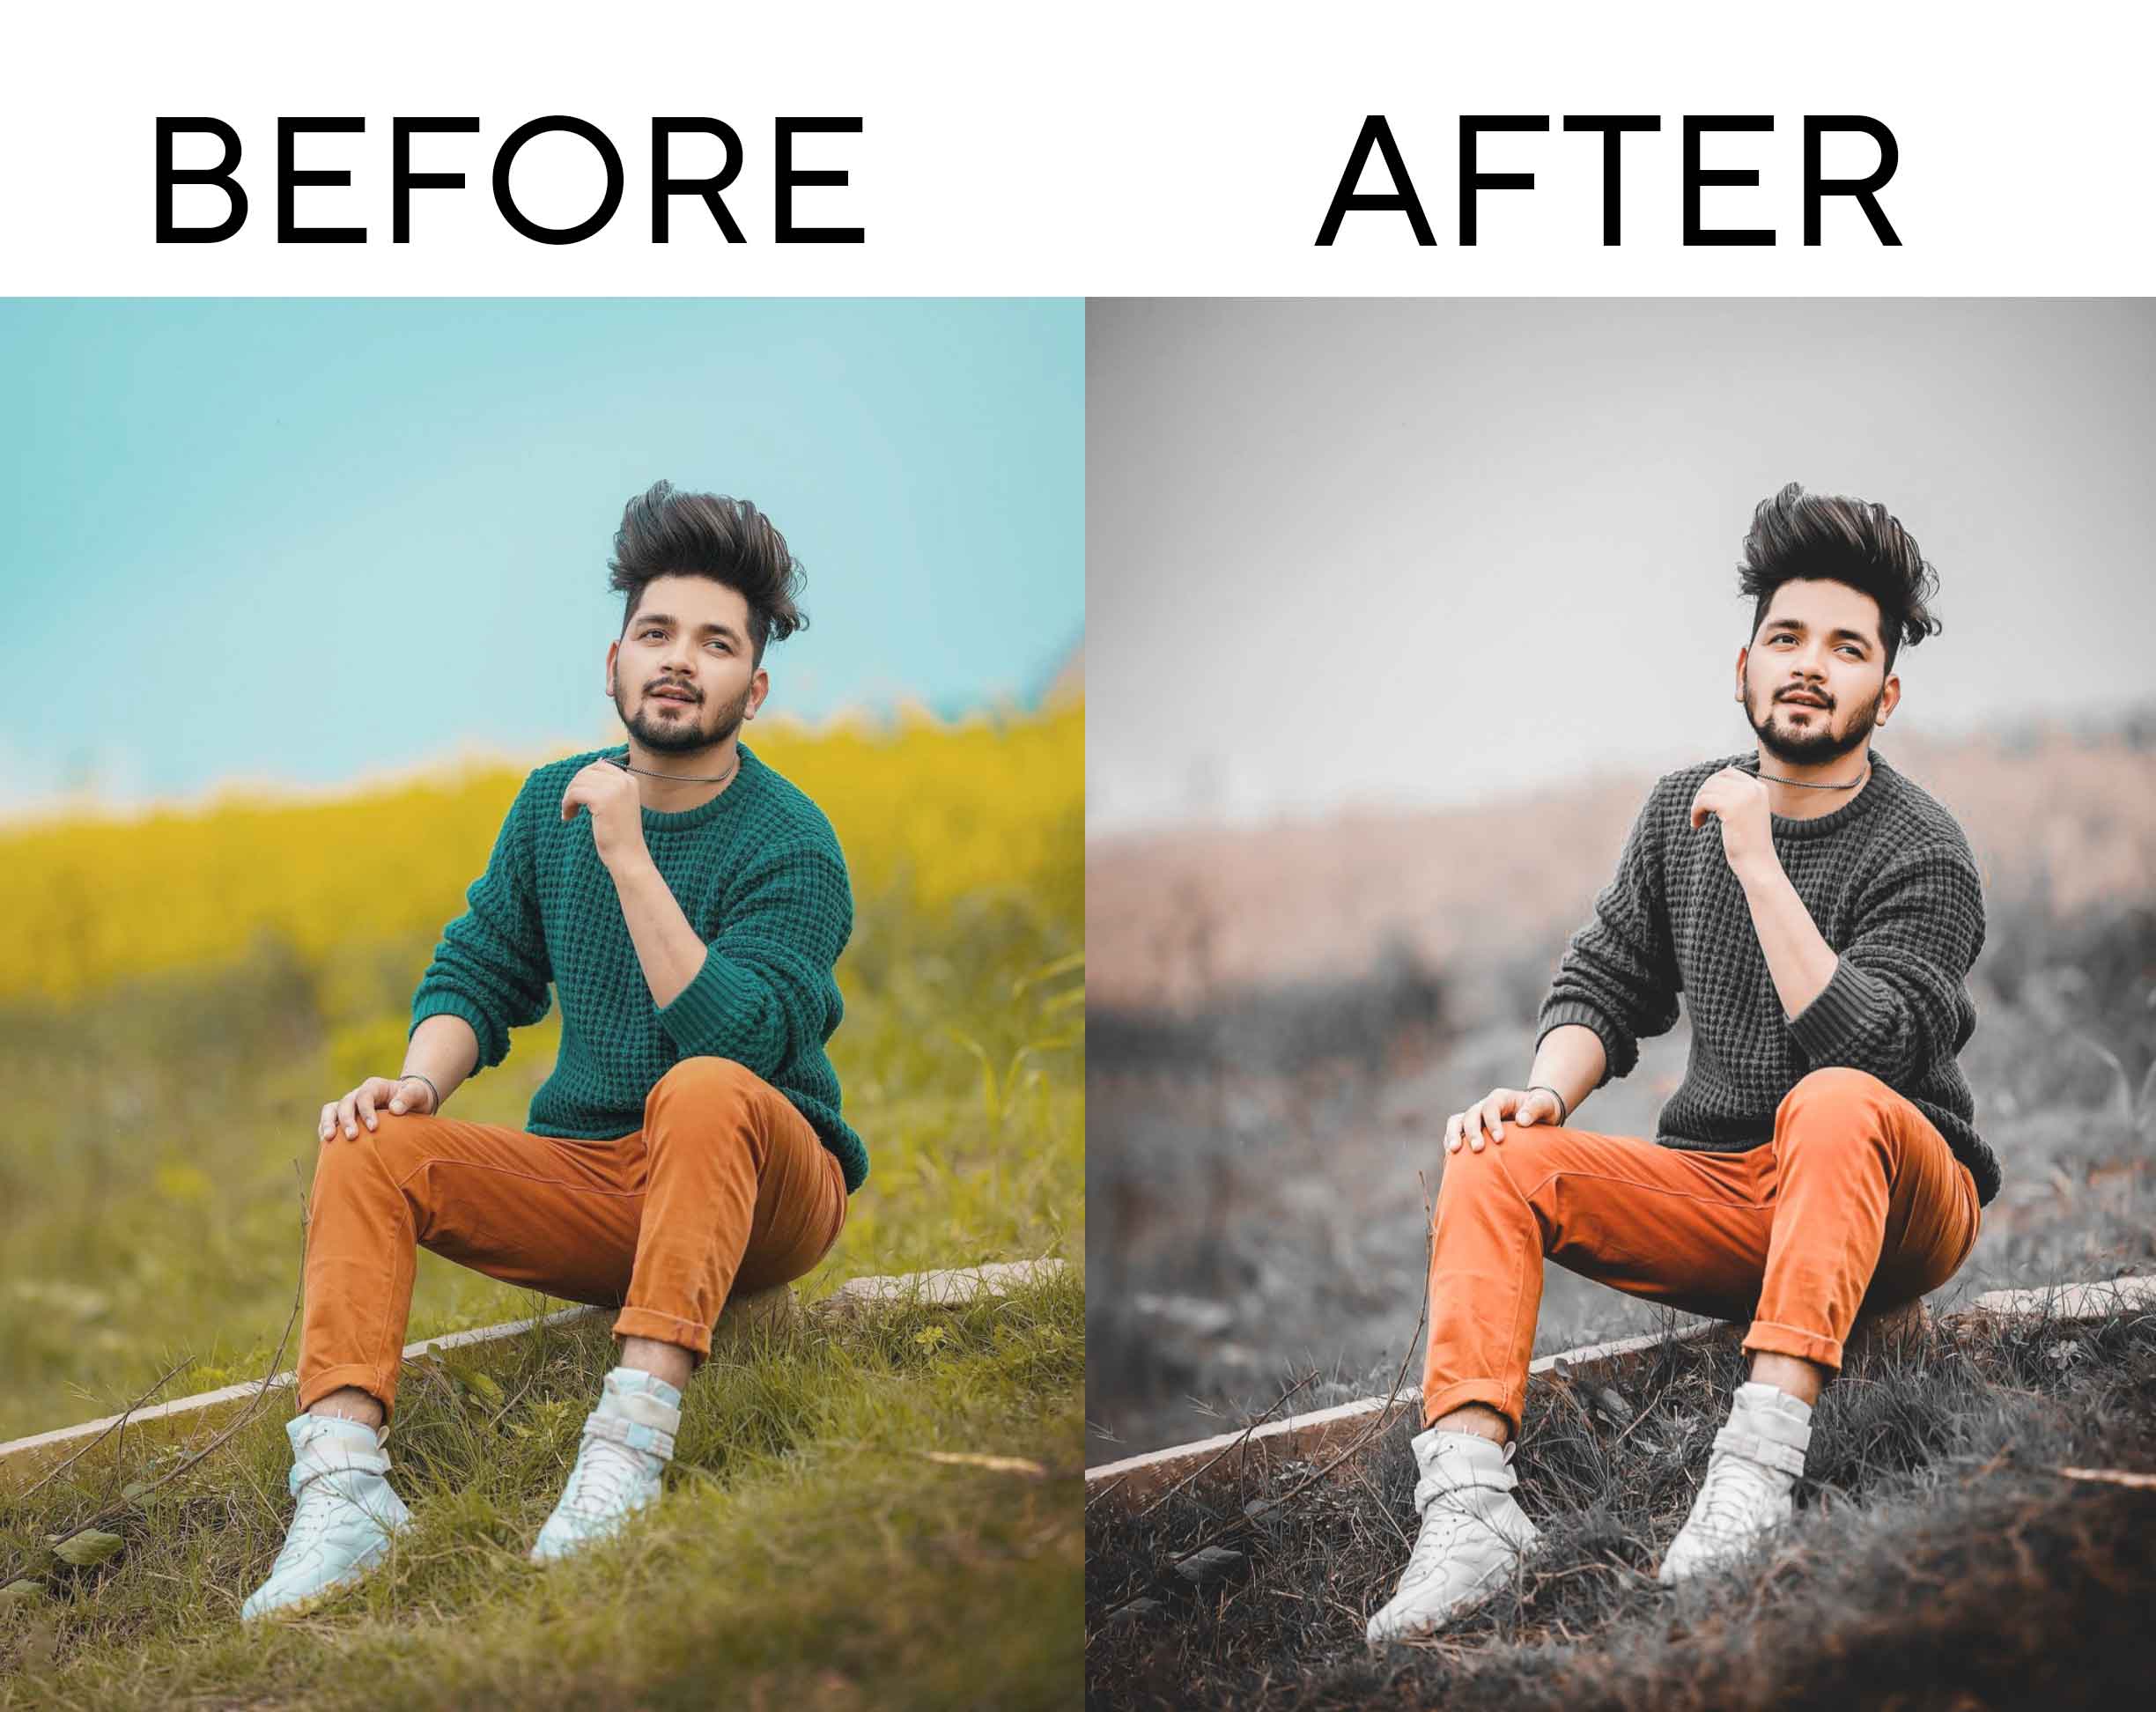
Lightroom presets can be a powerful tool for photographers looking to make their photos stand out and achieve a unique, professional look.
In this article, We’ll explore some of the top Lightroom presets in the XMP format that can help you create trending photos.
Lightroom presets are a popular tool among photographers for post-processing their images. They allow users to quickly apply a specific look or style to their photos with just a few clicks. One of the most common formats for Lightroom presets is the xmp format. In this article, we’ll explore what xmp presets are, how to use them, and some popular presets that can help you take your photos to the next level.

What is an xmp preset?
Xmp presets are a type of Lightroom preset that is stored as an XMP file. Xmp is short for “Extensible Metadata Platform” and is a file format that is used to store metadata and settings for images. When you apply an xmp preset to a photo in Lightroom, the preset settings are saved to the XMP file for that photo.
One of the advantages of using xmp presets is that they can be applied to any version of Lightroom, as long as the software supports the XMP format. This means that if you switch to a different version of Lightroom or use a different computer, you can still use your XMP presets.
How to use xmp presets in Lightroom
- Download and install the preset: First, you’ll need to download the xmp preset you want to use. Once you have the preset file, open Lightroom and go to the Develop module.
- Import the preset: In the Presets panel on the left side of the screen, click the plus sign and select “Import Presets” from the dropdown menu. Navigate to the location where you saved the xmp preset file and select it.
- Apply the preset: With the preset imported, select the photo you want to edit and then click on the preset in the Presets panel to apply it to the photo. You can preview the effect of the preset on your photo by hovering your mouse over the preset.
- Adjust the settings (optional): Depending on the preset you’re using and the photo you’re editing, you may need to adjust some settings to get the desired effect. You can do this by using the sliders in the Develop module or by manually adjusting specific settings like exposure, contrast, or saturation.
- Save the photo: Once you’re happy with the edits, save your photo by going to File > Export. Choose your desired file type, size, and location, and click Export.