Hello and get it now the amazing 500+ New Lightroom Presets. Here is the amazing and really cool presets which you can not find anywhere else.
There are lots of new lightroom presets which you can find now guys. This is one of the best preset which you really like only through us.
Lightroom presets are a powerful tool that can help you enhance your photos and give them a unique and cool look. Presets are pre-made settings that you can apply to your images in Lightroom to achieve a particular look or feel. Whether you’re a professional photographer or an amateur, Lightroom presets can help you elevate your photos and make them stand out.
In this article, we’ll explore how to make your photos cool with Lightroom presets.
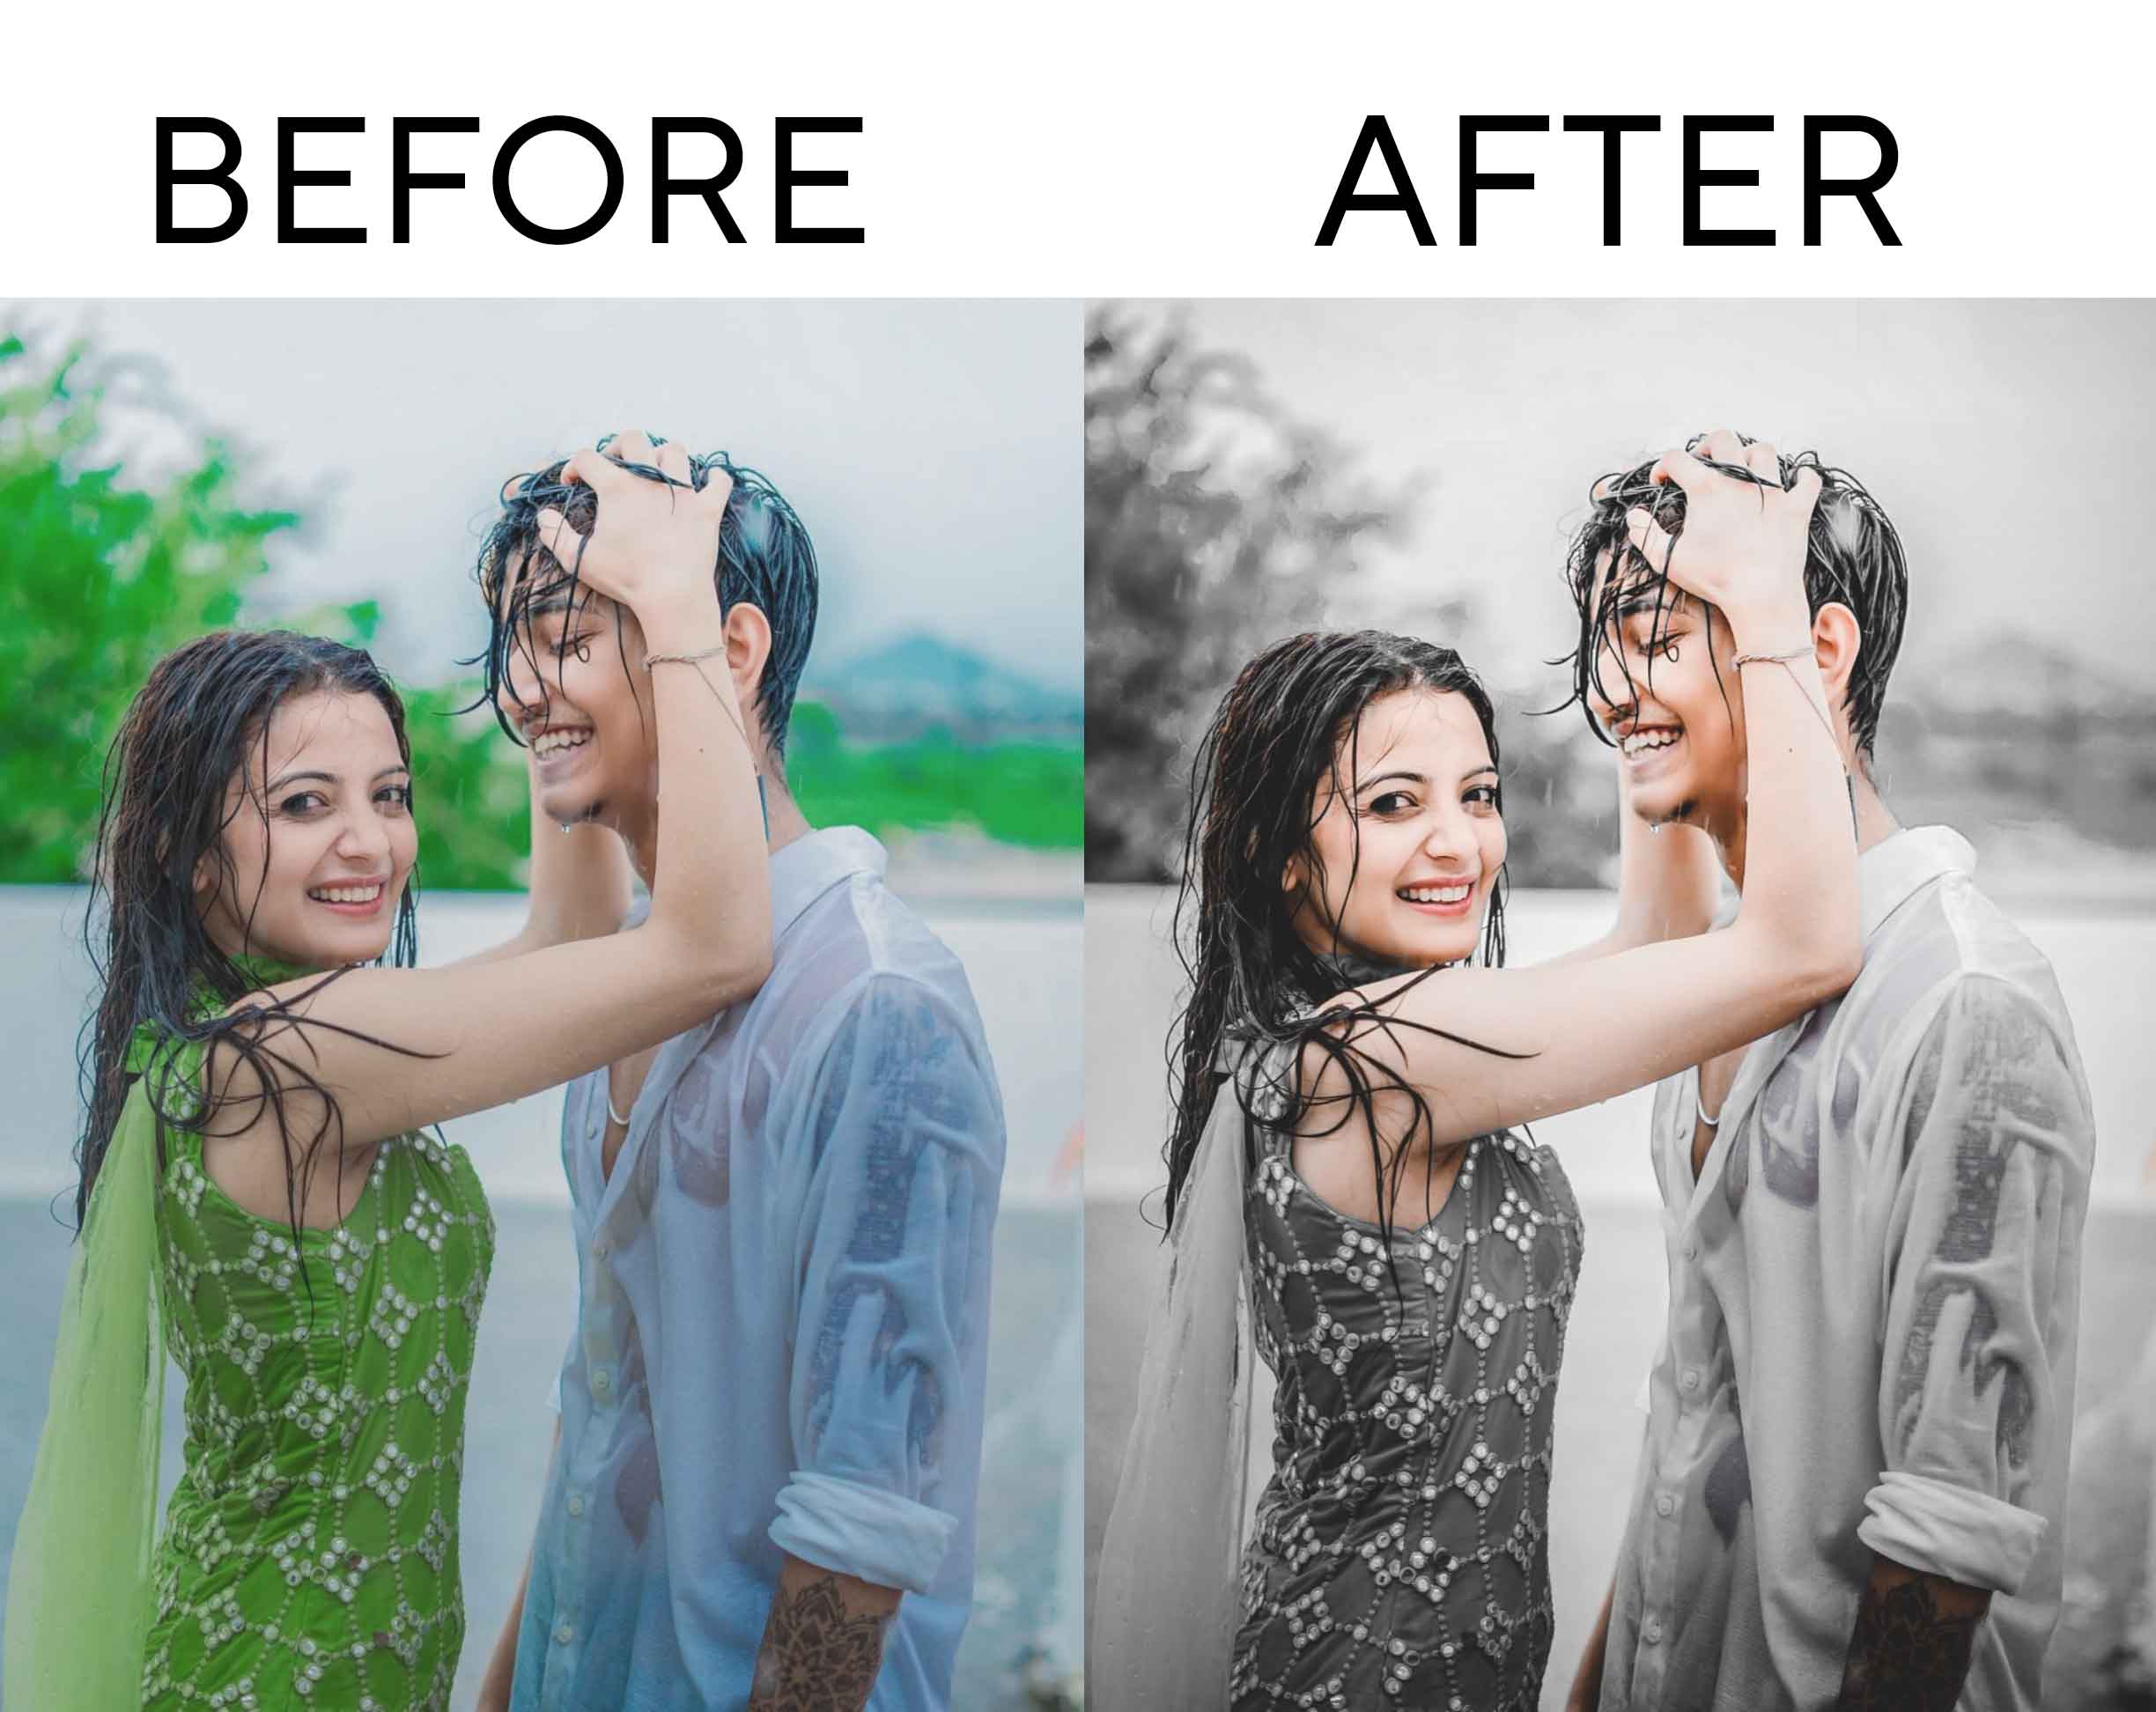
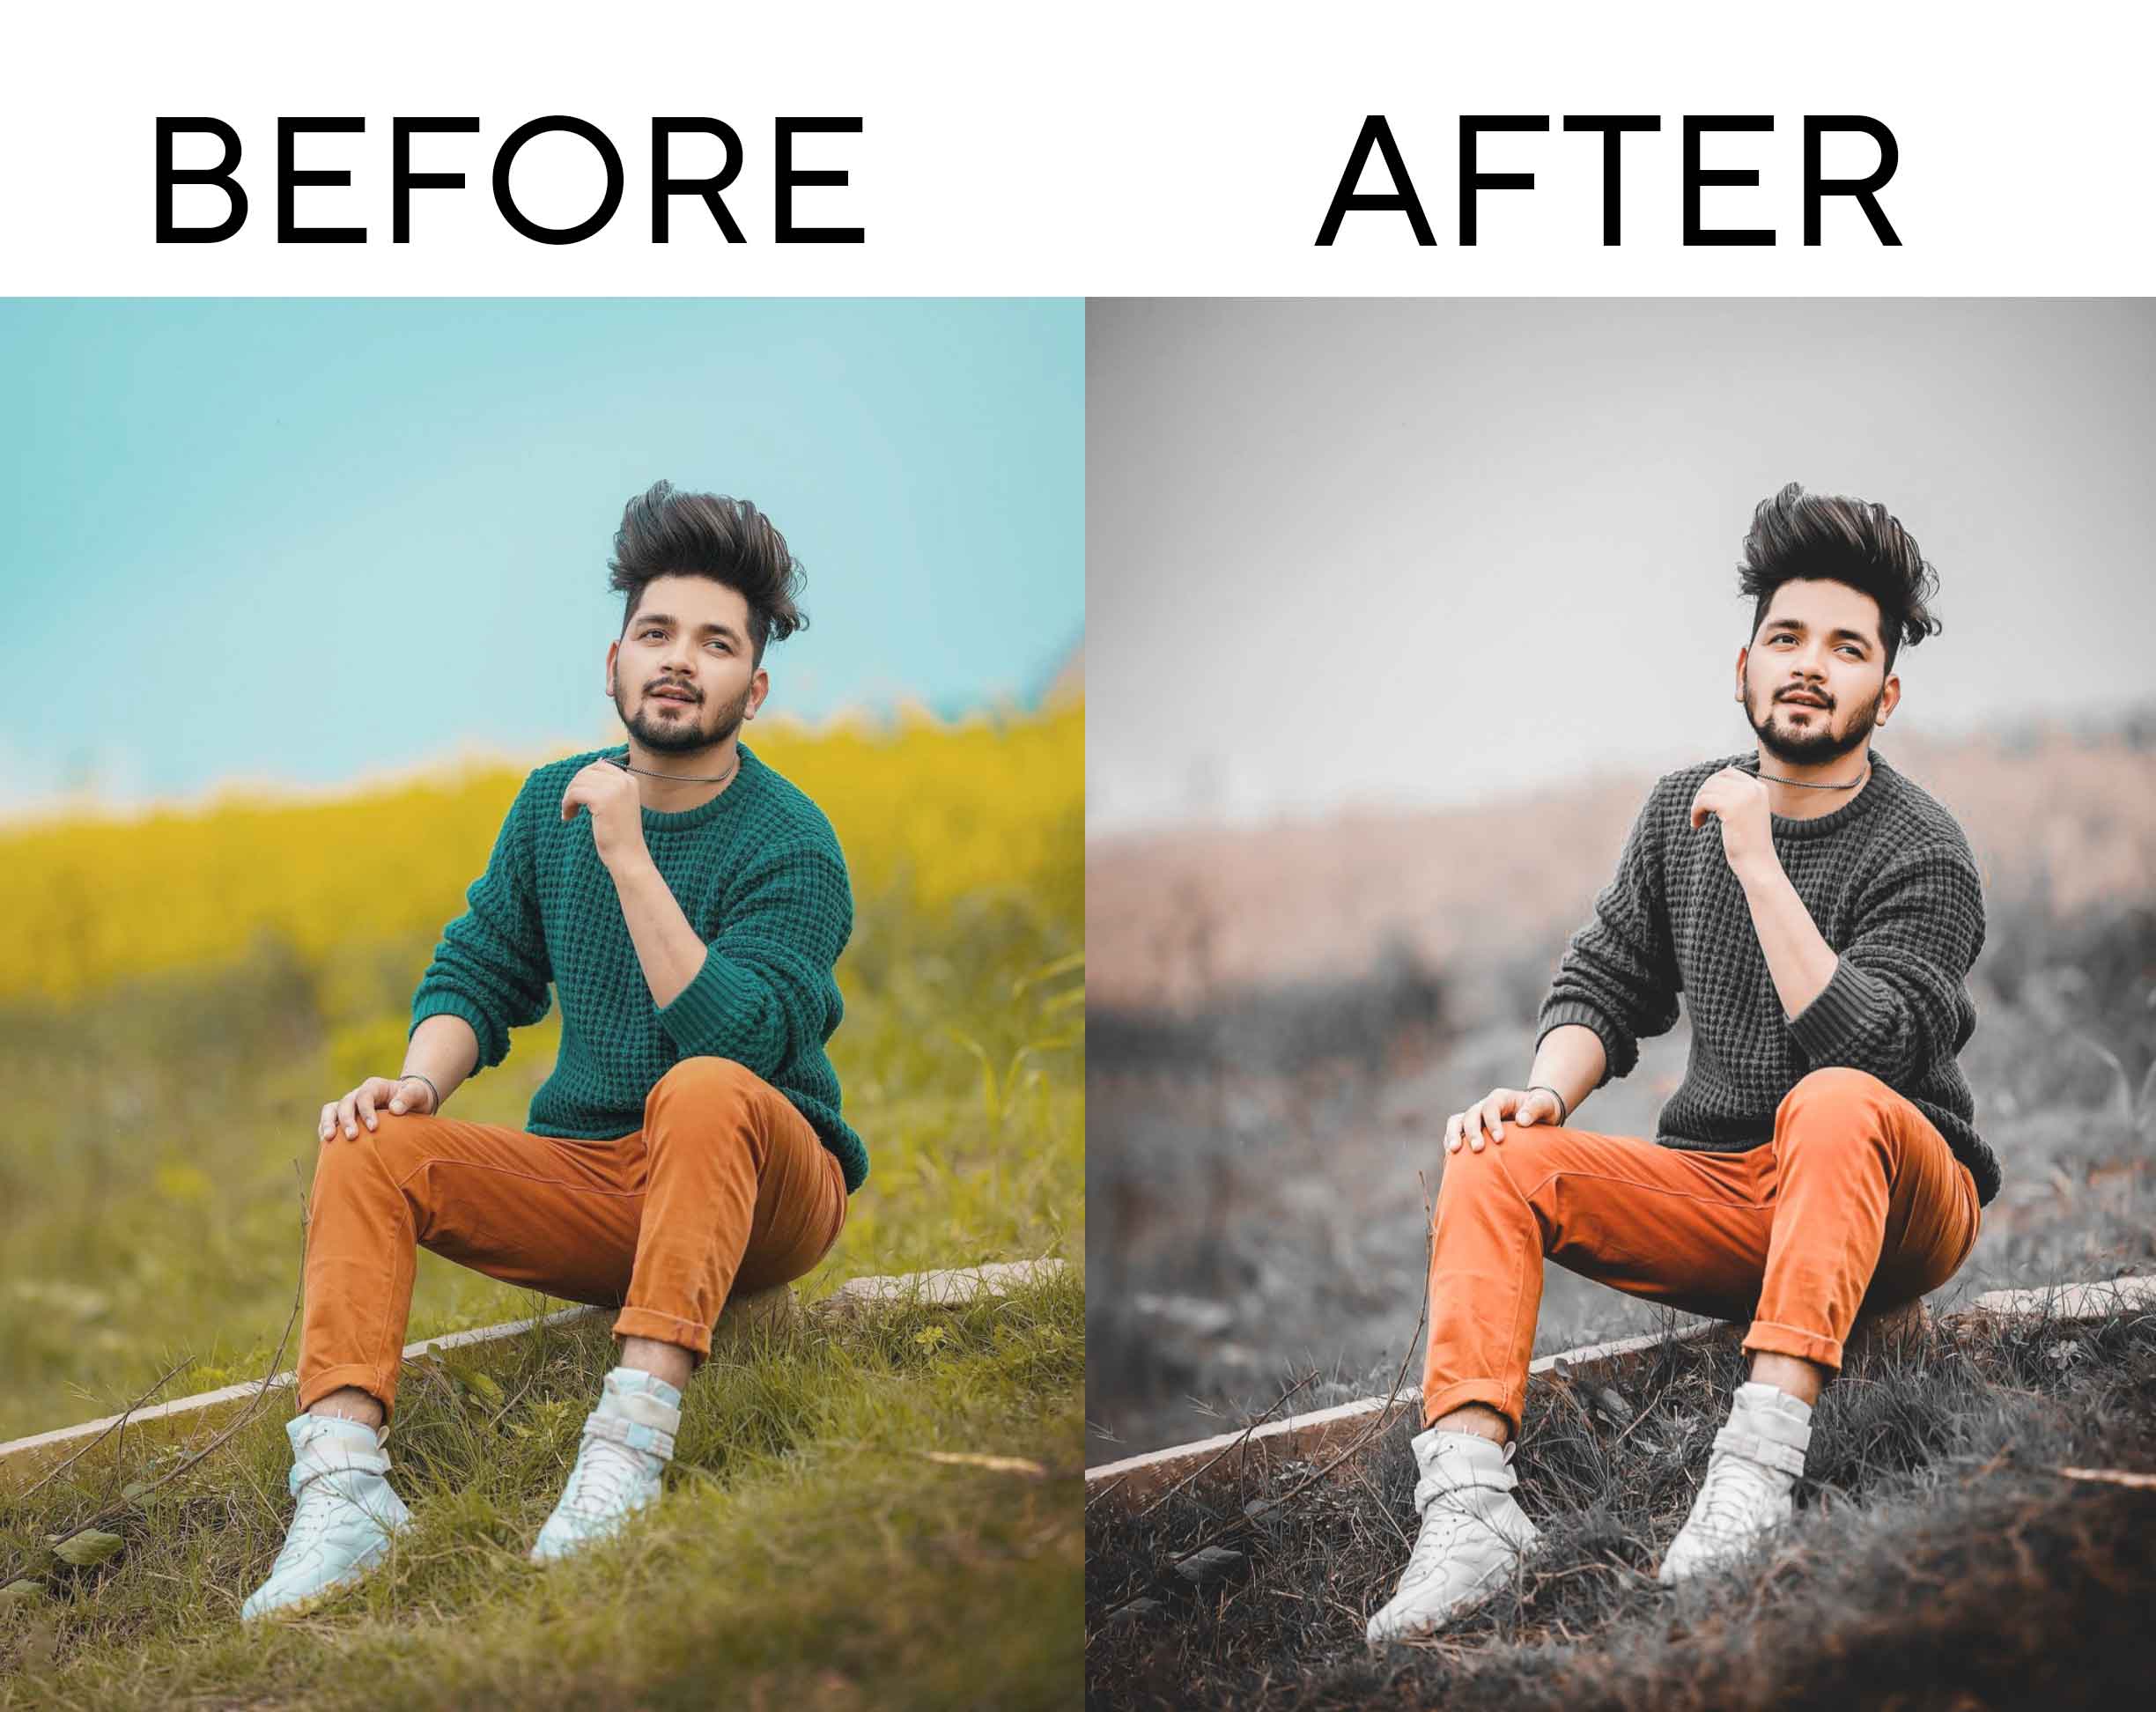
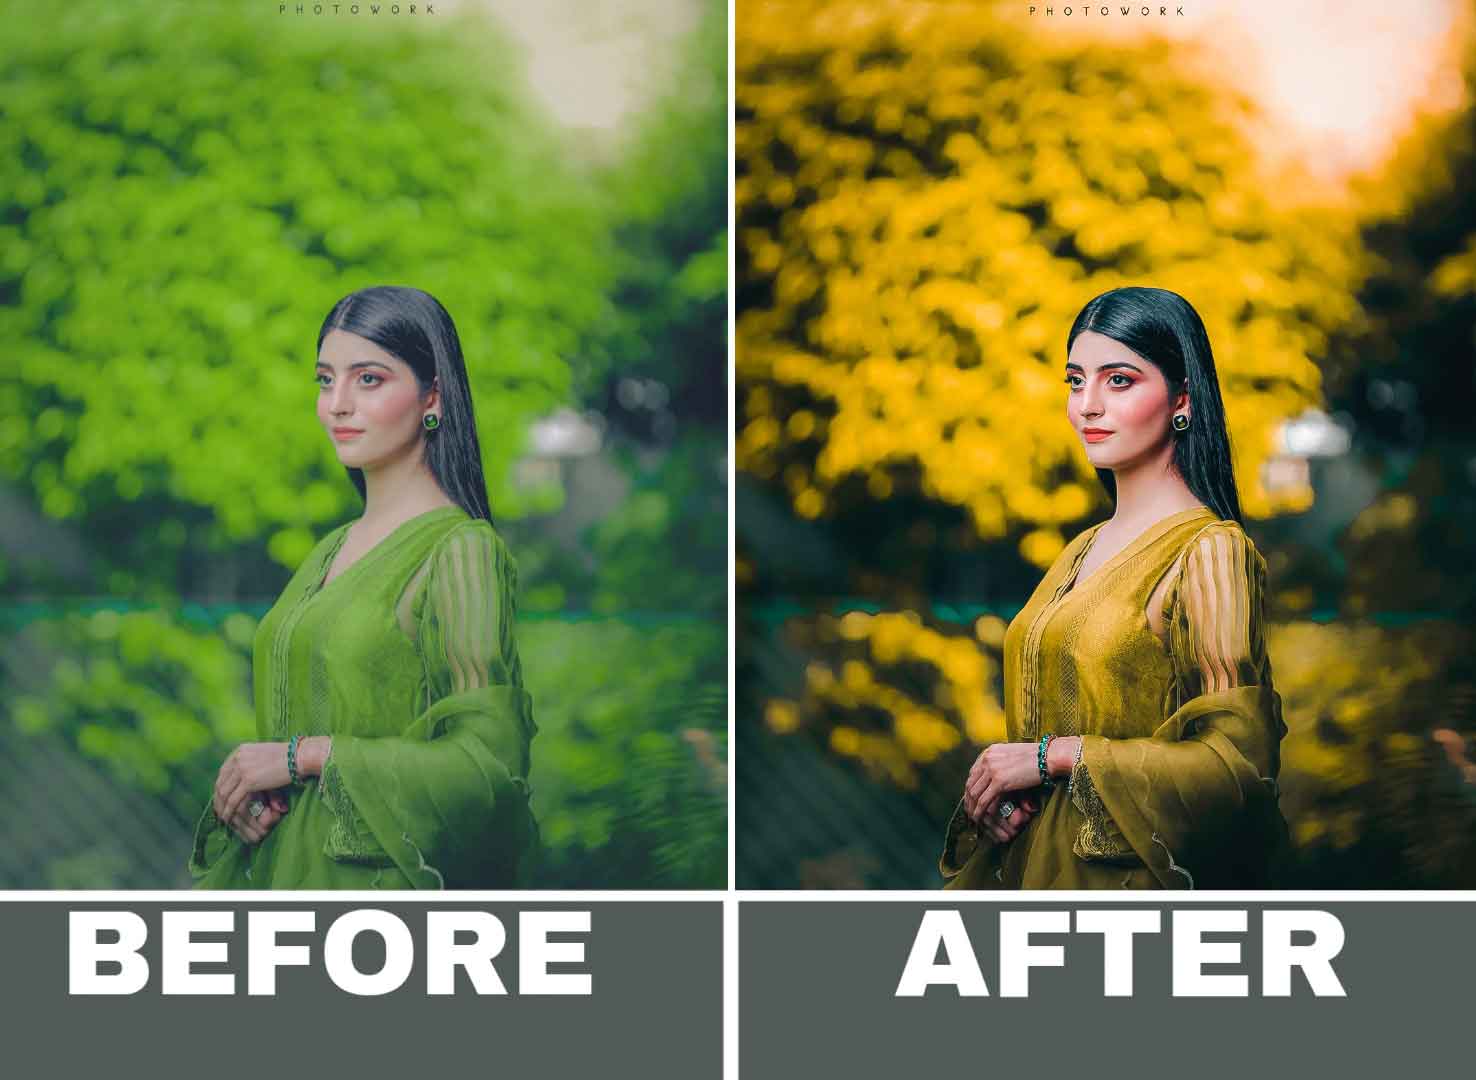
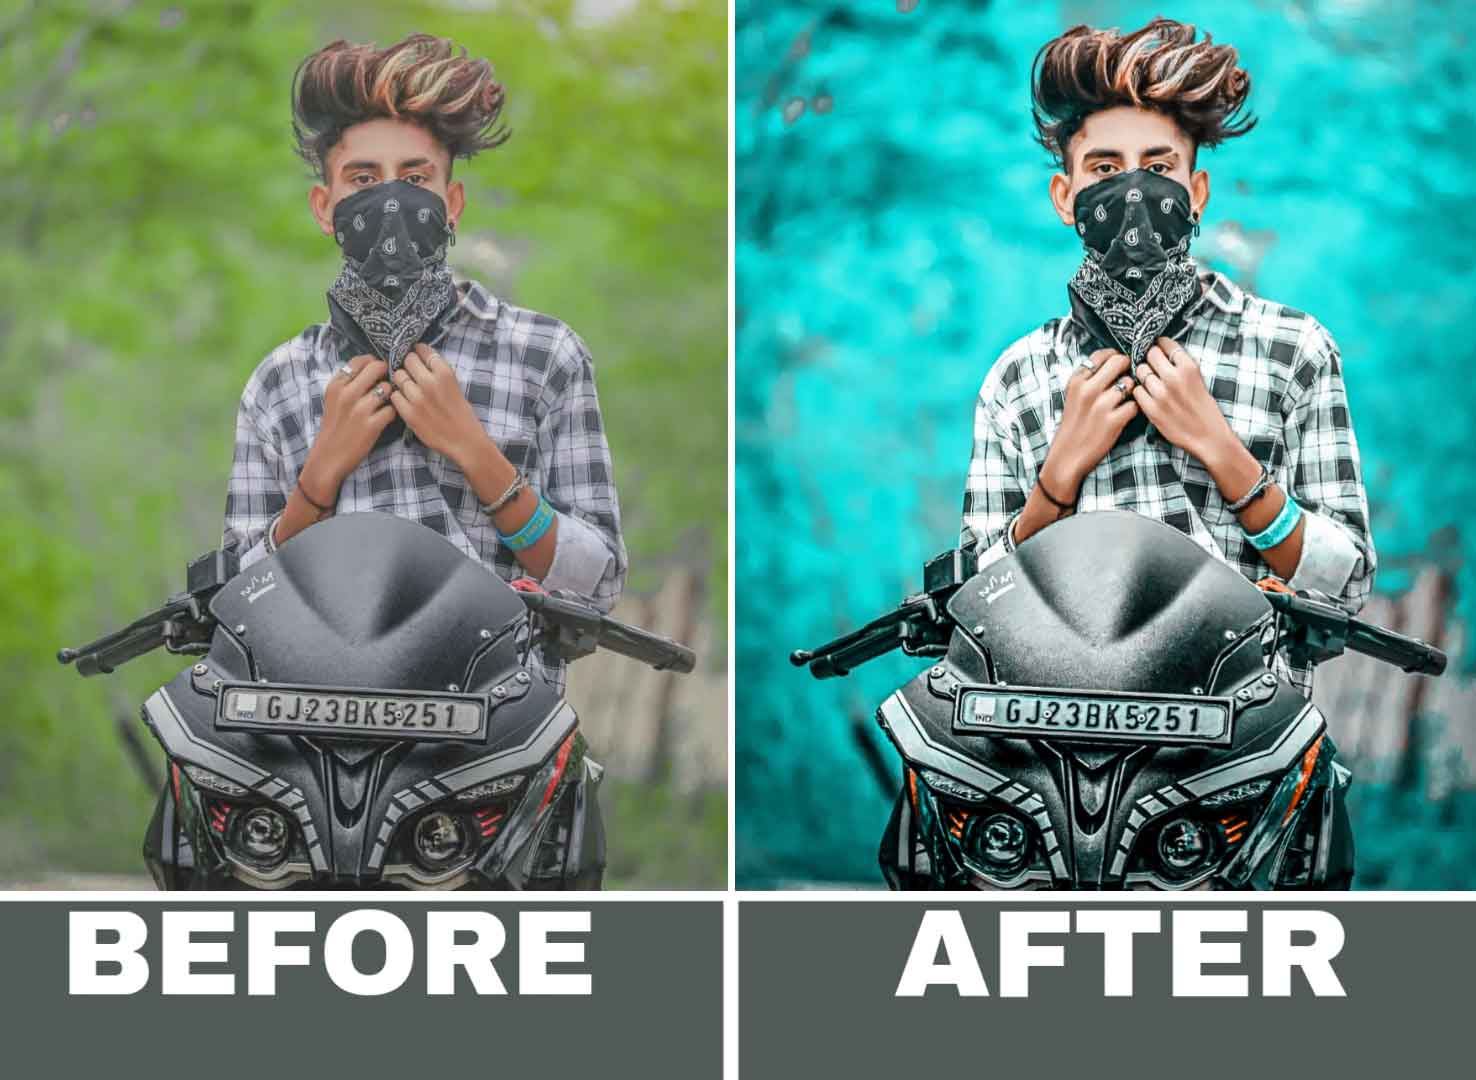
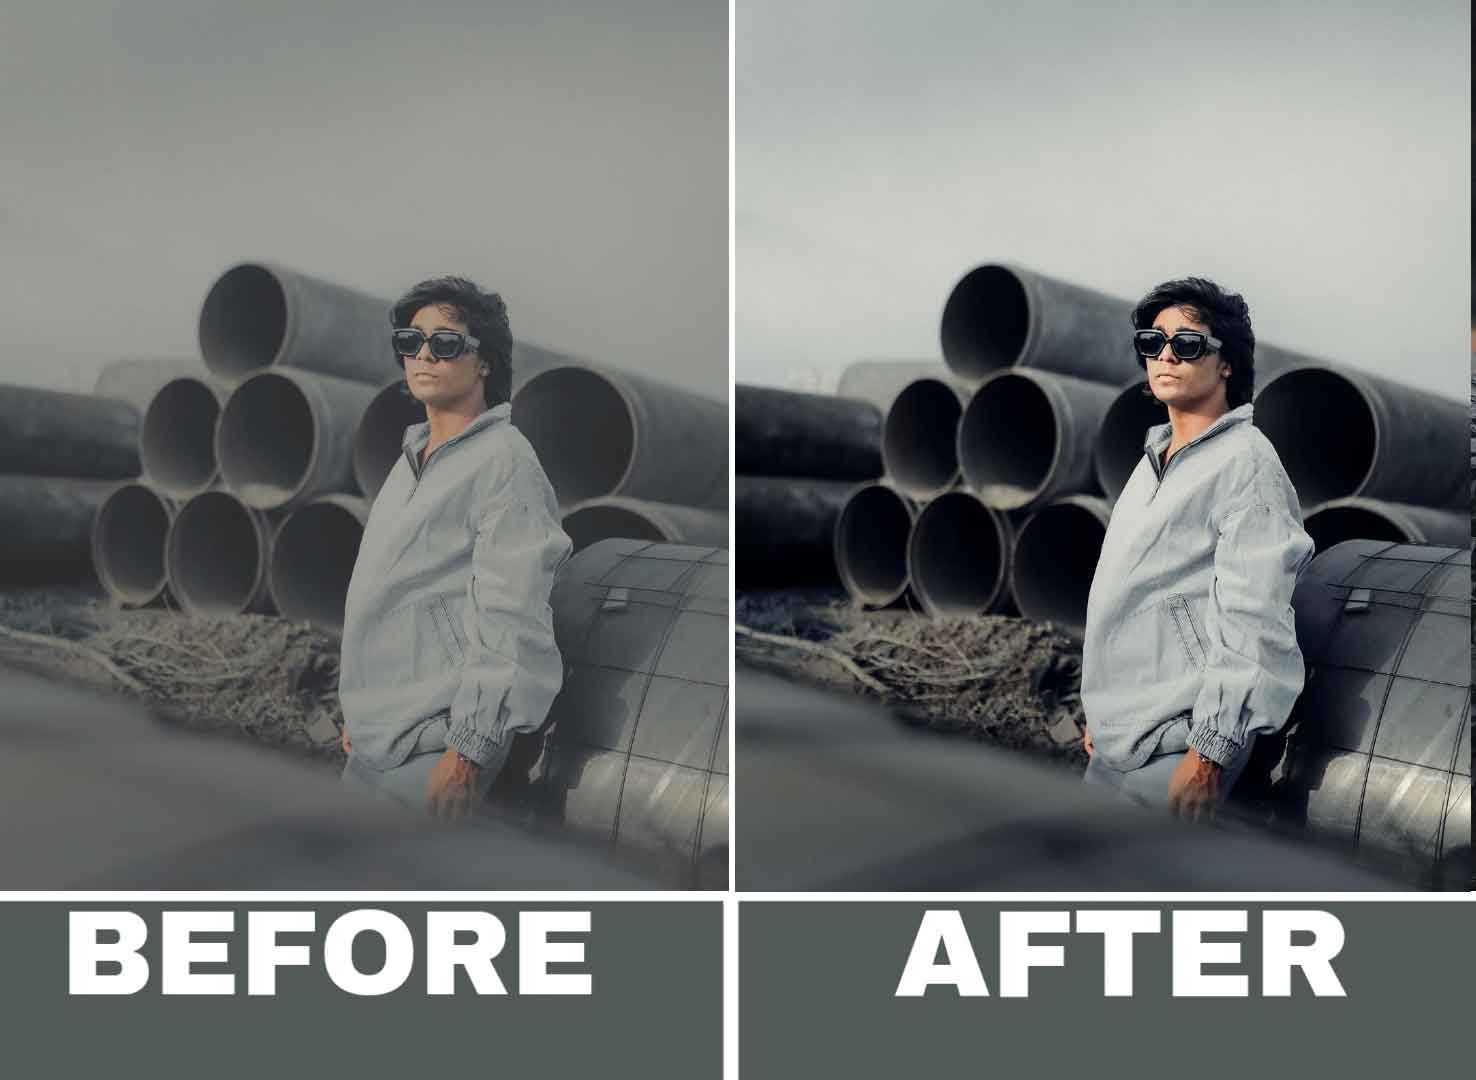
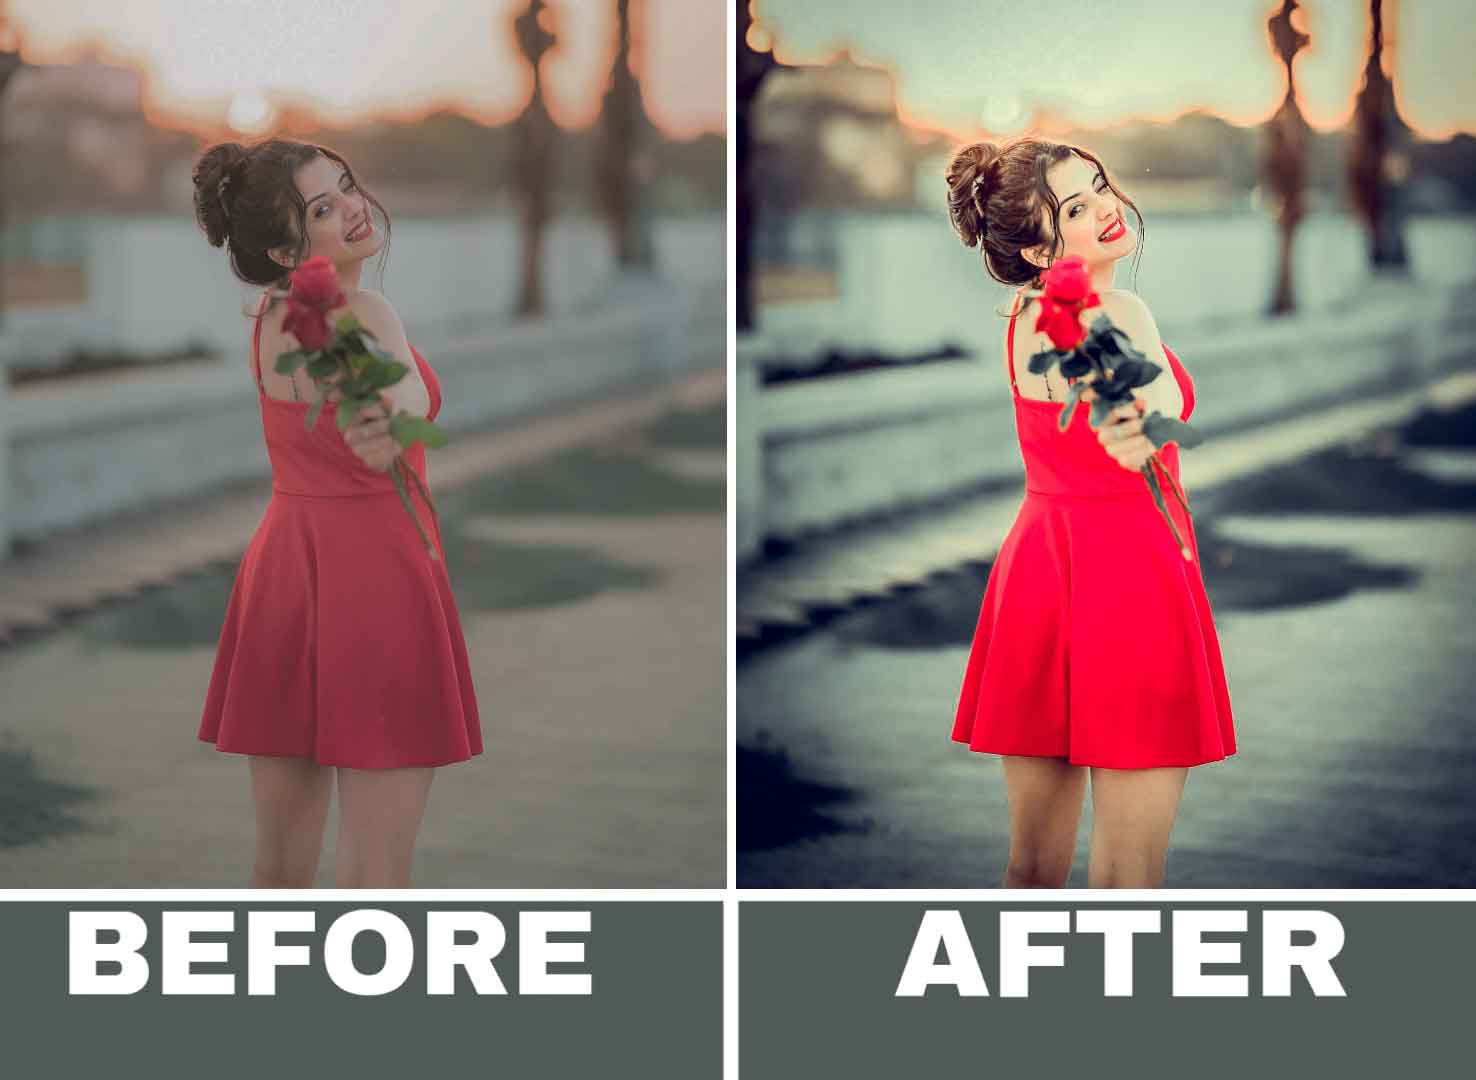
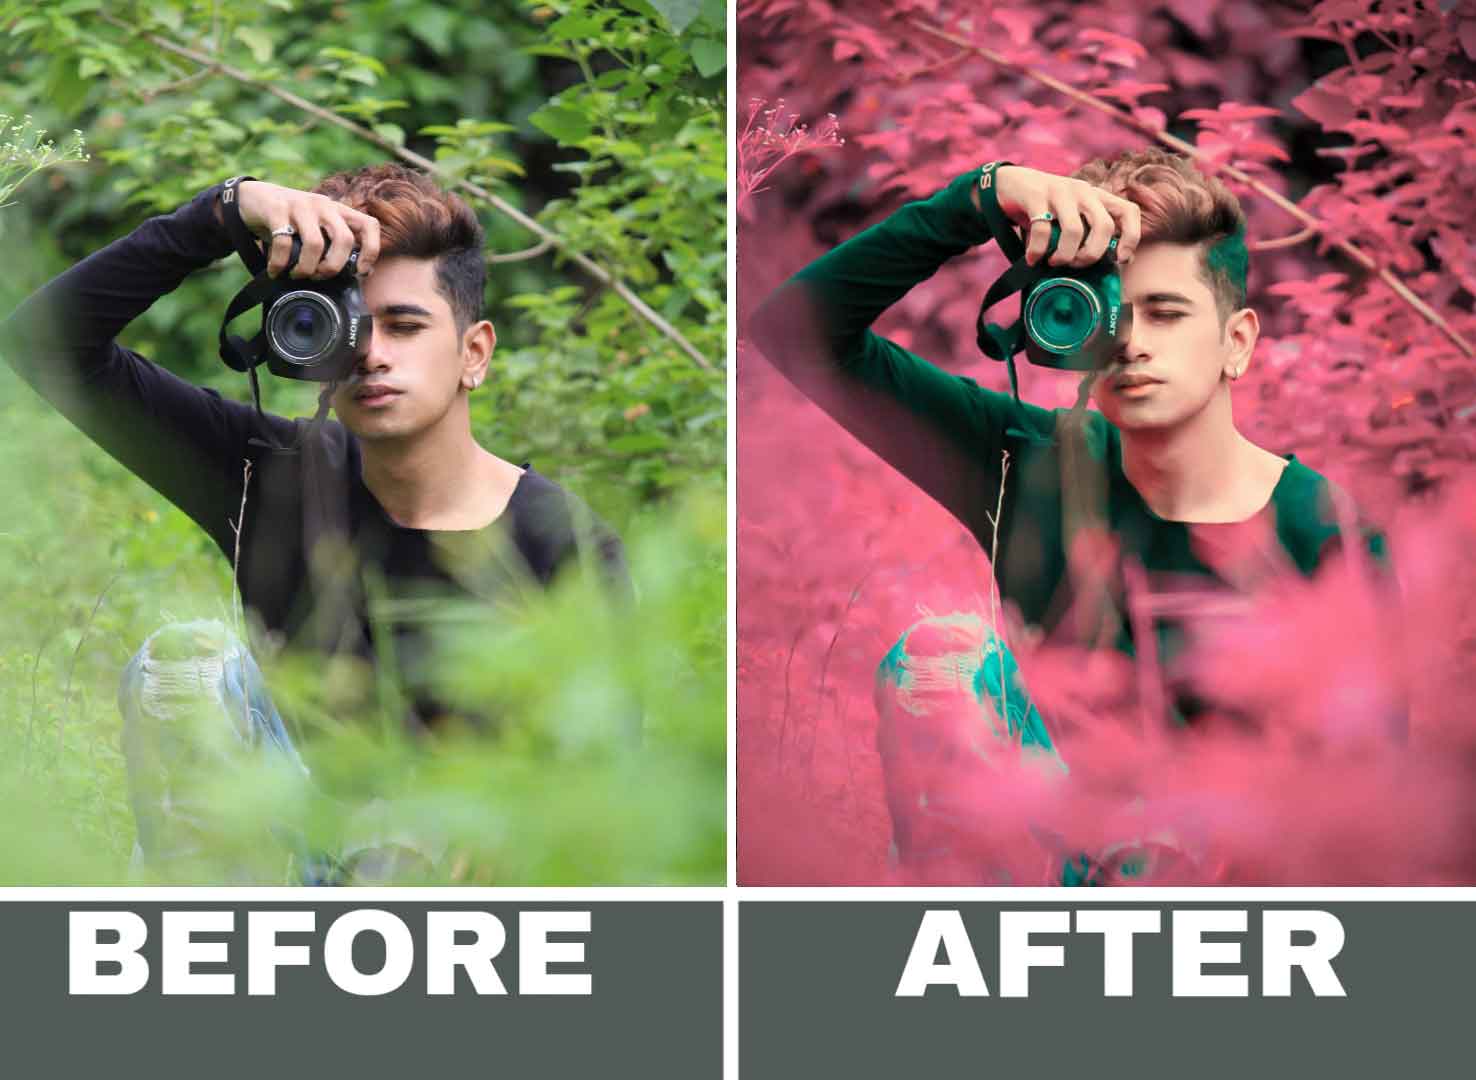
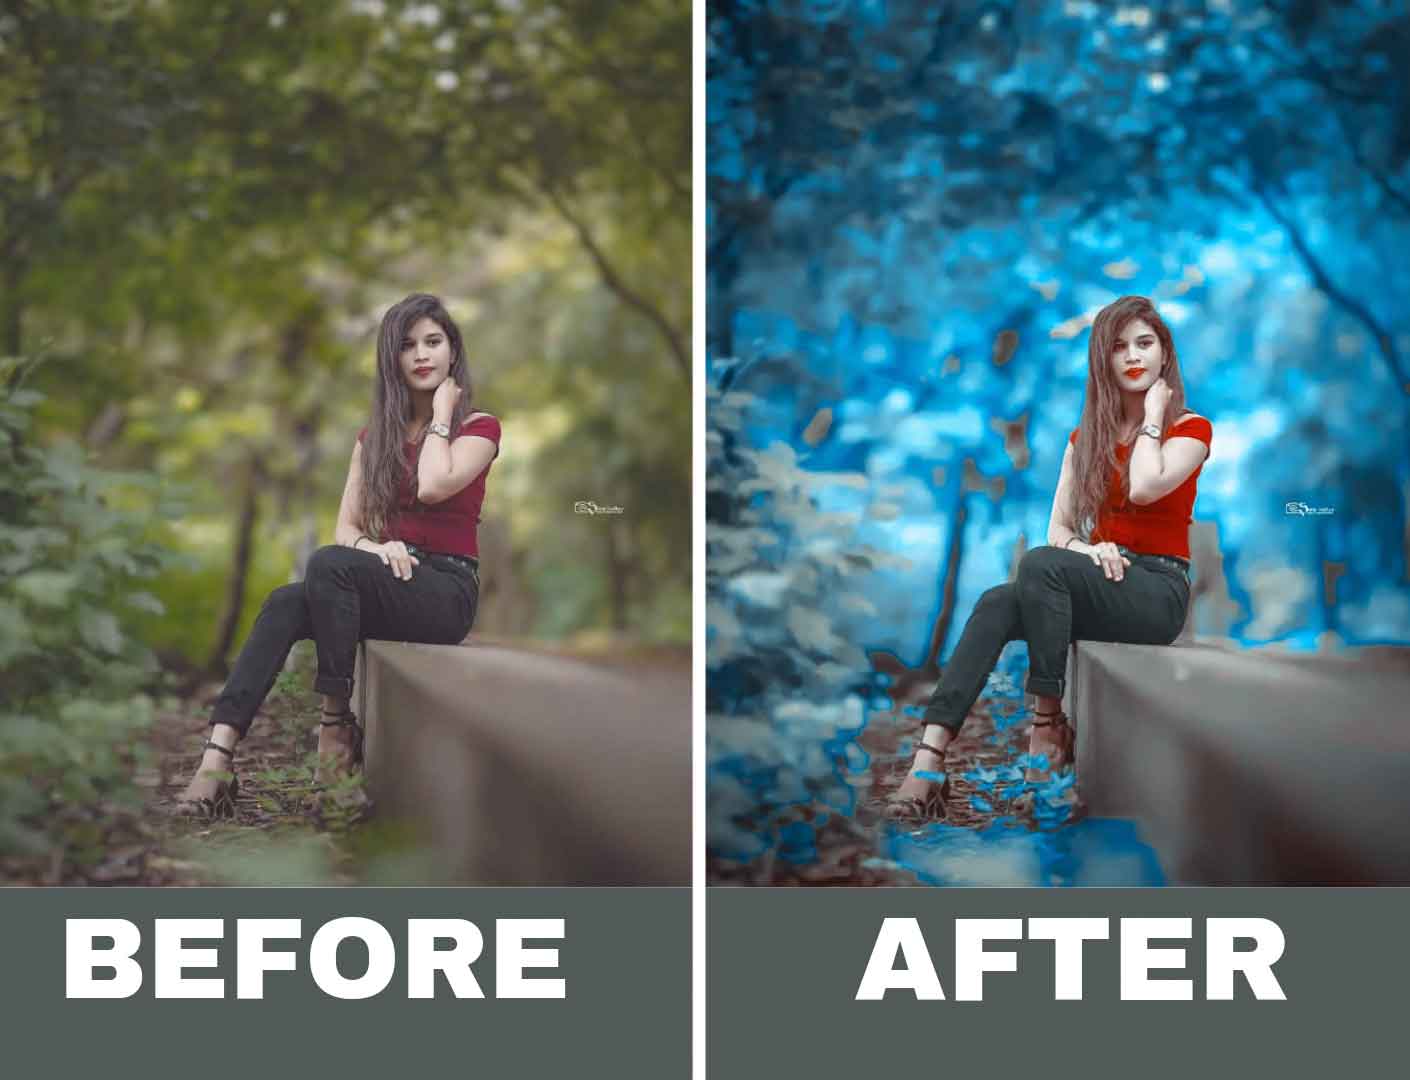
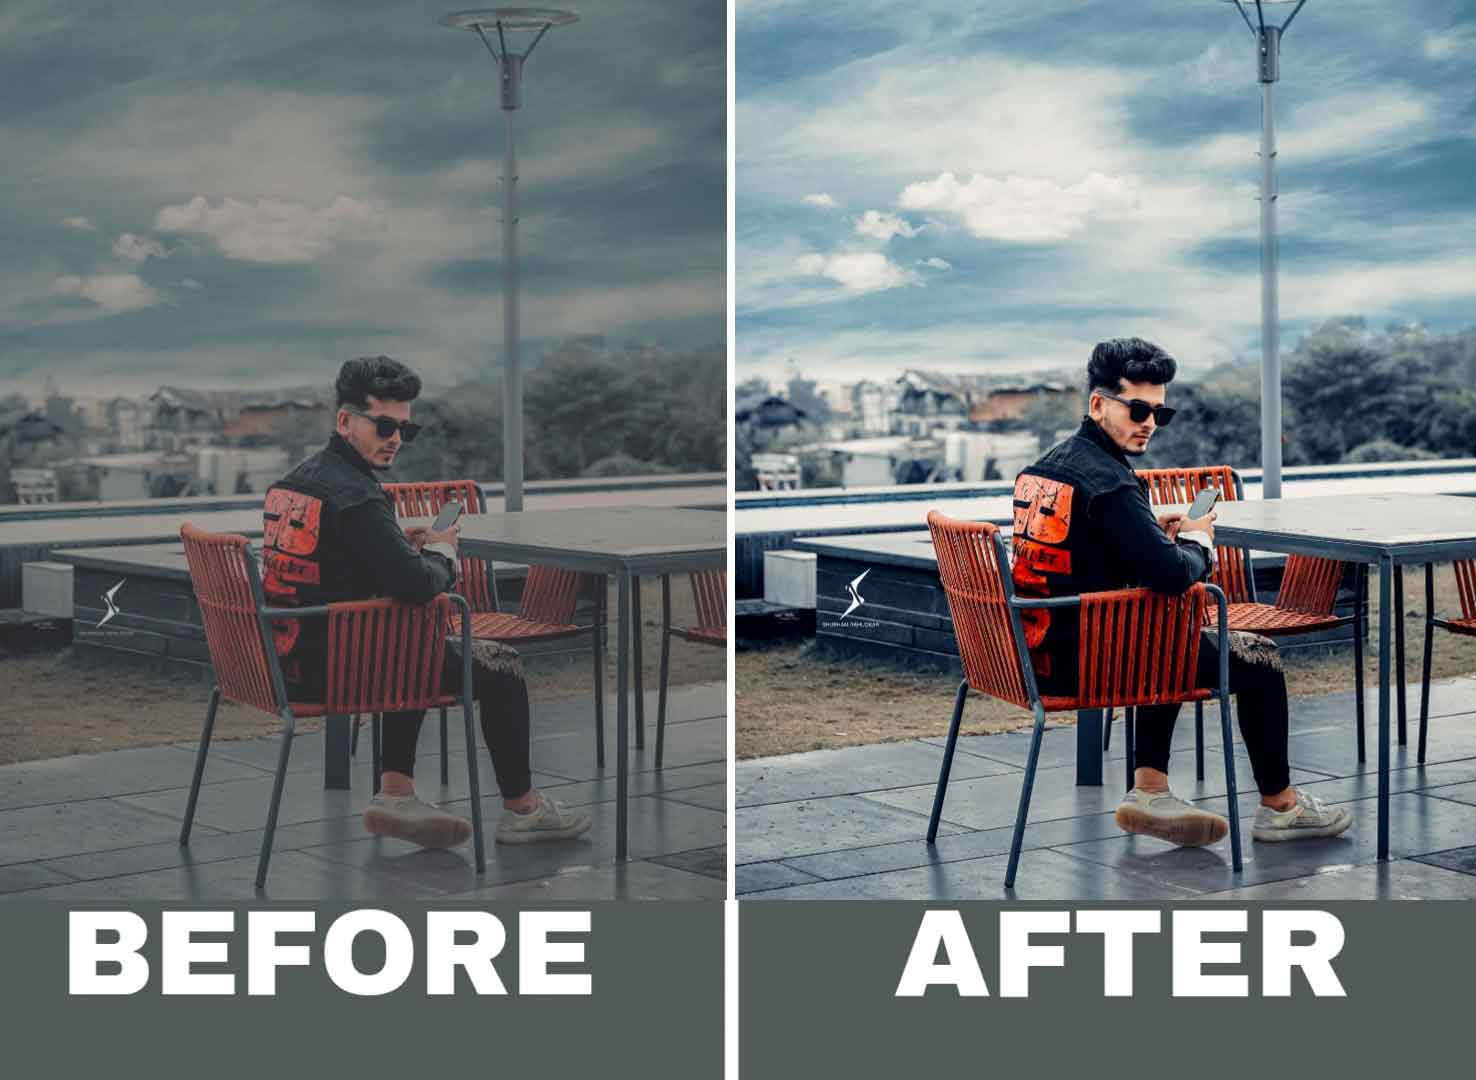
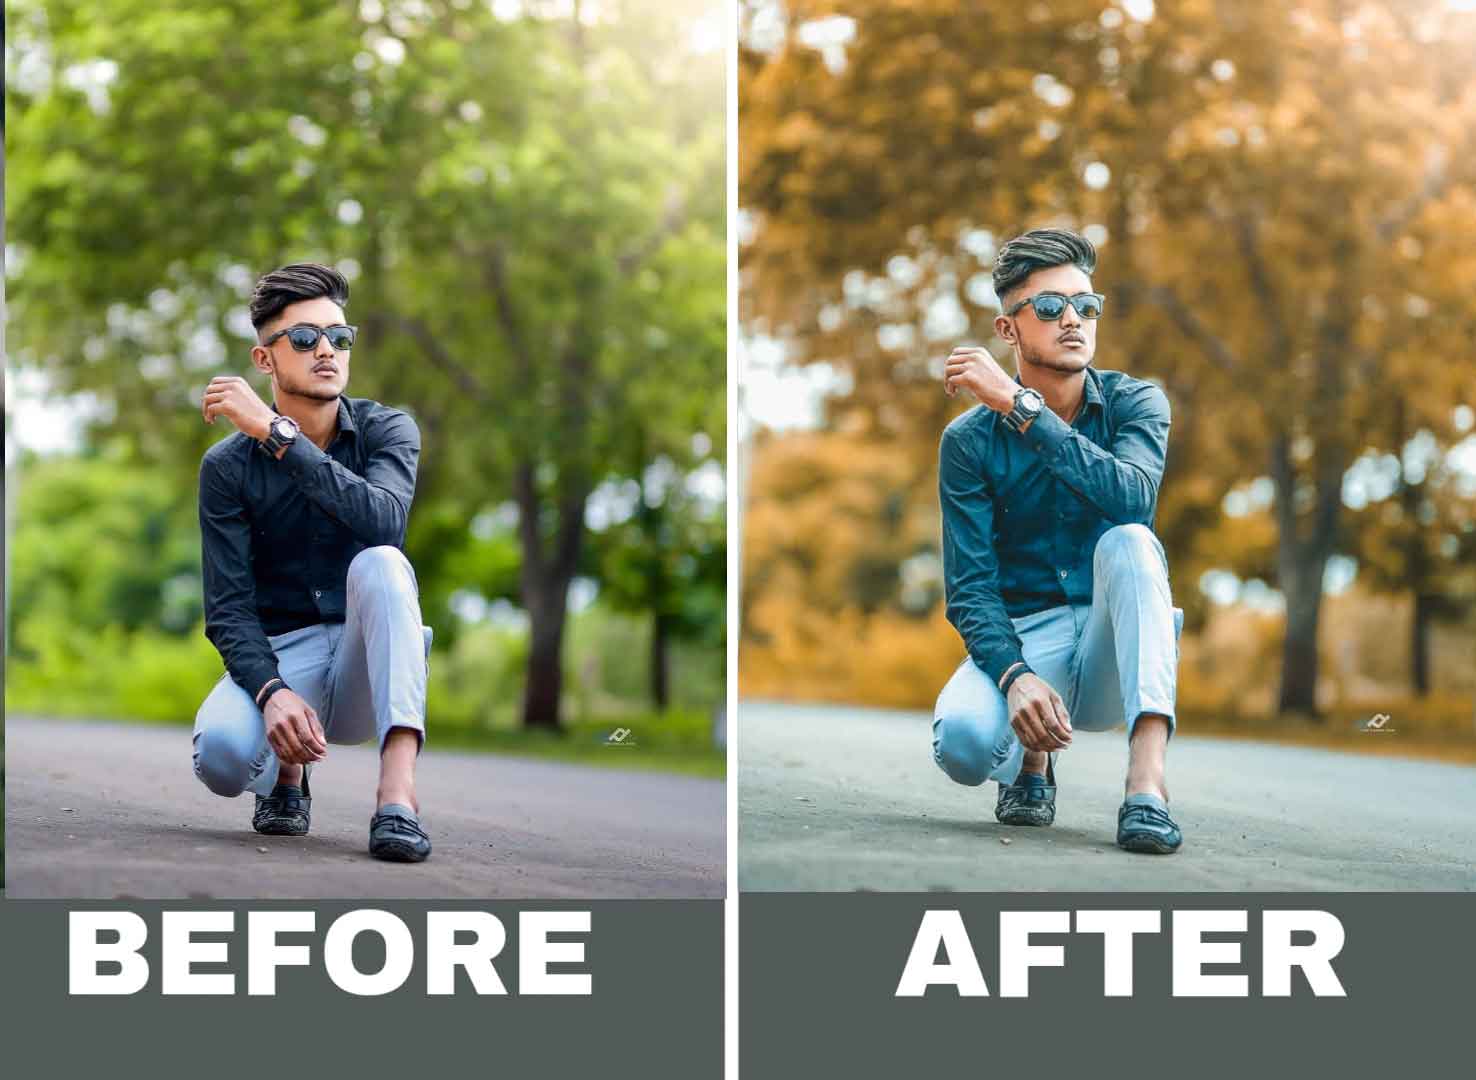
Before and after before jump on the 500+ Lightroom Presets:-
Step 1: Choose a Preset
The first step to making your photos cool with Lightroom presets is to choose the right preset. There are countless presets available online, both free and paid, so it’s important to find one that suits your style and the type of photo you’re working with.
Many preset creators offer samples of their presets, so you can try them out before committing to a purchase. You can also experiment with the presets that come with Lightroom or create your own by adjusting the settings and saving them as a new preset.
Step 2: Apply the Preset
Once you’ve chosen the preset you want to use, it’s time to apply it to your photo. In Lightroom, go to the Develop module and select the photo you want to edit. Then, scroll down to the Presets panel on the left-hand side of the screen and select the preset you want to apply.
You’ll see the changes take effect on your photo immediately, but you can always adjust the settings to your liking. Many presets come with various versions or variations, so you can find the one that best suits your photo.
Step 3: Fine-Tune the Settings
While presets are a great starting point, they may not be perfect for every photo. You may need to adjust the settings to fine-tune the look of your photo. In Lightroom, you can adjust the exposure, contrast, saturation, and other settings to make your photo look exactly how you want it to.
You can also use Lightroom’s adjustment tools, such as the brush tool or the gradient tool, to make selective adjustments to specific parts of your photo.
Step 4: Save and Export
Once you’re happy with the look of your photo, it’s time to save and export it. In Lightroom, go to the File menu and select Export. Choose the file format and quality you want, and then click Export to save your photo.
Conclusion
Using Lightroom presets is a simple and effective way to make your photos cool and unique. With just a few clicks, you can transform your photos and give them a whole new look and feel. By experimenting with different presets and fine-tuning the settings, you can create a style that is uniquely yours. So, go ahead and start experimenting with Lightroom presets today, and take your photos to the next level.
What is the different in real photo and edited?
The main difference between a real photo and an edited photo is that a real photo is an unaltered image that reflects the original scene or subject as it was captured by the camera, while an edited photo has been modified in some way to enhance or alter its appearance.
In its purest form, a real photo is an unedited representation of what was in front of the camera lens. This means that the photo has not been altered in any way, such as changing the colors, brightness, or contrast.
The only changes that may have been made to a real photo could be cropping to remove unwanted elements or to adjust the composition of the image, or basic adjustments like white balance, exposure, and sharpness to reflect how the photographer perceived the scene.
On the other hand, edited photos have been adjusted or manipulated in some way to enhance or alter their appearance. This can involve making color adjustments to improve the brightness, contrast, or saturation of the photo, applying filters or presets, removing or adding objects to the image, or changing the perspective or composition of the photo.
While some people may argue that edited photos are not “real” in the sense that they don’t accurately reflect the original scene, the reality is that photo editing has become a widespread and accepted practice in photography. Professional photographers often use editing software to enhance their images, and social media platforms are filled with images that have been edited with various filters and effects.
- Top Moody Black Preset
- 300+ Lightroom Preset / How to Use Presets
- Top 45+ Lightroom Presets Download For Free
- Top 35+ NSB Lightroom Presets Download
- Top 20+ NSB Pictures Lightroom Presets