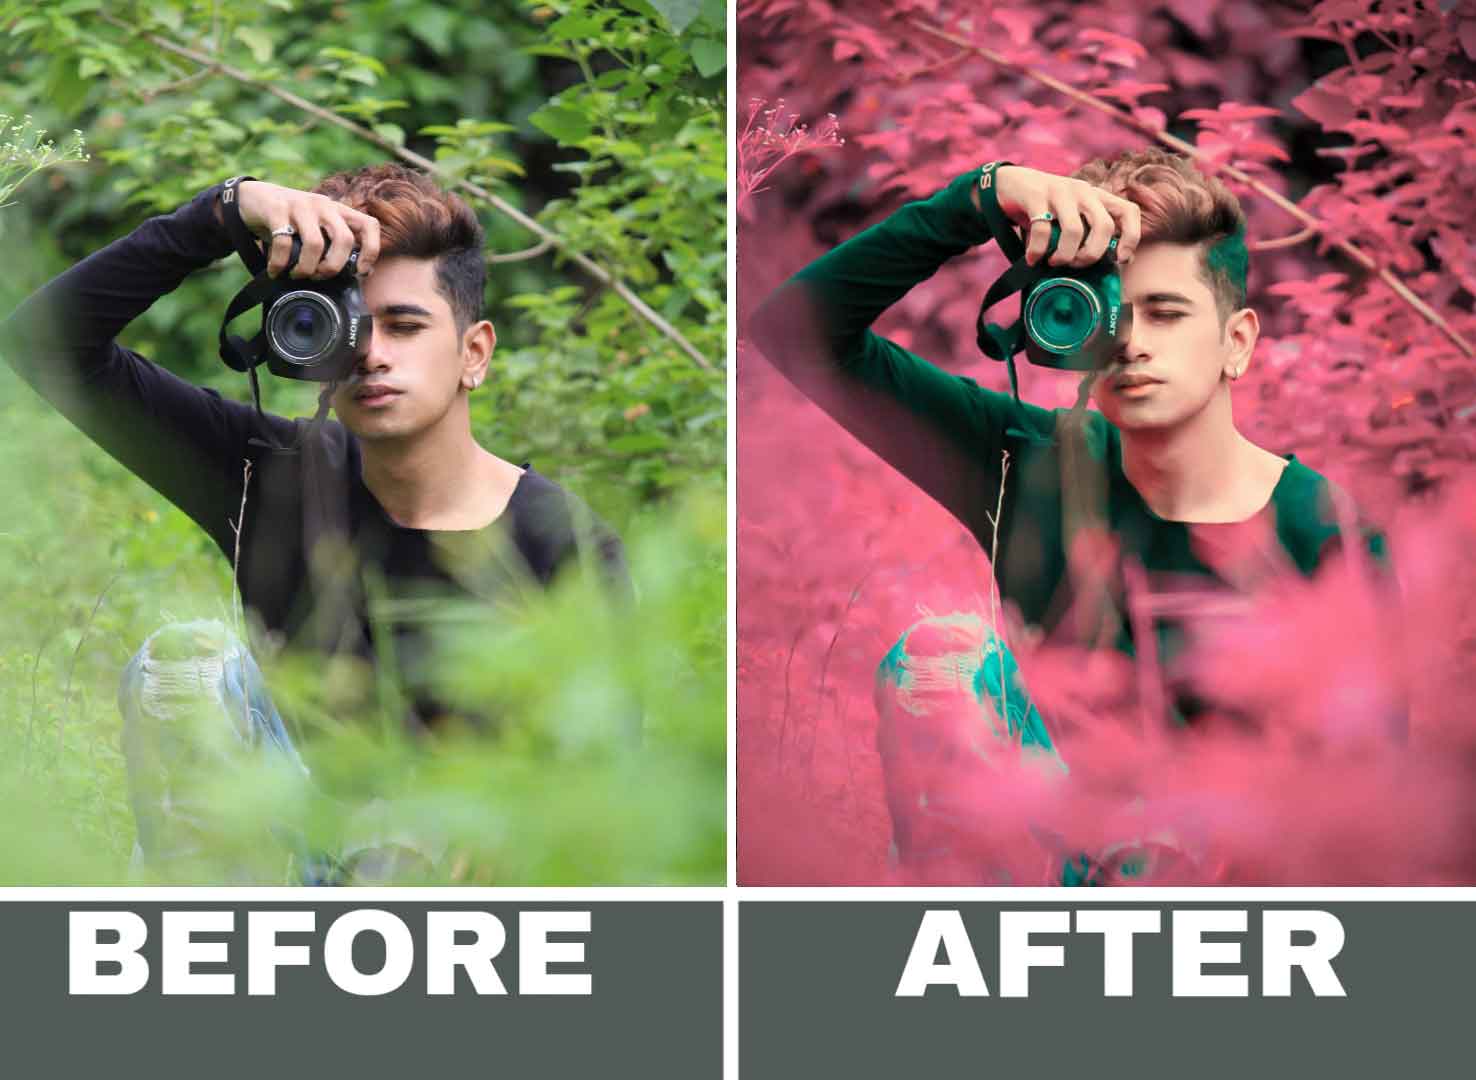
Looking for a way to take your photo editing to the next level? Look no further than the 75+ Lightroom preset collection! This extensive collection of presets offers a variety of different looks and styles to choose from, allowing you to effortlessly transform your photos into stunning works of art.
With over 75 different presets to choose from, you’re sure to find the perfect one for your needs. Whether you’re looking for something bold and dramatic or soft and subtle, there’s a preset for you. Each preset has been carefully crafted by a team of expert photographers and graphic designers, ensuring that you get the highest quality results every time.
One of the best things about the 75+ Lightroom preset collection is how easy they are to use. Simply import the presets into Lightroom and start applying them to your photos. You’ll be amazed at how quickly you can transform your photos into professional-grade works of art.
So if you’re ready to take your photo editing to the next level, be sure to check out the 75+ Lightroom preset collection. With so many different styles and looks to choose from, you’re sure to find the perfect preset for your needs!
How to Apply Lightroom Presets?
Applying Lightroom presets can take your photos to the next level by adding depth, warmth, and a unique touch. To get started with presets, how to apply Lightroom presets is the first question to answer.
First, open Lightroom and select the photo you want to edit. From the Develop module, scroll down the left sidebar to the Presets panel. Here, you will see a list of default presets provided by Lightroom. To import custom presets, click the “+” button in the panel and select “Import Presets.” Locate the preset file on your computer and click “Import.”
Once you have your preset imported, simply click on the preset to apply it to your photo. You can also apply multiple presets to the same photo by holding down the “Shift” key and clicking on the presets you want to use.
If you want to adjust the strength of the preset, use the slider in the panel labelled “Amount.” This will allow you to dial back the effect of the preset to your liking.
To create your own preset, start by making adjustments to a photo in the Develop module. Once you have the desired look, click on the “+” button in the Presets panel and select “Create Preset.” Give your preset a name and choose which settings you want to include.
In conclusion, applying Lightroom presets is a simple process that can greatly enhance your photos. Whether you use the default presets or create your own, they can be a powerful tool in your editing workflow.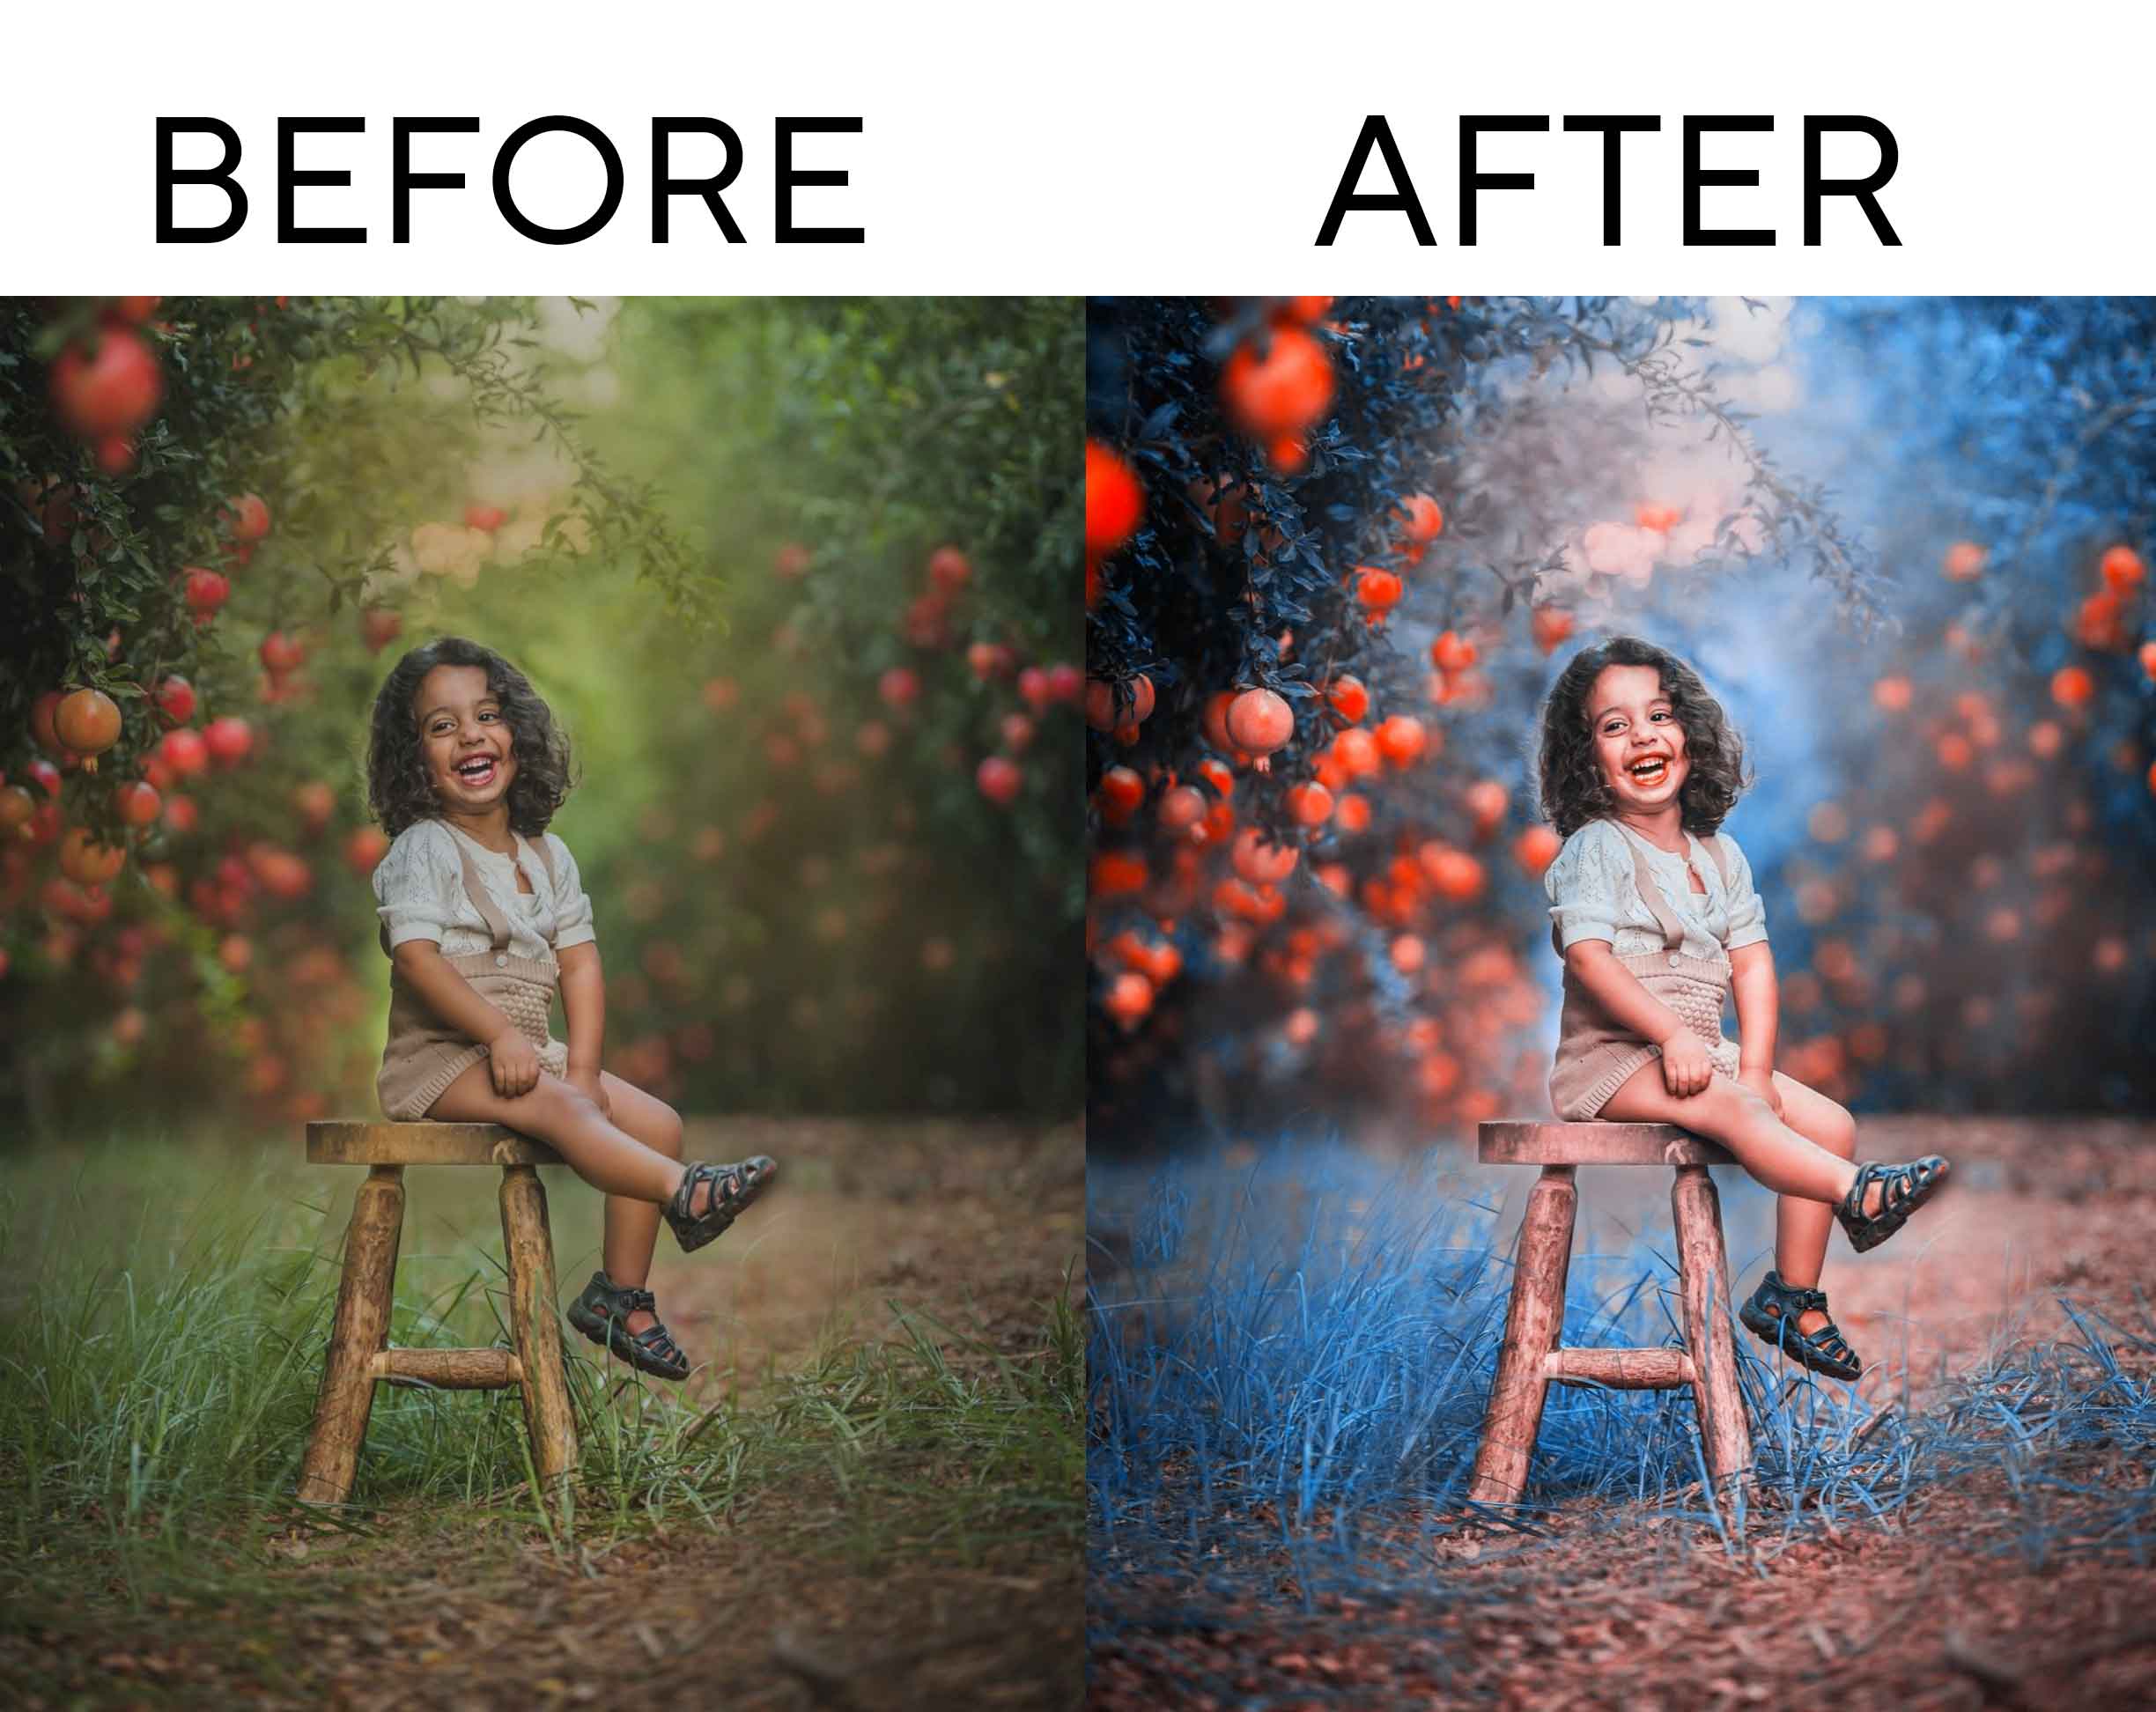
Lightroom color grading
- Import your photos into Lightroom.
- Start with basic adjustments such as exposure, contrast, highlights, shadows, whites, and blacks. You can use the sliders in the Basic panel to adjust these settings.
- Adjust the color temperature and tint to correct any color cast in the image.
- Use the Tone Curve panel to adjust the tone and contrast of your image.
- This can be used to create a more dramatic effect.
- Use the HSL/Color panel to adjust the hue, saturation, and luminance of individual colors in your image.
- Use the Detail panel to sharpen your image and reduce noise.
- Use the Lens Corrections panel to correct distortion, vignetting, and chromatic aberration.
- Crop your image if necessary.
- Make local adjustments using the Adjustment Brush, Graduated Filter, or Radial Filter tools to adjust specific parts of your image.
- Finally, export your edited photo in your desired file format and resolution