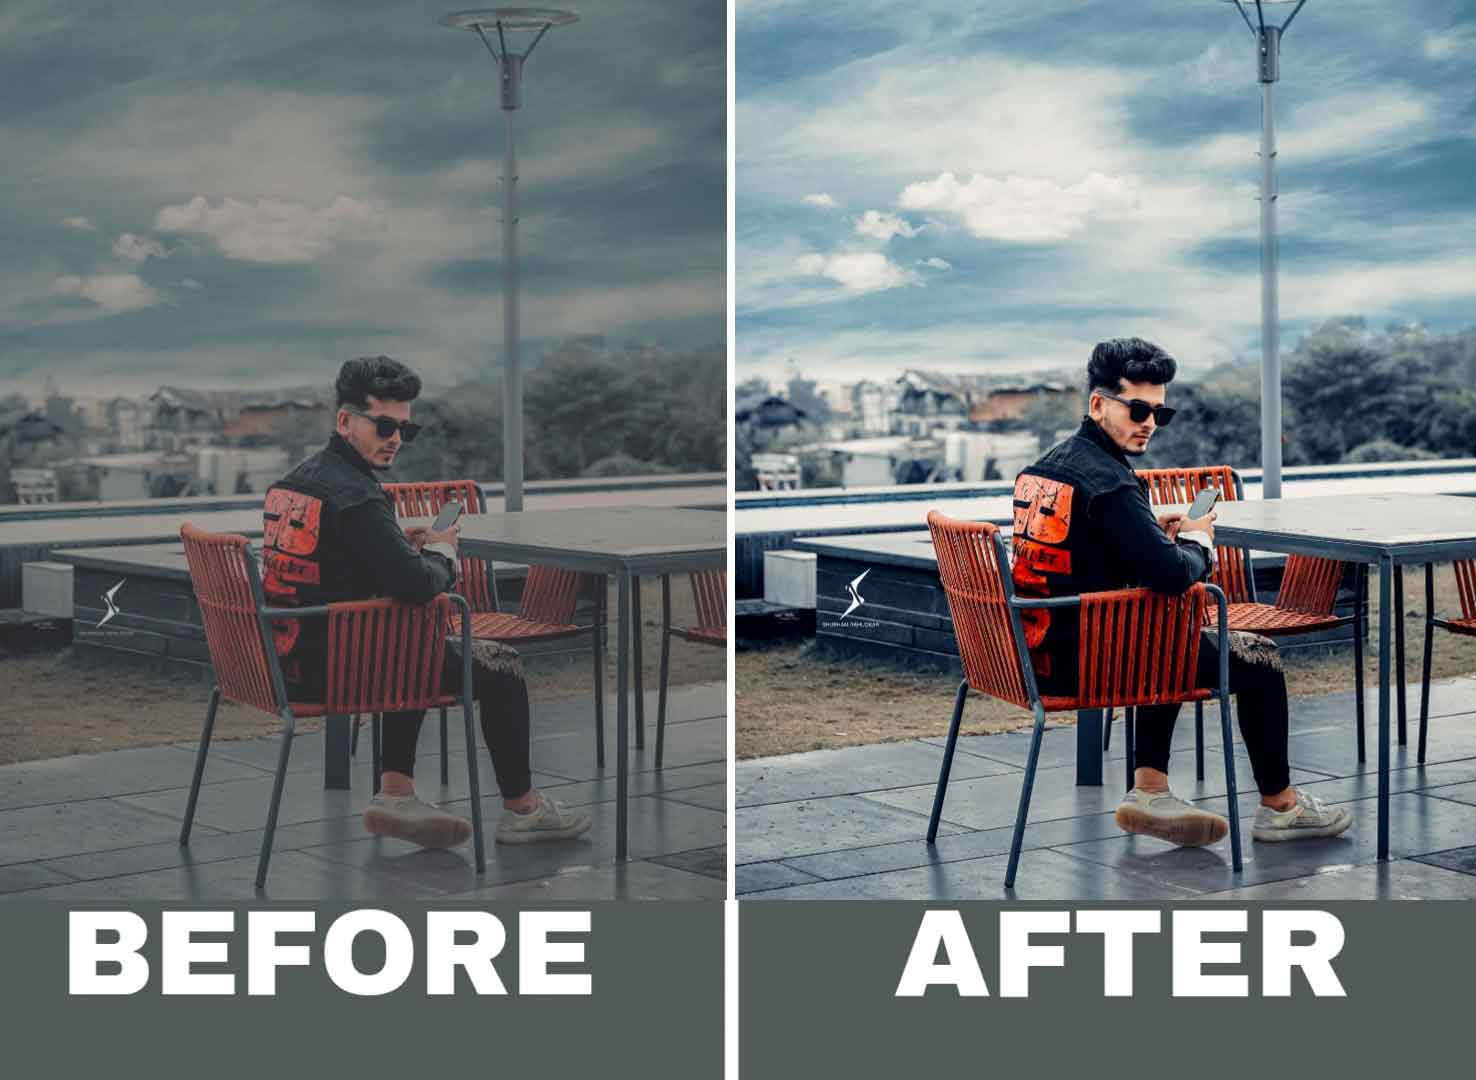
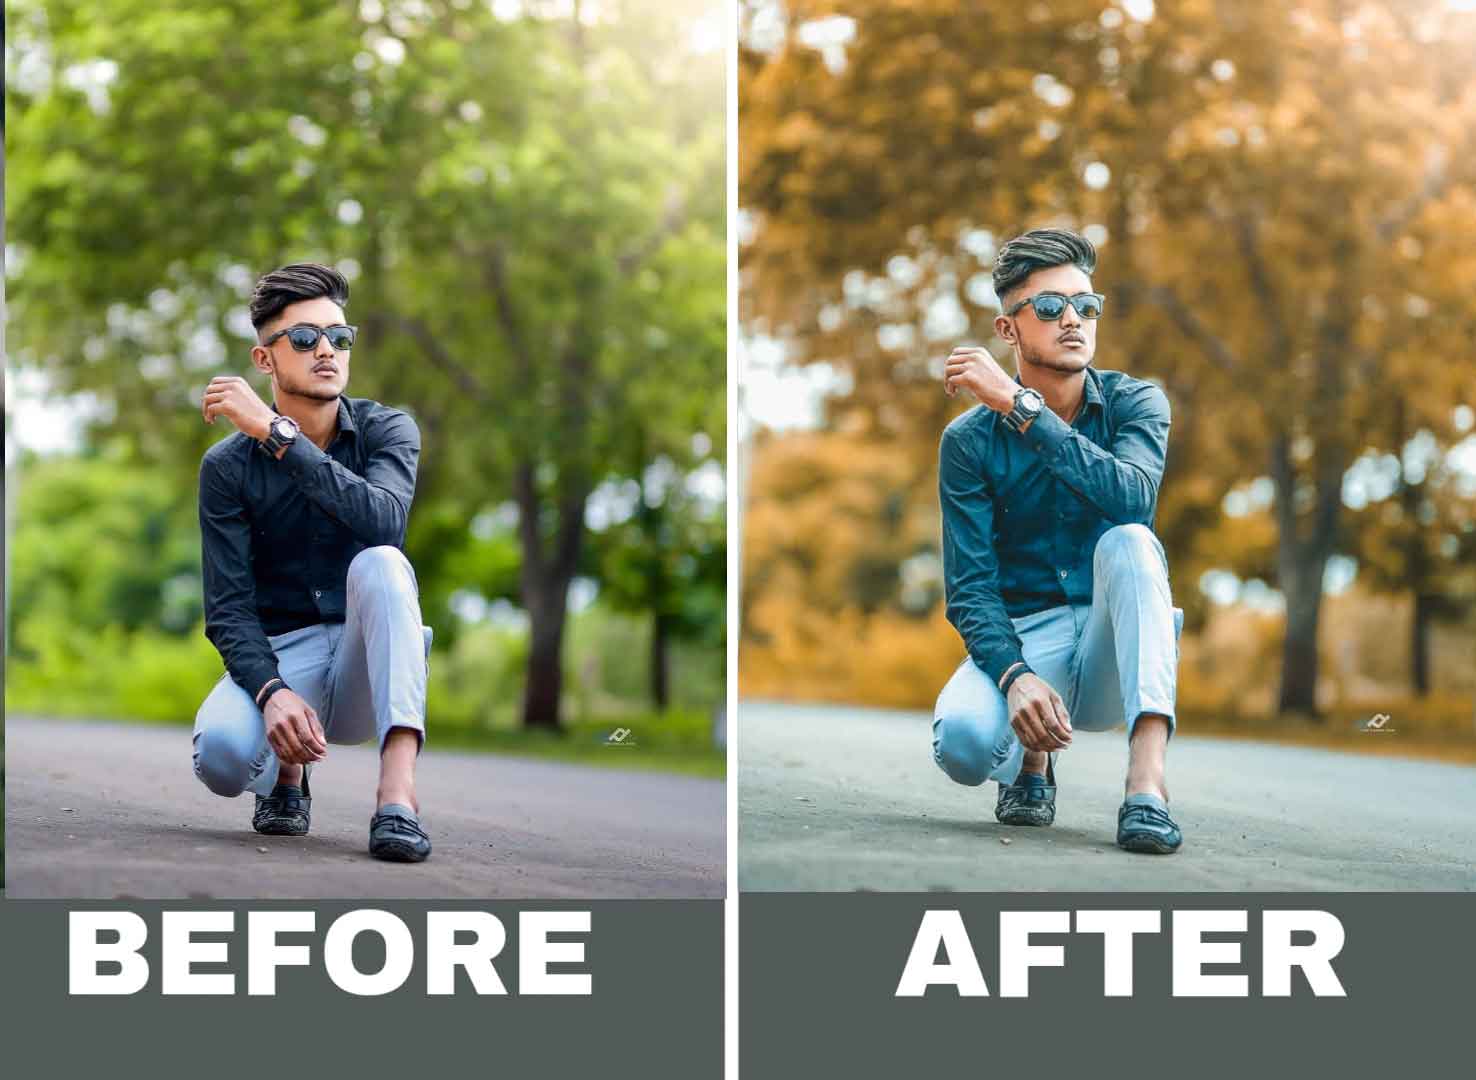
Today we are going to give you the best and really cool Top 30+ Rohit Zinjurke Presets Exclusive. These are amazing presets that you will love to download and get lots of new things about it.
Rohit Zinjurke is a name that is making waves in the world of social media today. He is a young and talented social media influencer from India, who has garnered a significant following in a relatively short period of time. His charm, wit, and humor have helped him gain a massive fan following, and he is now considered one of the top influencers in India.
Rohit Zinjurke was born on 9th October 1997 in Maharashtra, India. He completed his schooling in Navi Mumbai and later went on to pursue his graduation from Mumbai University. From a young age, Rohit had a keen interest in social media and was fascinated by the power of the internet.
He started his journey as a social media influencer by posting his pictures and videos on Instagram and soon became popular among the youth.
Rohit’s content is primarily focused on humor and entertainment, and he has a unique style of delivering it. His content is relatable, and he often talks about topics that resonate with the youth. Rohit’s success can be attributed to his ability to connect with his audience on a personal level. He understands what his audience wants and delivers it with a touch of humor, making his content both entertaining and engaging.
How to use XMP presets in Lightroom
- Download and install the preset: First, you’ll need to download the xmp preset you want to use. Once you have the preset file, open Lightroom and go to the Develop module.
- Import the preset: In the Presets panel on the left side of the screen, click the plus sign and select “Import Presets” from the dropdown menu. Navigate to the location where you saved the xmp preset file and select it.
- Apply the preset: With the preset imported, select the photo you want to edit and then click on the preset in the Presets panel to apply it to the photo. You can preview the effect of the preset on your photo by hovering your mouse over the preset.
- Adjust the settings (optional): Depending on the preset you’re using and the photo you’re editing, you may need to adjust some settings to get the desired effect. You can do this by using the sliders in the Develop module or by manually adjusting specific settings like exposure, contrast, or saturation.
- Save the photo: Once you’re happy with the edits, save your photo by going to File > Export. Choose your desired file type, size, and location, and click Export.
What is an xmp preset?
Xmp presets are a type of Lightroom preset that is stored as an XMP file. Xmp is short for “Extensible Metadata Platform” and is a file format that is used to store metadata and settings for images. When you apply an xmp preset to a photo in Lightroom, the preset settings are saved to the XMP file for that photo.
One of the advantages of using xmp presets is that they can be applied to any version of Lightroom, as long as the software supports the XMP format. This means that if you switch to a different version of Lightroom or use a different computer, you can still use your XMP presets.