Download and install the preset: First, you’ll need to download the XMP preset you want to use. Once you have the preset file, open Lightroom and go to the Develop module.
Import the preset: In the Presets panel on the left side of the screen, click the plus sign and select “Import Presets” from the dropdown menu. Navigate to the location where you saved the XMP preset file and select it.
Apply the preset: With the preset imported, select the photo you want to edit and then click on the preset in the Presets panel to apply it to the photo. You can preview the effect of the preset on your photo by hovering your mouse over the preset.
Adjust the settings (optional): Depending on the preset you’re using and the photo you’re editing, you may need to adjust some settings to get the desired effect. You can do this by using the sliders in the Develop module or by manually adjusting specific settings like exposure, contrast, or saturation.
Save the photo: Once you’re happy with the edits, save your photo by going to File > Export. Choose your desired file type, size, and location, and click Export.
Why Use Lightroom Presets?
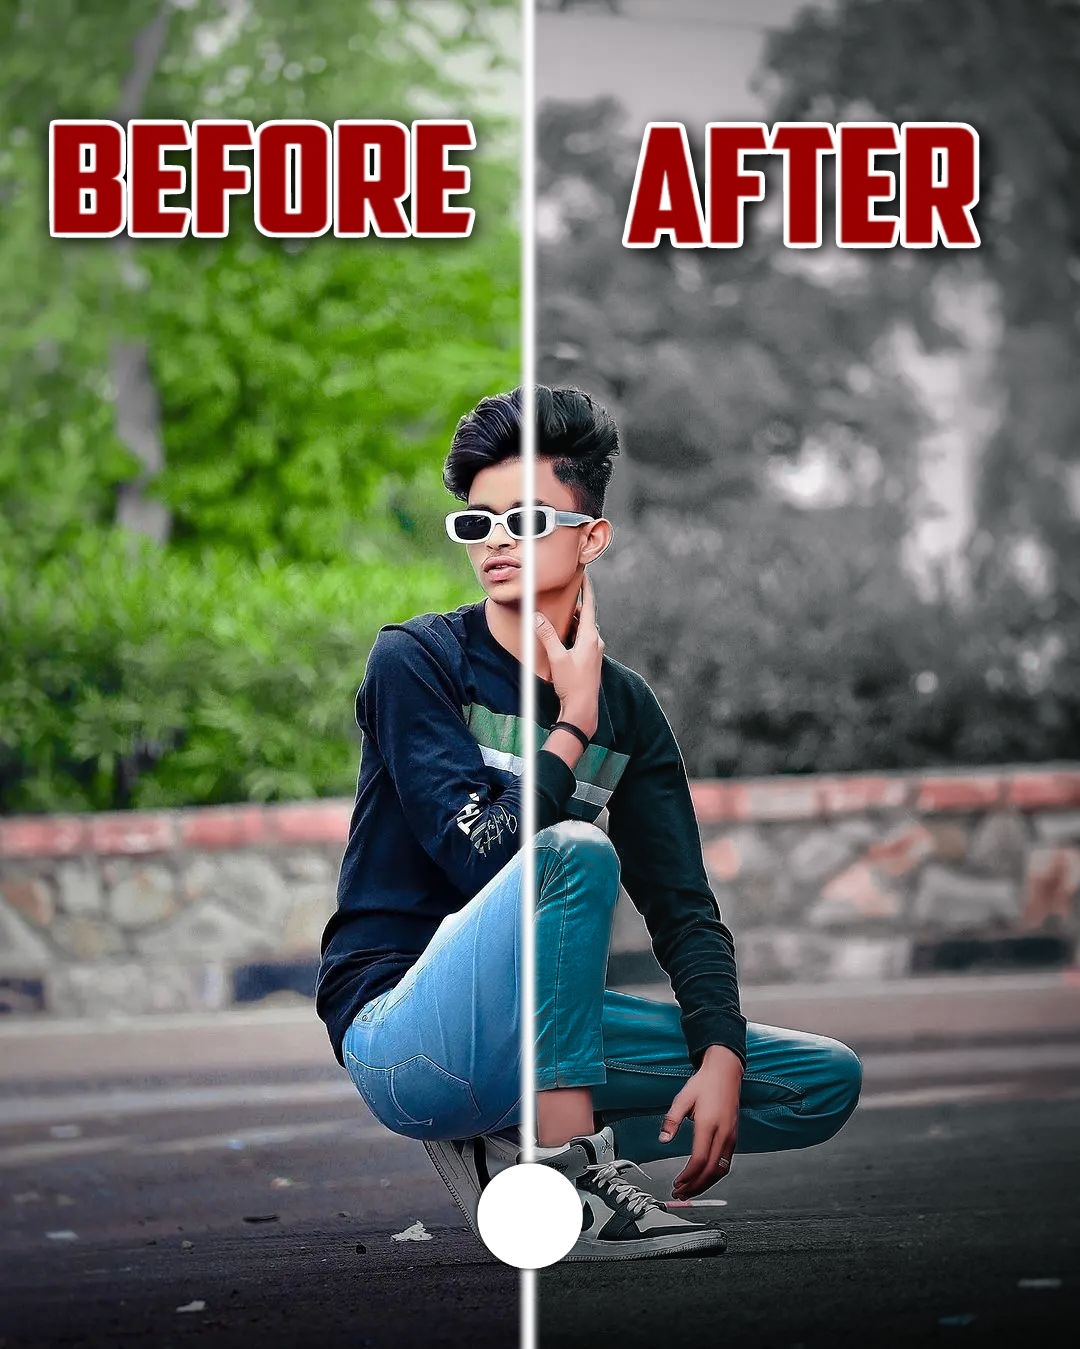
Lightroom Presets are the best to apply for the pictures. These are the best lightroom presets. If you want to make your photos more interesting then you can check out these presets to give a new shape and interesting and attractive looks to your pictures.
Basically, I also use these lightroom presets because this will make our photo more cool and awesome. Guys if you haven’t seen the videos then you can go to the YouTube channel where I uploaded lots of new videos the editing.