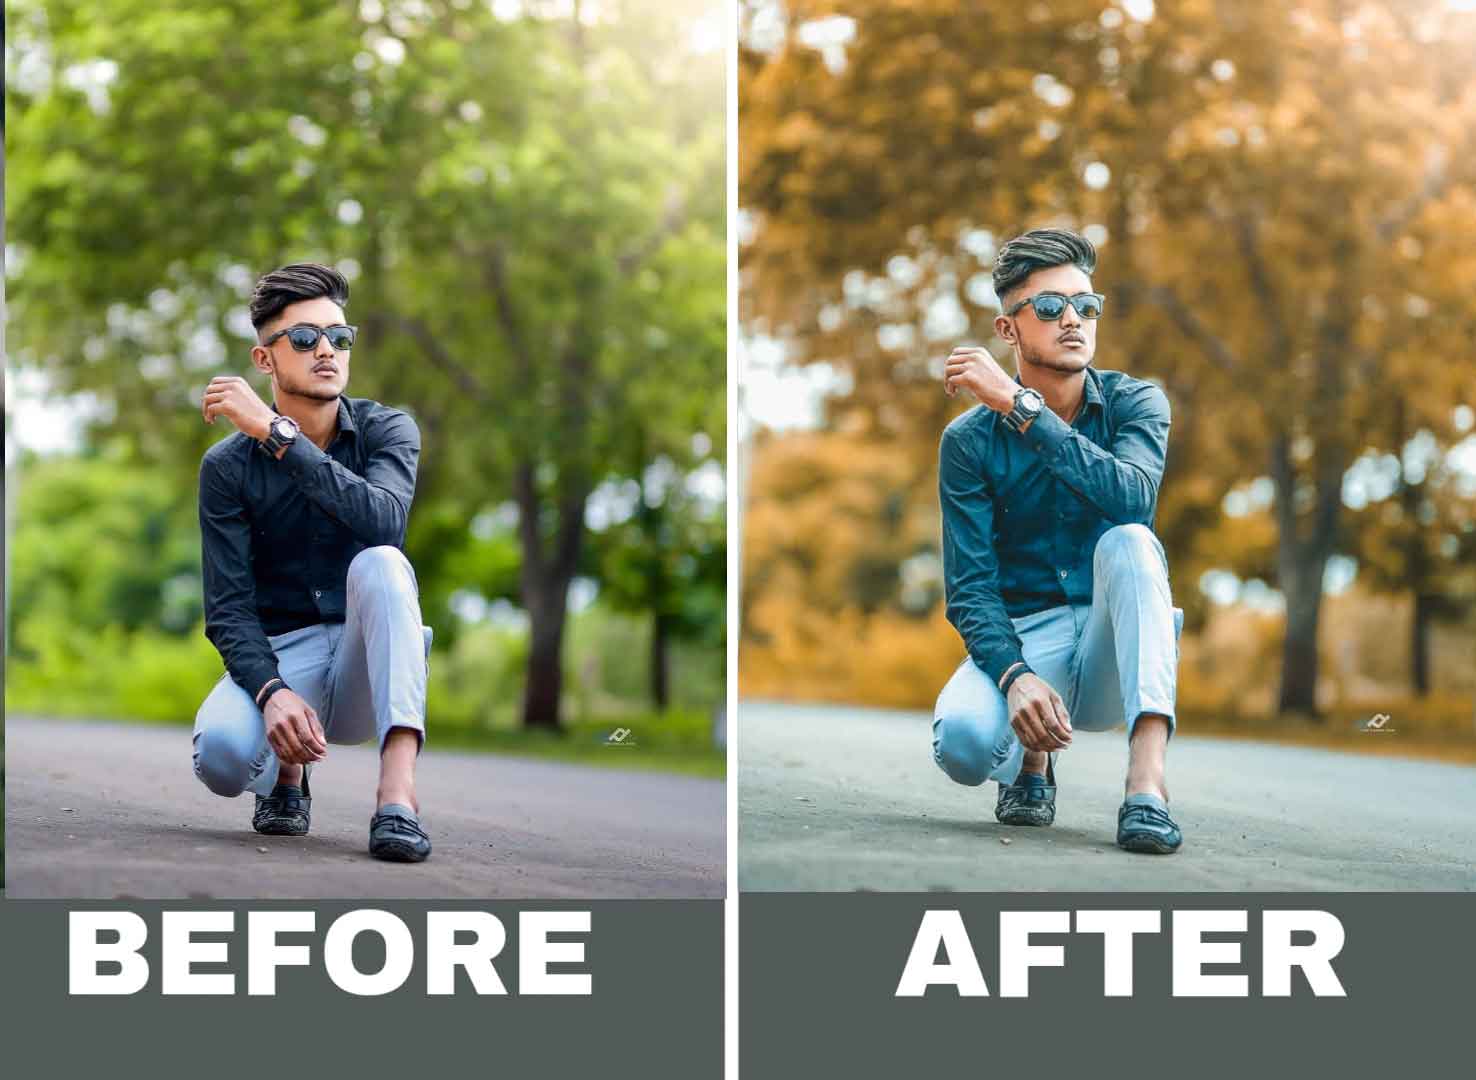
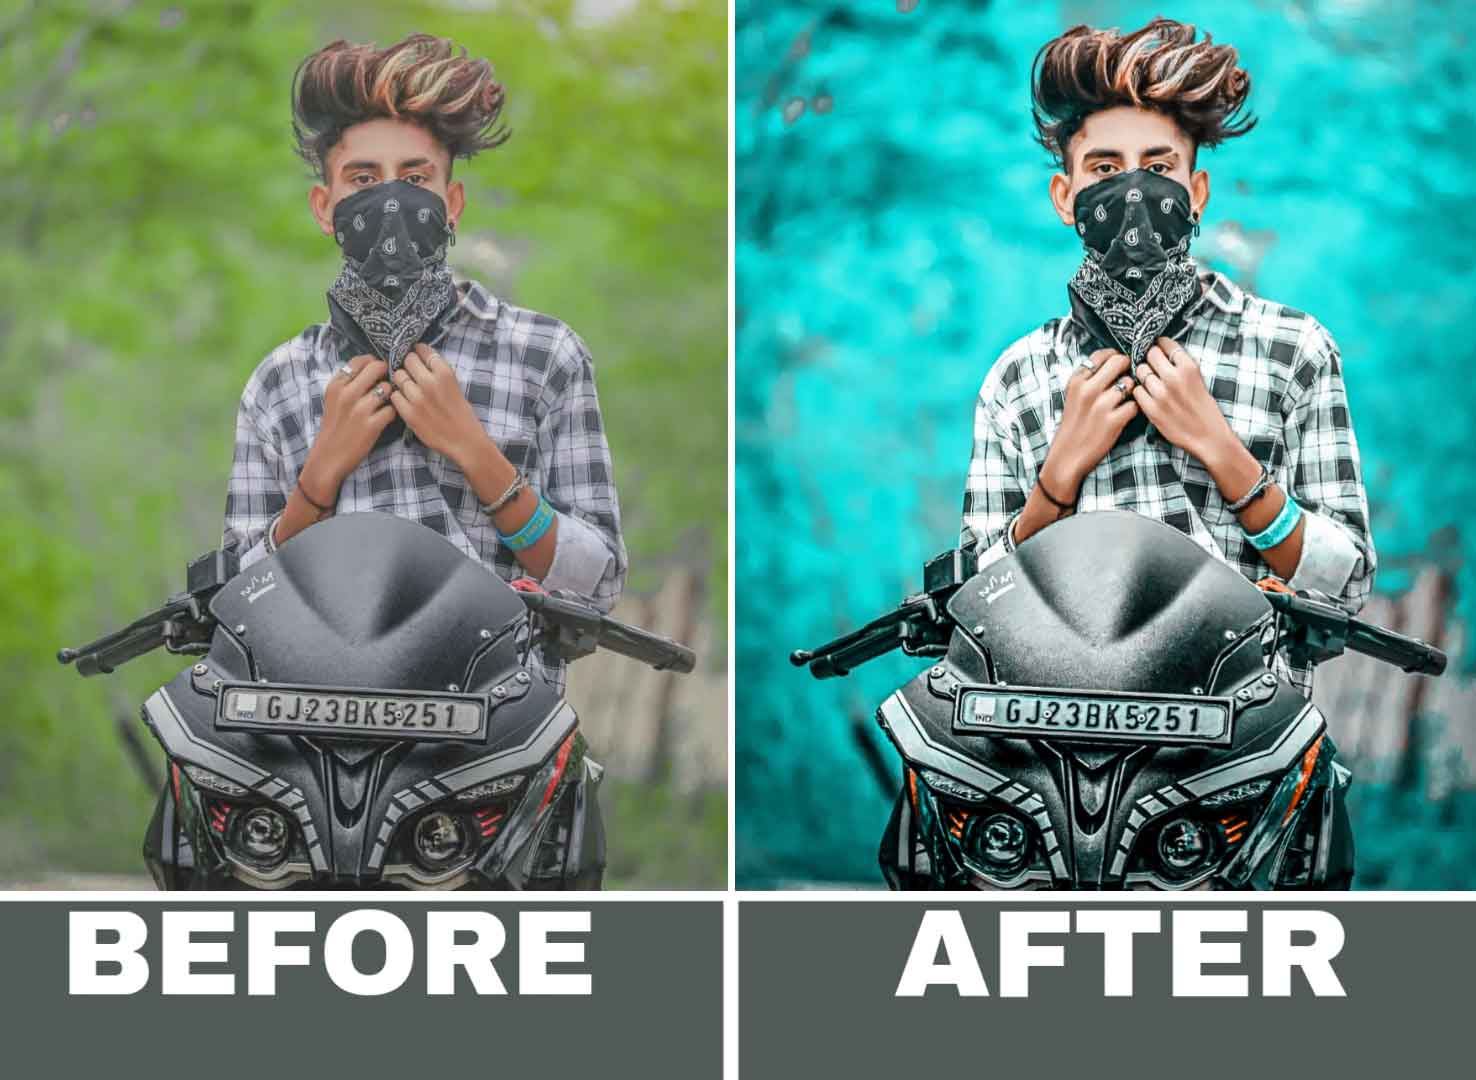
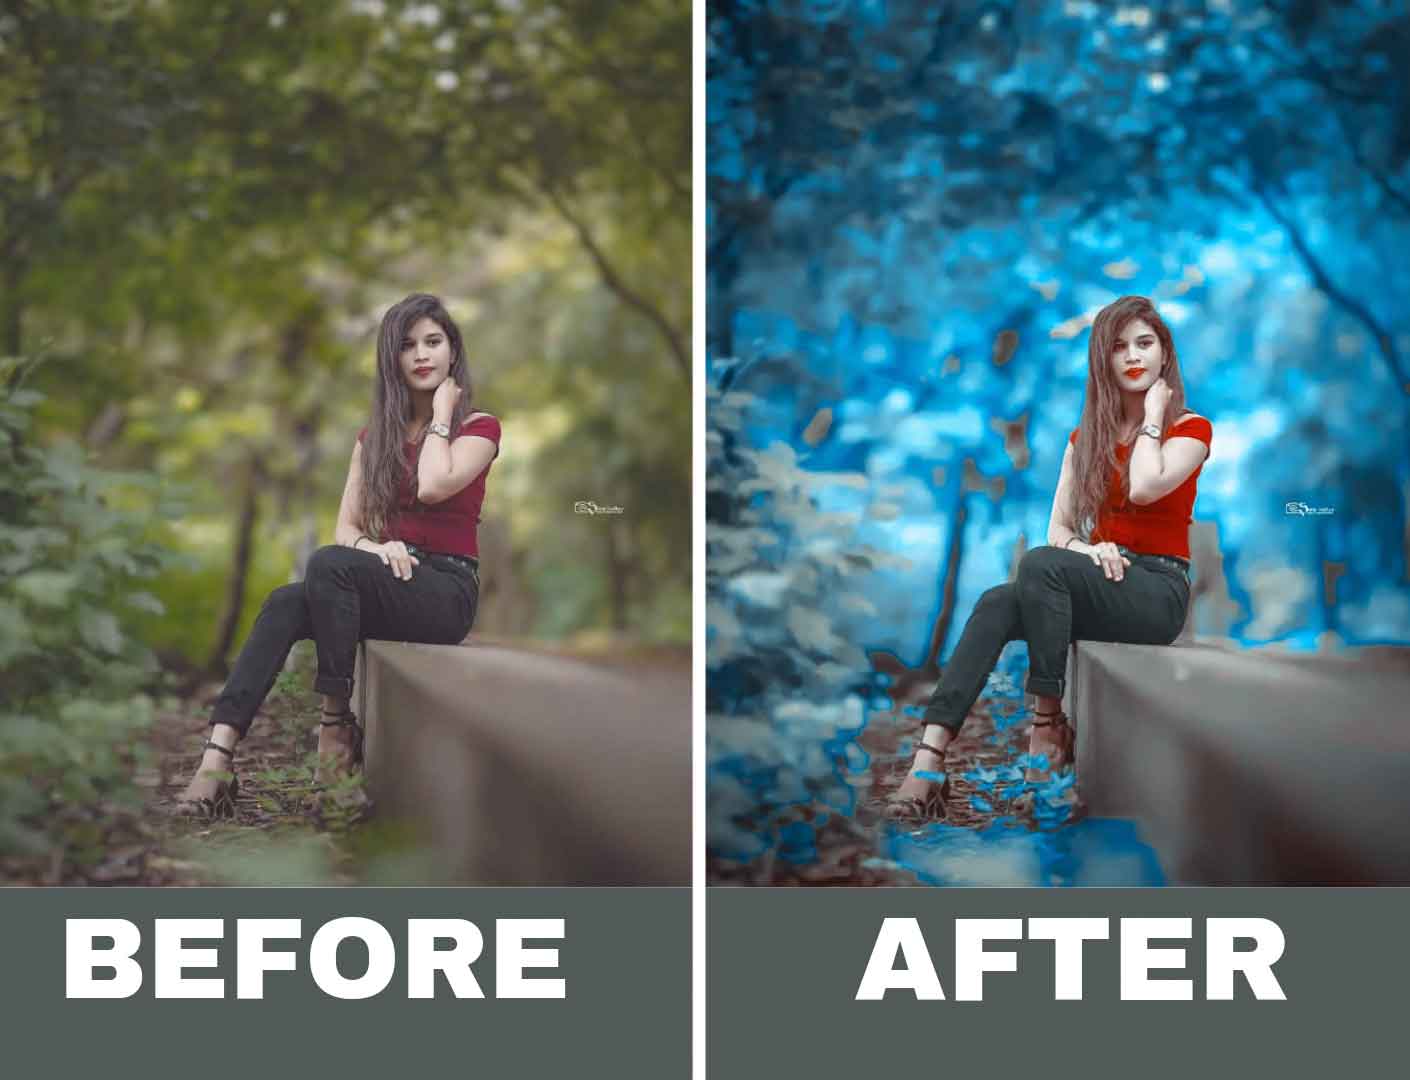
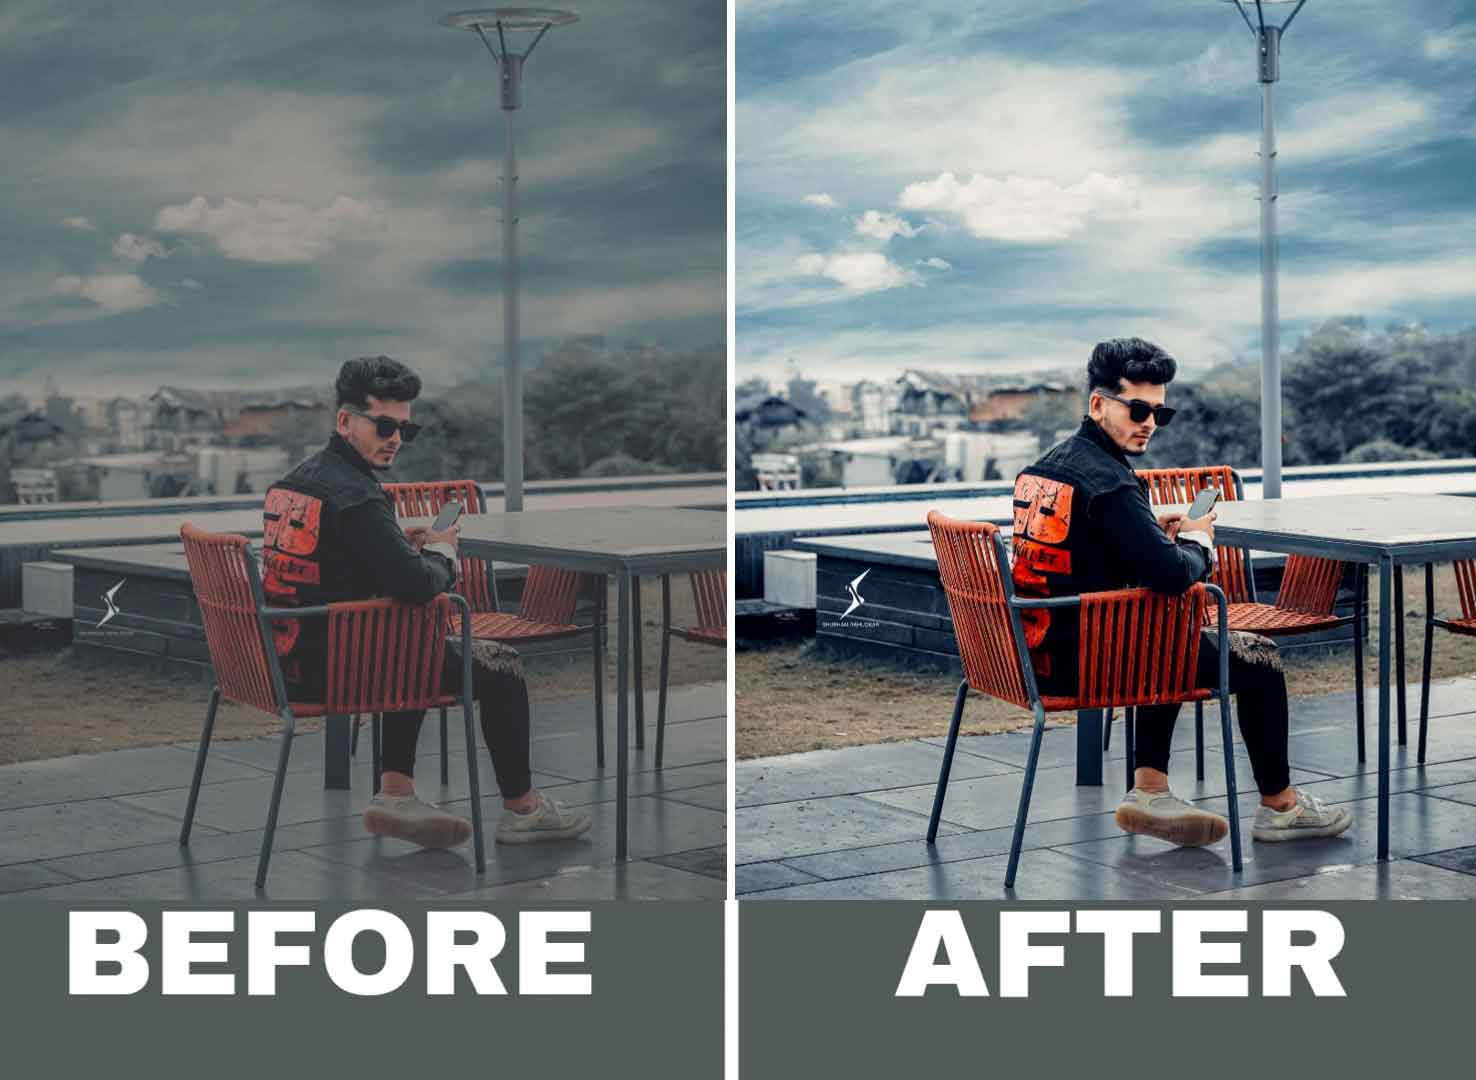
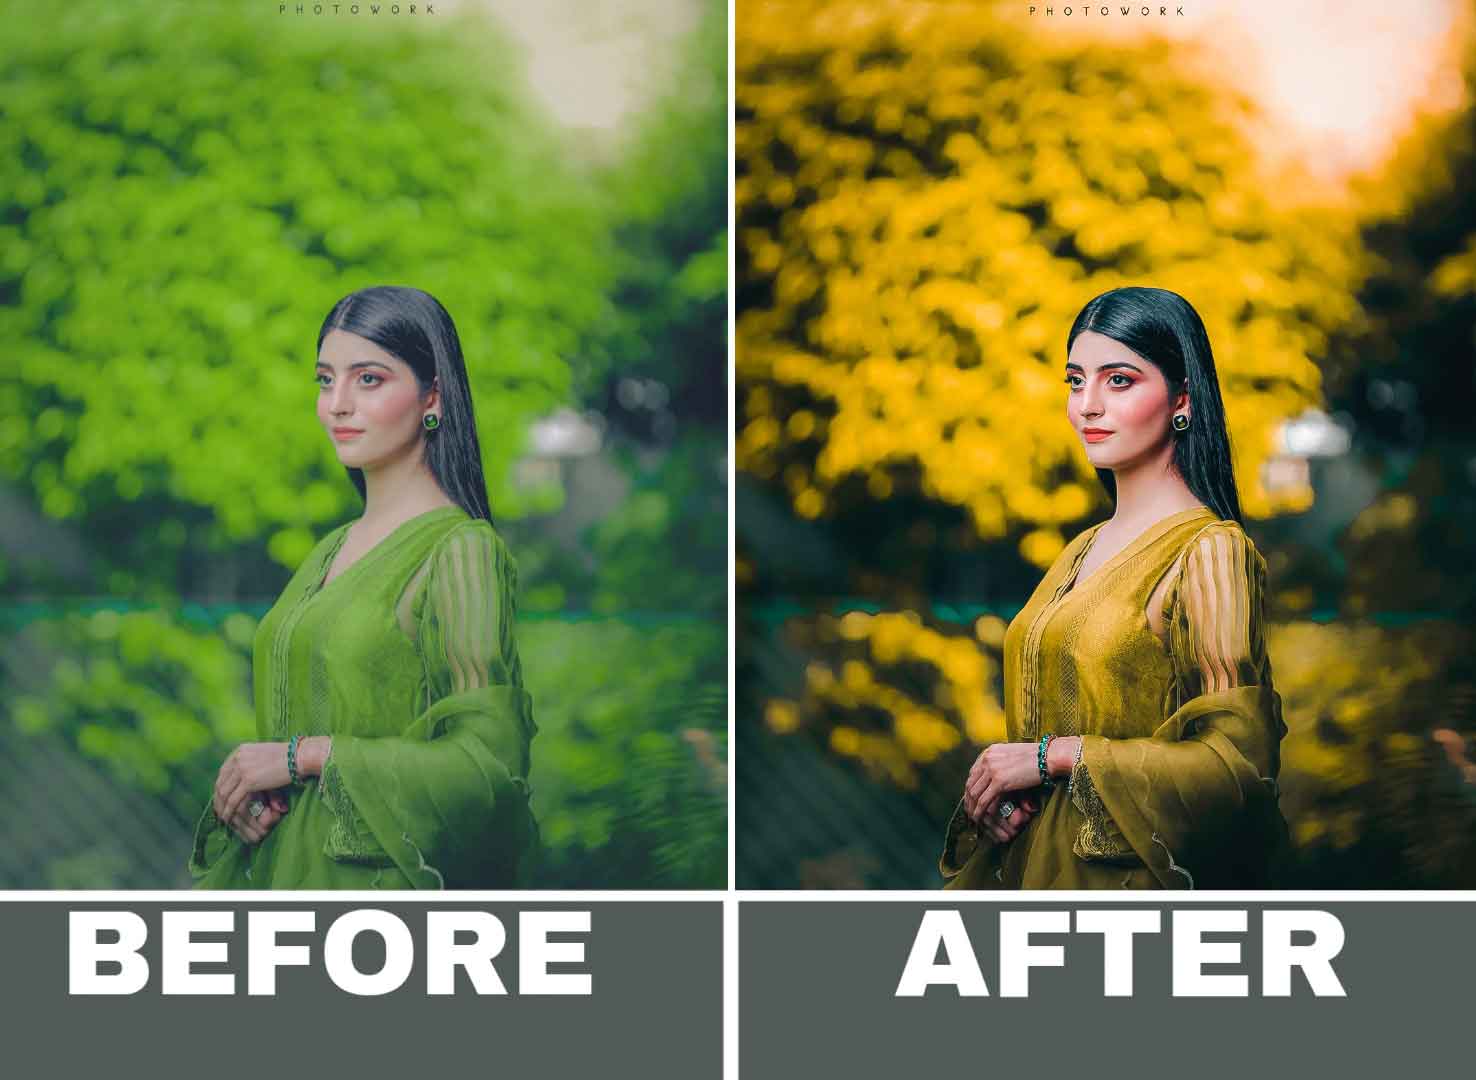
Dark Lightroom presets can add a moody and dramatic effect to your photos. These presets are perfect for creating a cinematic look and can be used in a variety of settings such as portraits, landscapes, and street photography. Here are some steps to help you create your own dark Lightroom presets.
Steps to Apply The Dark Lightroom Presets:-
- Start by opening a photo in Lightroom that you would like to use as a base for your preset. This photo should have a similar lighting and color scheme to the photos you plan to use the preset on in the future.
- Next, adjust the white balance to add a cool tone to the photo. You can do this by moving the temperature slider to the left or by selecting a preset such as “cloudy” or “shade.”
- Increase the contrast by moving the contrast slider to the right. This will help to create a more defined and dramatic look in the shadows and highlights.
- Adjust the shadows and highlights by moving the sliders to the left and right respectively. This will add depth to the photo and help to bring out the details in the shadows and highlights.
- Add a vignette effect by moving the vignette slider to the right. This will darken the edges of the photo, adding a sense of focus to the subject.
- Finally, save your preset by clicking on the “New Preset” button at the bottom of the Develop module. Give your preset a meaningful name and select the settings you wish to save.
- You can now apply this preset to other photos by selecting them and then clicking on the preset in the Develop module.
By following these steps, you can create a variety of dark Lightroom presets that can be used to add a moody and dramatic effect to your photos. Experiment with different settings and colors to create a range of presets that can be used in different situations.
Top Best Dark Lightroom Presets
One of the main benefits of Lightroom presets is the time they can save. Rather than spending hours manually adjusting settings such as exposure, contrast, and saturation, users can simply apply a preset that has already been created and fine-tuned by a professional photographer. This can save hours of editing time and ensure that your images are consistently high-quality.
Another benefit of Lightroom presets is the ability to achieve a consistent look and feel across a series of photos. For example, a wedding photographer can use the same presets for all of the photos from a wedding, ensuring that the images have a cohesive and professional look.
This can also be useful for photographers who specialize in a specific genre, such as landscape or portrait photography, as it allows them to create a distinct style that can be easily replicated in future shoots.
How to download the latest lightroom presets?
Premium quality Lightroom presets are a set of pre-determined adjustments and edits that have been carefully crafted and fine-tuned by professional photographers or experienced photo editors. These preset are designed to deliver high-quality results and help you achieve a professional look for your photos.
- Top 400+ Lightroom Presets Download
- Top 10+ Lightroom Presets Download For Free
- Top 140+ Lightroom Presets Download XMP
- Top 15+ Lightroom Presets
Steps to Download these Lightroom Presets Xmp
- You should click on the button
- You will get the Media fire link here
- Click on that and download the Lightroom Presets
Which Mobile Phone Do I use to apply lightroom presets?
The Mobile Phone feels a lot more personal than the standard computer or laptop. You can take it anywhere and always be confident that you’re capable of doing something with it. So, how do you decide which settings are right for you? Here are seven important things to consider when deciding whether to use your mobile phone or computer.
Mobile Phone Specification:-
•2GB Ram In Your Phone
•4GB internal Memory
•Minimum Android KitKat Version

