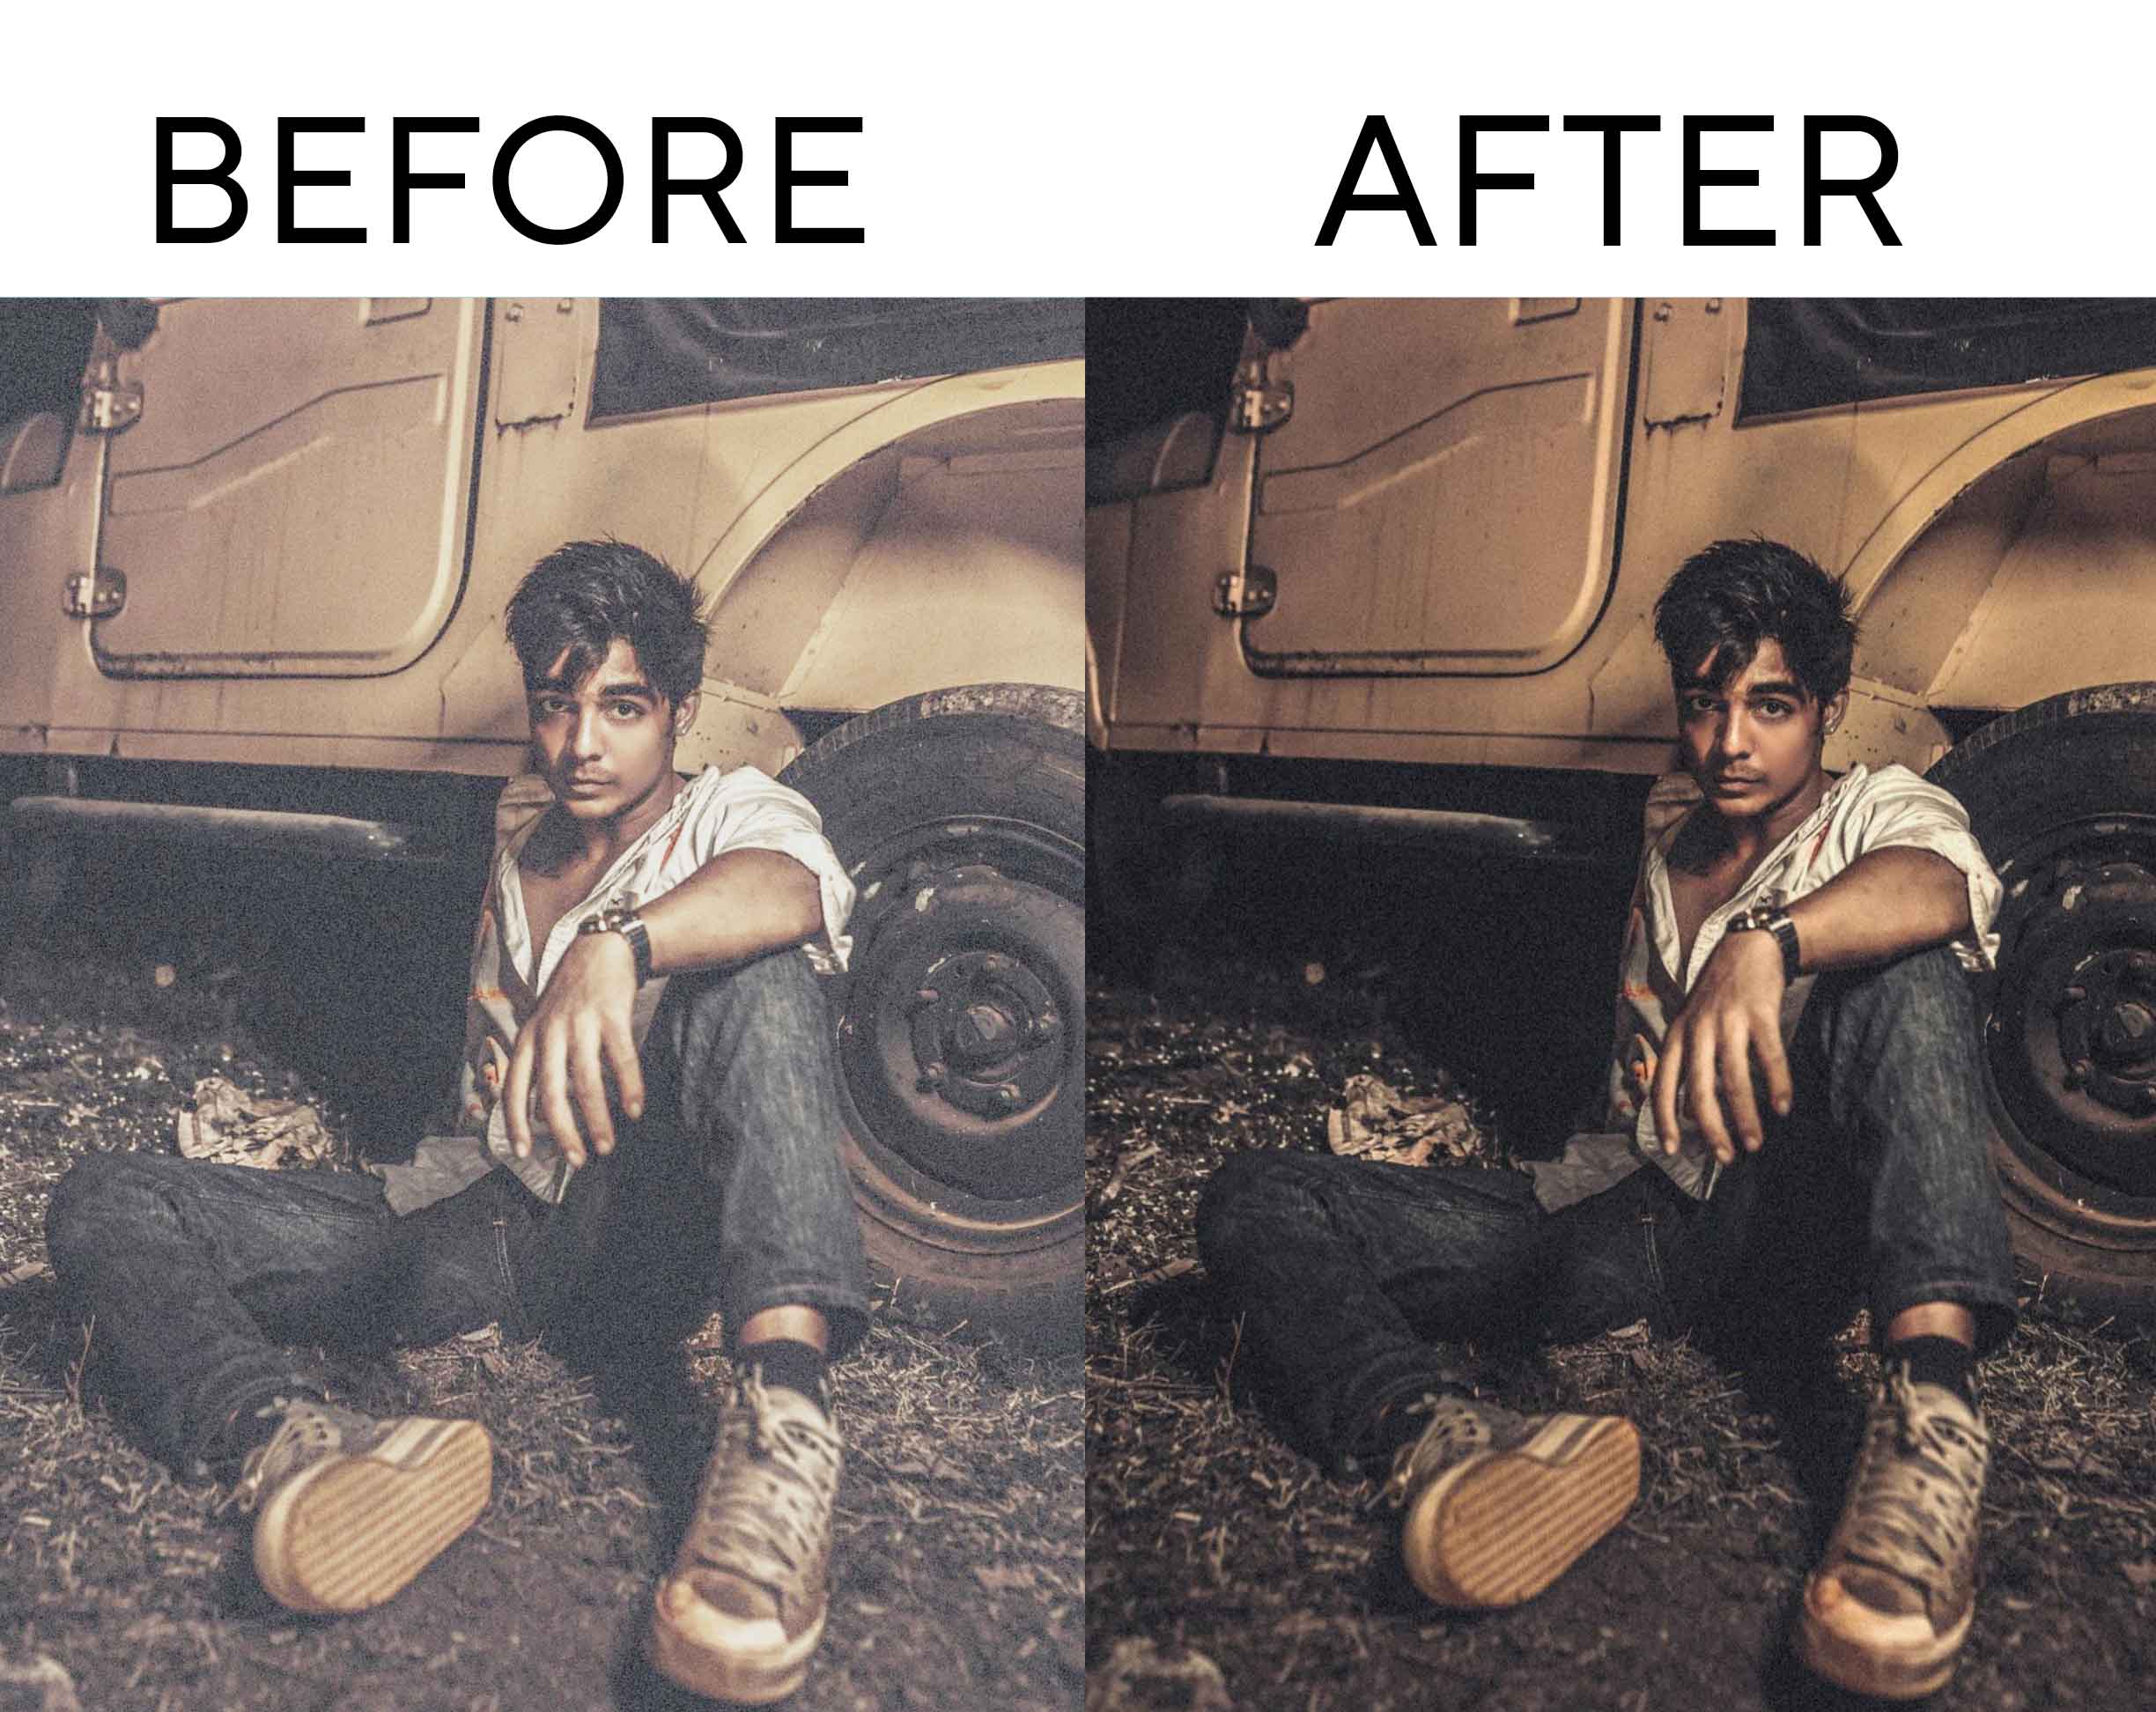
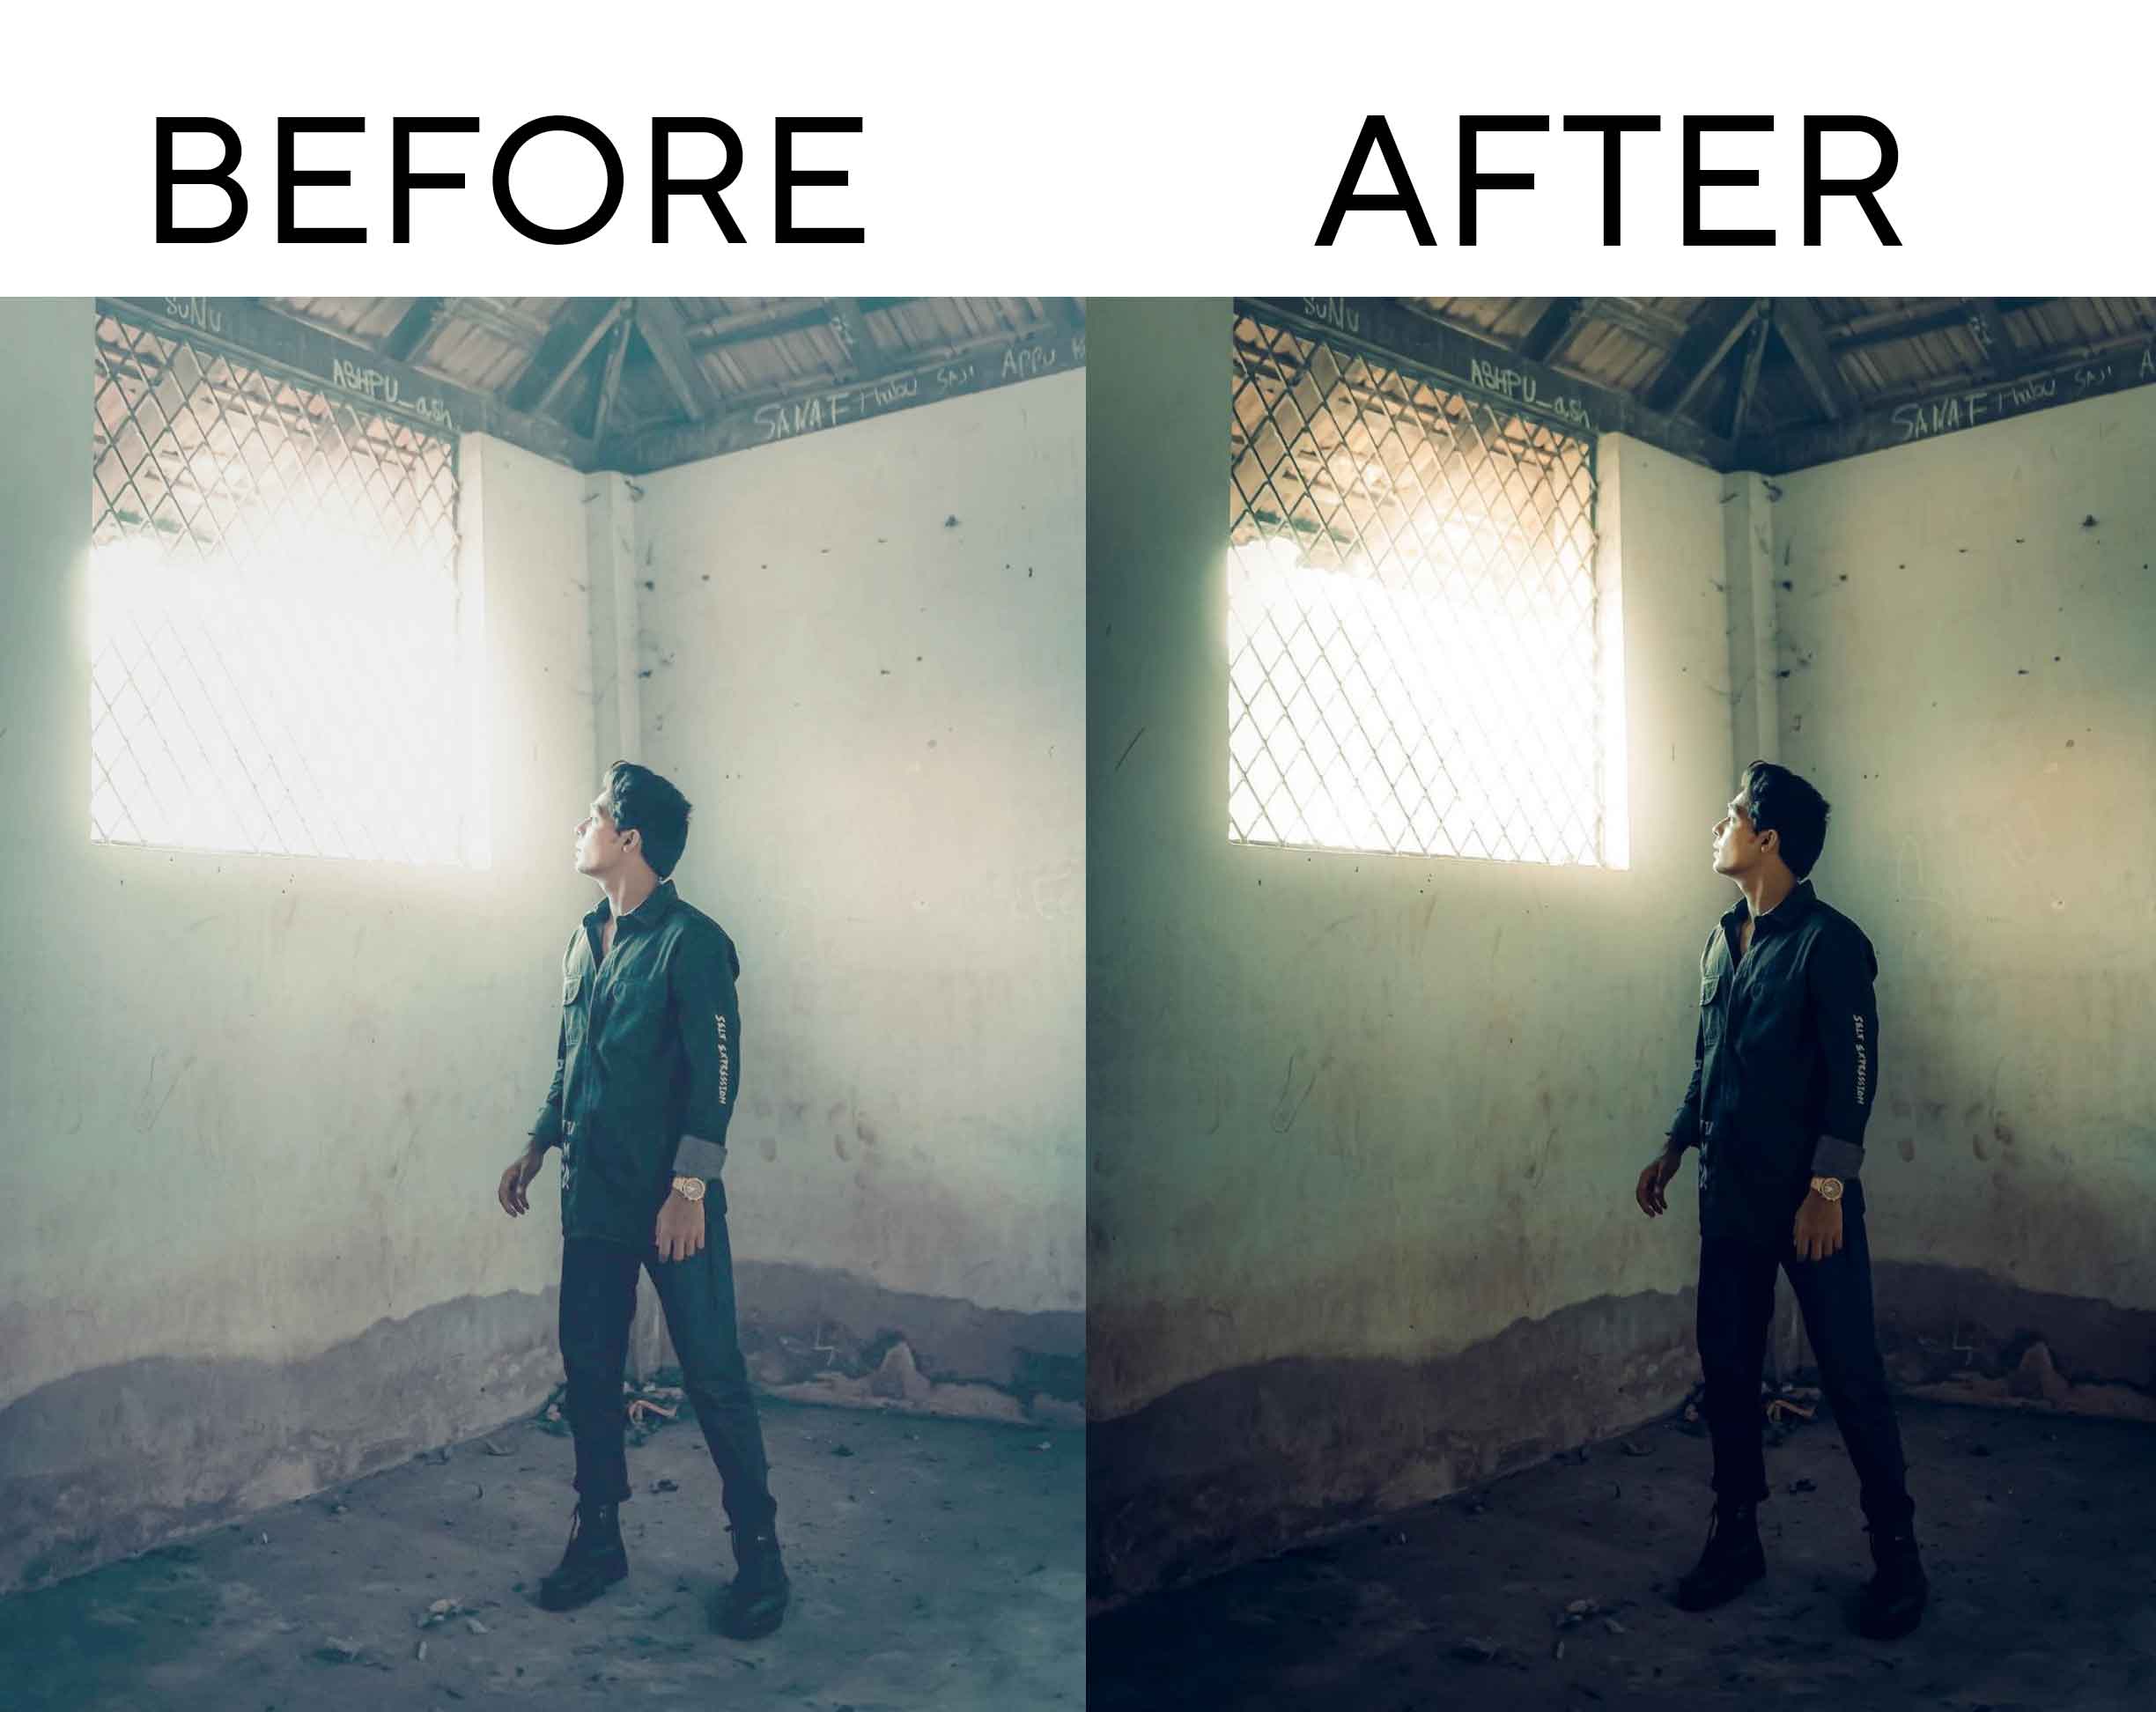
Lightroom presets are a powerful tool for photographers and enthusiasts to quickly edit and enhance their photos. Presets are essentially pre-made adjustments to the settings of Lightroom that can be applied to your photos with a click of a button. With the right Lightroom preset, you can transform your photos into stunning works of art. In this article, we will be exploring some of the best resources for downloading 300+ Lightroom presets for free.
When downloading Lightroom presets, it’s important to keep in mind that presets are not a one-size-fits-all solution. A preset that works well for one photo may not work for another. It’s important to experiment with different presets and adjust them to suit your photos.
Additionally, always make sure to read the terms of use for any presets you download to ensure you are using them correctly and legally.
Top 300+ Lightroom Preset Download For Free
Presetpro.com offers a collection of free Lightroom presets that can be used for various photography styles and genres. This website has over 300 free presets that are available for download, including presets for portraits, landscapes, black and white, and vintage styles.
Photonify.com offers a wide range of free and premium Lightroom presets that can be used to enhance your photos. They have a collection of over 100 free presets that are available for download, including presets for HDR, cinematic looks, and vintage styles.
Sleeklens.com offers a variety of free and premium Lightroom presets, as well as brushes and tutorials. They have a collection of over 100 free presets that are available for download, including presets for portraits, landscapes, and black-and-white styles.


FixThePhoto.com offers a large collection of free Lightroom presets and filters that can be used to enhance your photos. They have over 300 free lightrooms presets that are available for download, including presets for portraits, landscapes, and vintage styles.
CreativeMarket.com has a wide range of Lightroom presets available for download, including many free ones. They have over 100 free presets that are available for download, including presets for portraits, landscapes, and black-and-white styles.
How to apply Lightroom Presets?
Applying Lightroom presets to your photos is a simple process. Here are the steps to follow:
Step 1: Open Lightroom and import your photo(s) into the Library module.
Step 2: Switch to the Develop module by clicking on the Develop button at the top right corner of the interface.
3: On the left-hand side of the Develop module, you will see a panel named Presets. Click on the small triangle next to it to expand the panel.
Step 4: Scroll through the presets until you find the one you want to use. You can hover your mouse over each preset to preview how it will look in your photo.
Step 5: Once you have selected the preset you want to use, simply click on it, and it will be applied to your photo.
Step 6: If necessary, adjust the settings to fine-tune the look of your photo. You can use the sliders in the right-hand panel to make adjustments to exposure, contrast, saturation, and other settings.
Step 7: Once you’re happy with the look of your photo, you can export it or continue to edit it further.
It’s important to keep in mind that presets are not a one-size-fits-all solution. A preset that works well for one photo may not work for another. It’s essential to experiment with different presets and adjust them to suit your photos.
Additionally, always make sure to read the terms of use for any presets you download to ensure you are using them correctly and legally.
How to use XMP presets in Lightroom
- Download and install the preset: First, you’ll need to download the XMP preset you want to use. Once you have the preset file, open Lightroom and go to the Develop module.
- Import the preset: In the Presets panel on the left side of the screen, click the plus sign and select “Import Presets” from the dropdown menu. Navigate to the location where you saved the XMP preset file and select it.
- Apply the preset: With the preset imported, select the photo you want to edit and then click on the preset in the Presets panel to apply it to the photo. You can preview the effect of the preset on your photo by hovering your mouse over the preset.
- Adjust the settings (optional): Depending on the preset you’re using and the photo you’re editing, you may need to adjust some settings to get the desired effect. You can do this by using the sliders in the Develop module or by manually adjusting specific settings like exposure, contrast, or saturation.
- Save the photo: Once you’re happy with the edits, save your photo by going to File > Export. Choose your desired file type, size, and location, and click Export.


